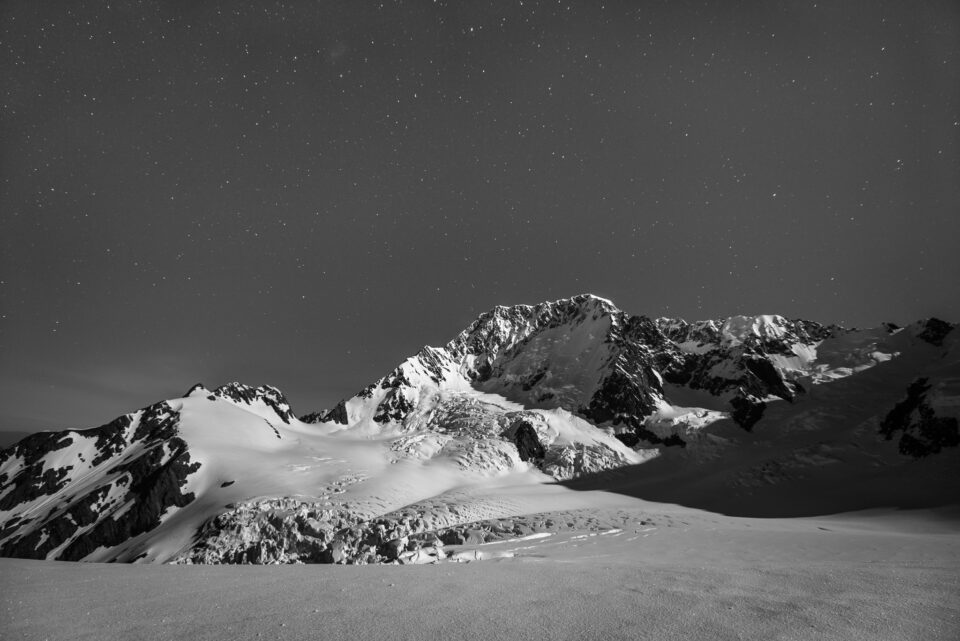
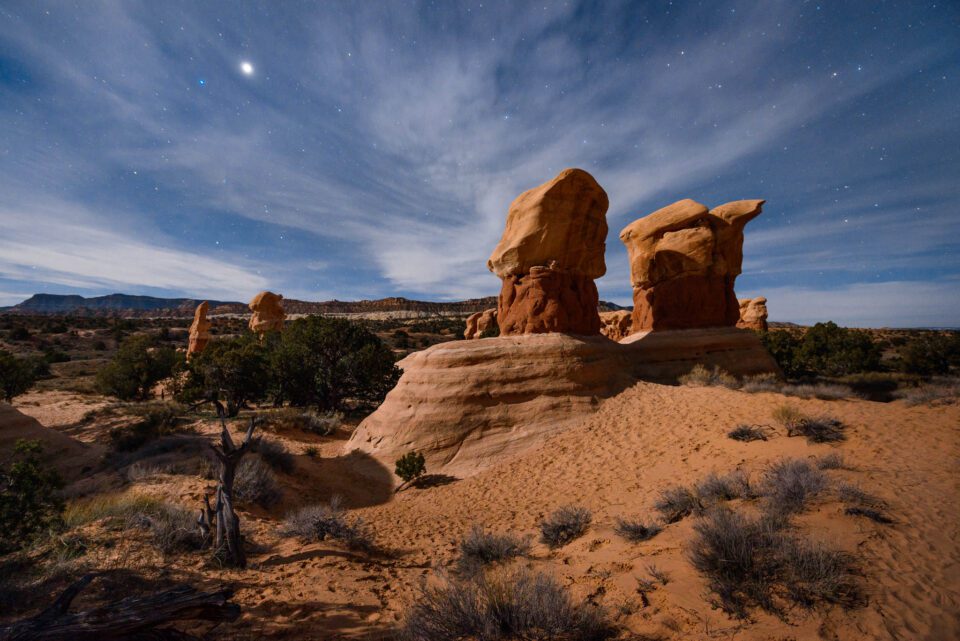
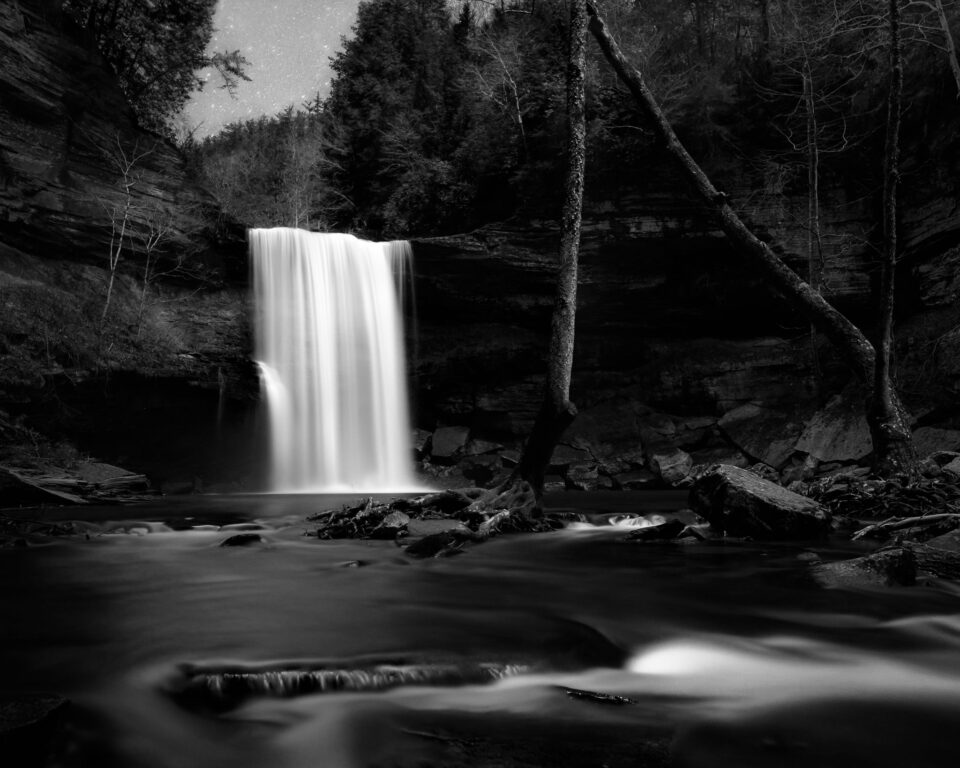
One of the challenges of nighttime photography — particularly Milky Way and star photography — is to get enough depth of field. If you’re focused at the horizon, and you’re using the widest possible aperture on your lens, how could your foreground possibly be sharp? Yet, if you look at galleries online, you’ll see countless photographers capturing perfectly sharp photos of a landscape underneath the night sky. What techniques are they using? In this quick guide, I’ll lay out a few useful tips for capturing sharp landscape photos at night.
1) Use the widest possible lens
Wide lenses have significantly more depth of field than telephoto lenses. Ultra-ultra wide lenses take this fact to the extreme.
It’s easy to think of, for example, a 24mm lens and a 12mm as falling into the same category of wide-angles. After all, both of them have fairly large depths of field. In reality, though, the differences are vast. When your focal length cuts in half, you can use two full stops wider of an aperture and get the same depth of field. That’s the difference between f/4 and f/8, or f/5.6 and f/11.
So, to get good depth of field at night, you’ll want to use the widest possible lens. With a 14mm lens set at f/2.8, for example, you can get quite a bit of the image in focus — from roughly five feet to the horizon, depending upon the amount of sharpness you’re trying to capture in your stars and foreground.
Ultimately, then, the main “secret” to capturing sharp photos at night isn’t a secret at all. If you use ultra-wide lenses, you can maintain wide apertures like f/2.8 or f/2 and still capture enough depth of field. At night, when you’re fighting for every photon, that’s a huge advantage.
Still, sometimes, it isn’t enough. The next techniques are intended for situations where even ultra-wide lenses still don’t give you the depth of field you need, and you’re forced to use more extreme methods.

2) Use a smaller aperture
If you’re capturing a landscape with a particularly large depth of field, you may want to use a smaller aperture.
Really? Since one of the most difficult parts about nighttime photography is capturing enough light, this one may seem counterintuitive. Why would you use a smaller aperture when you need more light, and you paid so much for your lens specifically because of its wide aperture?
Yet, for nighttime landscapes with a large depth of field, this may still be your best option.
Consider the Nikon 24mm f/1.4, for example. At night, focused on the stars, its depth of field is razor-thin at f/1.4. This is one situation where stopping down to f/2 or f/2.8 may be preferable, solely from the perspective of depth of field. Although you will need to raise your ISO accordingly (or brighten the photo in post-processing), this tradeoff will be a necessary evil.
The other benefit of smaller apertures at night is that you’ll improve your image quality, particularly for stars in the corners of your images. Even the best ultra-wide lenses tend to perform poorly at their largest apertures. When you stop down, even slightly, you could reduce aberrations in your photo and capture a noticeably sharper shot.

3) Consider focus stacking
Finally, one major tip for getting sharp photos at night is to use focus stacking to your advantage.
Focus stacking is a useful concept: You take several photos, each with a different part of the photograph in focus, then combine them in post-processing software like Photoshop or Zerene Stacker. The resulting photograph will be sharp from the foreground to the horizon.
At night, it’s no surprise that focus stacking is a useful technique. If you have to choose between a sharp foreground and a sharp night sky, choose both! Just take one photo where the foreground is sharp, and one where the stars are sharp, and combine them in post-production.
Unfortunately, it’s not always that easy. Focus stacking at night can be very difficult — though not impossible. There are two different types of focus stacking that photographers use for situations like this. I’ll describe both of them briefly below:
3.1) Focus stacking, method one
The most obvious way to stack focus at night is simple: You take a series of photos from the stars to the foreground (or the foreground to the stars), all using a wide aperture, and then combine them in post-processing.
This method, however, can be challenging to do successfully at night. If you’re using extremely wide apertures (something like f/1.4 or f/1.8), you may need more than a dozen photos in order to create a successful blend in post-processing, since your depth of field will be so thin.
In particular, you’ll need to watch that you don’t change your focus point too much from photo to photo. Otherwise, you may end up “skipping” a slice of the landscape — leaving part of the final image irreparably blurry.
Nighttime photos don’t always stack well in post-processing software, either. If everything is very dark, and there isn’t much detail, you may find it difficult to blend the photographs successfully. This problem is even worse if anything in your photograph is moving from shot to shot, such as tree branches or leaves rustling in the wind.
Nevertheless, this is still a common way to stack focus at night, and it certainly works for some scenes. However, there is another method of focus blending that many photographers employ, particularly for nighttime photography scenes, to get around some of these problems. It doesn’t always work well, but, for certain images, it can be very useful.
3.2) Focus stacking, method two
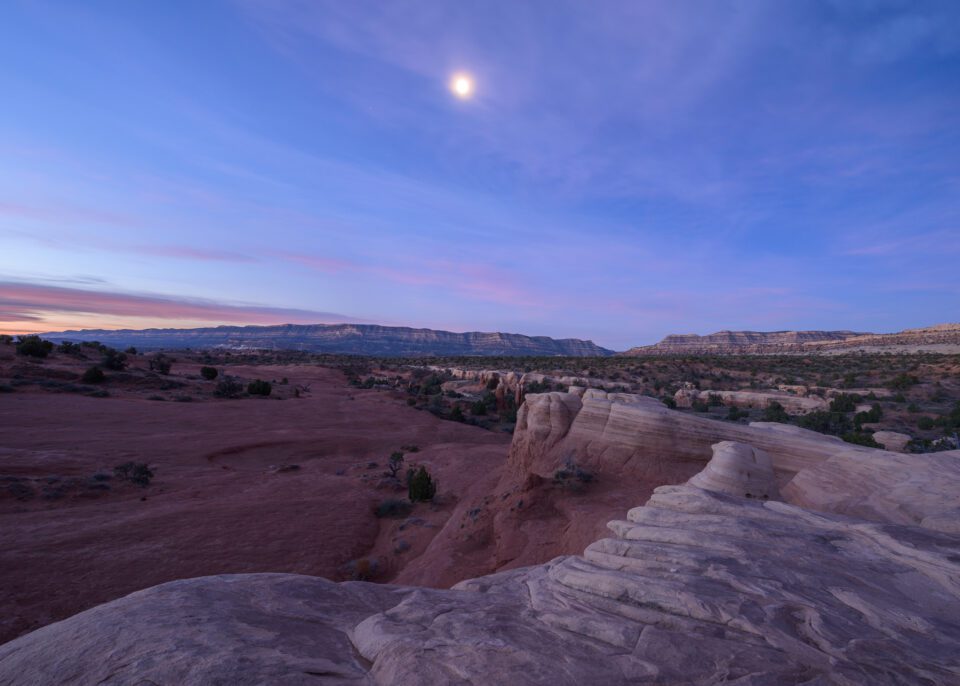
At first glance, the second type of focus stacking seems pretty unusual: You take one photo right after sunset, when the sky is still moderately bright, using smaller apertures like f/8 or f/11. Then, without moving your tripod, wait an hour or two until the stars are visible. Finally, take a photo focused on the horizon, using the widest aperture on your lens. In post-processing, blend these two photos together for a seamless composite.
Personally, I try to shy away from this method for a few reasons. On one hand, it takes a lot of time and dedication; realistically, you can take only one such photo per night. Plus, if your goal is to enter this photo in certain competitions or exhibitions (or just take realistic photos in the first place), this sort of composite may not be acceptable. Finally, — and, for me, most importantly — photos taken with this method are much less likely to look realistic. If you see the Milky Way over what is clearly a sunset scene, it can make the image look very strange.
Still, if you do choose this method, there are some benefits. Normally, it can be very difficult to capture good detail in your nighttime foreground unless the moon is bright; this method solves that problem. Done well, too, “blue hour” lighting actually can look quite natural under a Milky Way; it’s just hard to do well, and it takes quite a bit of practice. Finally, the image quality from this method is top notch, since you can capture both the foreground and the night sky at their ideal settings (though things may look odd if the foreground has far less noise than the sky, so you may want to use similar ISOs for the two shots). It’s certainly a viable technique, although you should take care when you use it in the field.

Ultimately, focus stacking — both methods — should be something you keep in the back of your mind, even if you don’t use them very often. I’ve only focus-stacked my nighttime landscapes a handful of times, but I was very glad to have this technique at my disposal when I did.
If Milky Way photography is your game, I’m sure that you’re already very familiar with the pros and cons of focus stacking at night. If you’ve never tested it out yourself, it’s certainly worth having in your toolbox — and, in fact, may be the only viable way to capture some scenes.
4) Conclusion
There is no easy way to capture enough depth of field at night, but there are — like always — some techniques that can help out along the way.
The easiest of all is just to use an ultra-wide lens. To get the greatest possible depth of field, anything wider than 20mm is ideal.
However, that method will only take you so far. In certain landscapes, you’ll need an even wider depth of field, and that doesn’t leave you with too many options.
On one hand, you could potentially use a smaller aperture, which obviously would help. At the same time, small aperture values restrict the already-miniscule amount of light that reaches your camera sensor. This will make noise more obvious in your photos, reducing their image quality.
So, if you have no other option, you may need to stack focus from multiple photos in order to capture something that works. There are two types of focus stacking at night, and both can work quite well: capturing several photos in succession at wide apertures, or capturing a single photo at “blue hour” for the foreground and a single Milky Way photo at night.
All this may seem like a lot of work just to get a small payoff — more depth of field — but, at night, enough depth of field is crucial, and not particularly easy to attain. It’s nice to have these techniques at your disposal when you’re photographing the night sky, since you never know when you’ll need to use them for your next shot.
