Want to shoot macro, but can’t afford the big ticket prices for a “real” macro lens?
Read on to see how you can turn your little 50mm f/1.8 lens into a sweet macro photography toy for under $20 (if you already own the lens)
I found out about this little known, secret technique, over a year ago but only recently got all the pieces to actually do it right and create some images. It also took me a while to find the right lens reversal ring, so to save you time I’ve linked to all the major brands below.
Pros and cons of 50mm lens reversal
There are some good and some challenging things about using this technique. Here’s a list of some of the pros and cons.
PROS:
- really inexpensive to do especially if you already have a 50mm lens
- fun to play with super shallow depth of field
- great way to see if you like shooting macro and want to invest the money in a special macro lens
CONS:
- lens shoots wide opened (unless you have a lens with the aperture dial on the lens itself or you use DOF Preview to lock it before reversing the lens)
- super shallow depth of field, we’re talking tiny, millimetres so you need to be precise
- autofocus does not function so you focus by moving in and out until you find focus
- use of a tripod is challenging because of the above point
- is a little bit tricky to get the focus and exposure right

Macro magnification and other lens options
I’m already a huge fan of the 50mm f/1.8 lens and recommend you have one in your bag if you don’t already. I wrote about it in this article: Why a 50mm Lens is your new Best Friend on Digital Photography School. If you’re already on board with me you can do this little trick. It can actually be done with any lens but a 50mm will give you a 1:1 or true macro scale image. Long lenses will not give you as much magnification and wide angle lenses will give you more (28mm is about 3:1). All you really need to try it is a lens reversal ring that will cost you less than $20 and you’re ready to shoot.
Technique and tips
#1 It’s pretty simple to do this technique.
Once you have the lens reversal ring, attach it to the front of your lens and mount the lens backwards so the rear lens element is facing out. Take care not to damage the rear element while shooting or the electric contacts.
#2 Set your camera mode to Manual.
You will likely see “F00” where it shows aperture, that’s normal because it just means the camera can’t read the aperture from the lens.
#3 You can set your exposure using the camera meter but it may be a bit off. Check the histogram and adjust accordingly using the shutter speed or ISO to get more or less light.
#4 If you want a smaller aperture you can close down the lens but you have to first mount it on the right way around.
Set it to the aperture you want, say f/8. Press the Depth of Field preview button (check your manual if you aren’t sure where it is on your camera) and hold it down WHILE dismounting the lens from the body. Doing so will lock it at f/8.
#5 Focus by moving back and forth until you see something sharp.
If you have a focus rail tripod head designed for macro photography that may help.
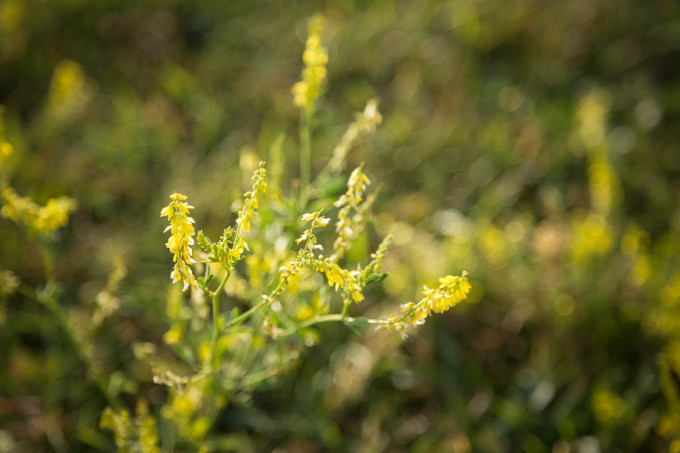
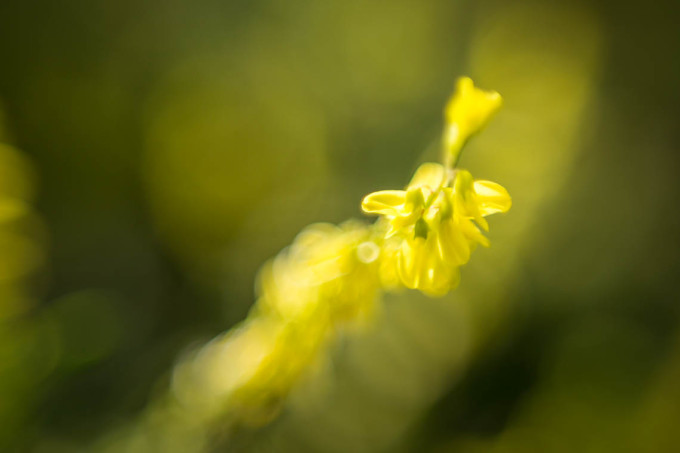
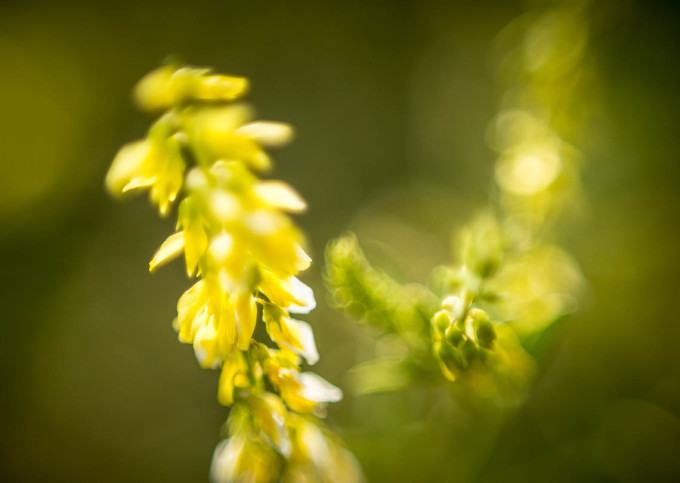
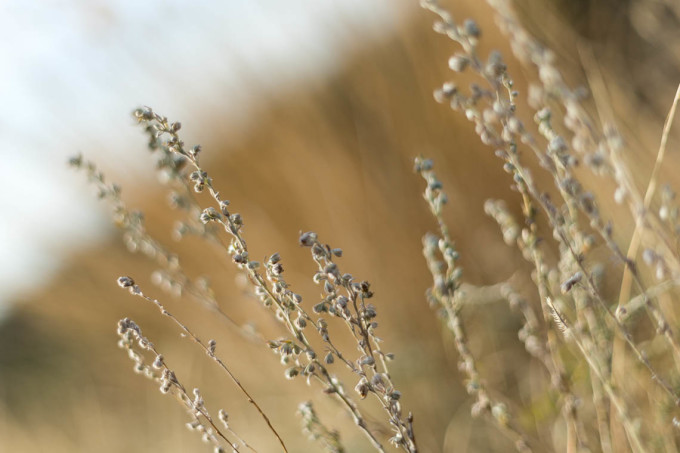
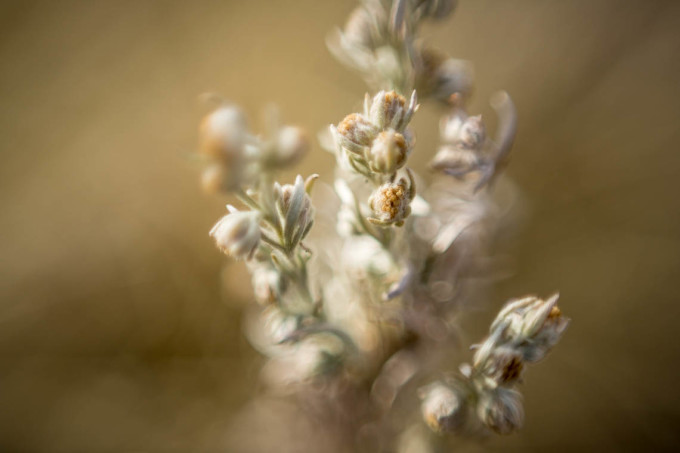
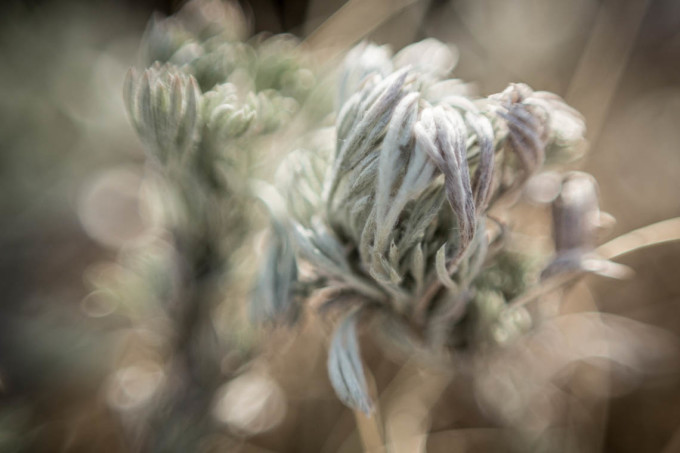
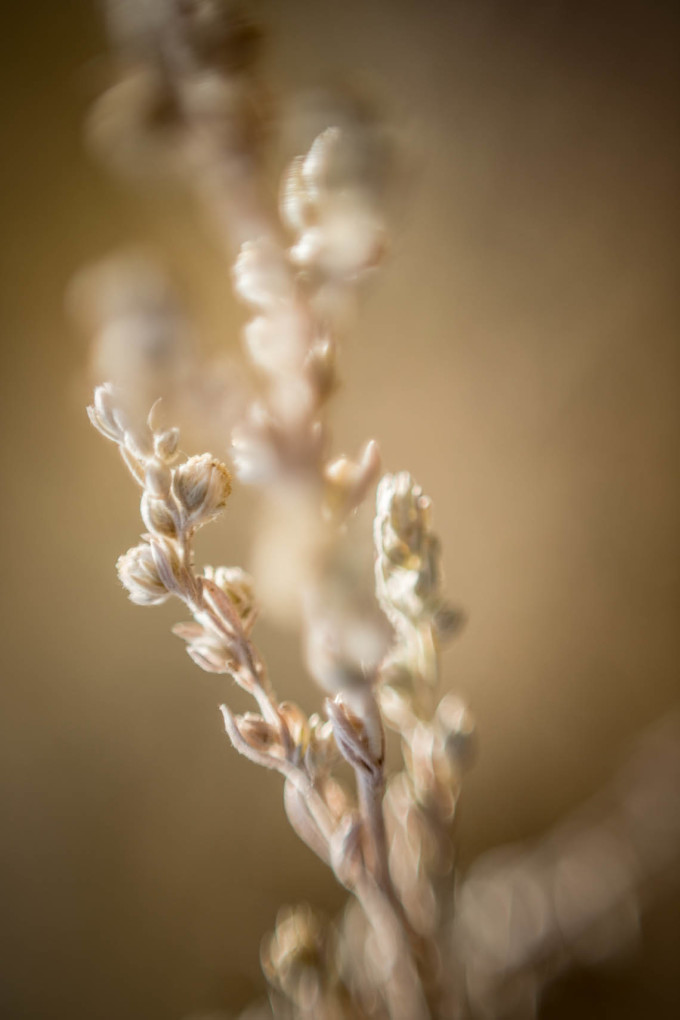
The following images are all shot in the same field of the same little plant.
Other options:
Another method of lens reversal which I haven’t tried yet is using two lenses.
Basically you mount one lens as usual on the camera. Then you take your 50mm and attach it to the front of the other lens.
The benefits are you have full control of the aperture for the lens mounted the right way and the one mounted backwards becomes a big close-up filter. Filters are another option for macro photography but they are usually of lower quality that most of the other methods.
Using a lens as a close-up filter gives you better optics. All you need to do this is a “coupling ring” or “coupler” to attach them firmly together.
List of equipment needed:
Canon
Nikon
Pentax
Sony

For more learning on macro photography
First read the Ultimate Guide to Macro Photography. Then consider reading my interview with macro photographer Don Komarechka
Up Close a Craft and Vision ebook by Andrew S. Gibson.
ACTION PLAN
If this type of photography interests you and you haven’t got a macro lens yet, why not give this try? What do you have to lose, $10 for a reversal ring? I say give it a go! If you’ve got some other tips for macro photography or have a great shot you’d like to share please do so in the comments below!
As always have fun and get out there doing photography!
Cheers,