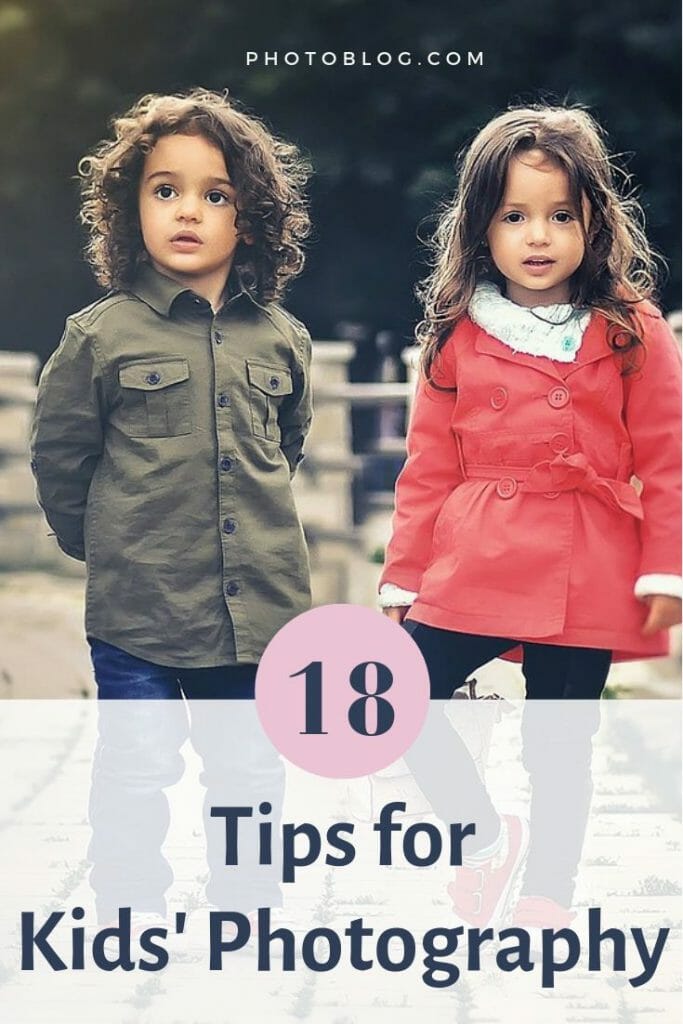
Who says you shouldn’t work with kids or animals? Kids’ photography is one of the trickiest but most rewarding genres of photography.
Once you’ve cracked it, you will have fabulous memories to treasure forever.
So you’ve bought that coveted DSLR, but where do you start? How do you take good photographs of children?
Never fear.
I have plenty of experience taking kids’ photography and I am here to share my top tips with you.
1. Choose the Best Kids’ Photography Lens
A zoom lens is a great place to start: it will allow you to be flexible and to zoom in or out depending on the action.
Children, especially young ones, move quickly so always choose a fast lens (a lens with a large max aperture like f/2.8) that can cope with that. My preferred lens is the 24-70mm f2.8.
If you want classic kids portraits (where the child is not moving), the prime lenses 85mm f1.8 or the 50mm f1.4 are fabulous options. Primes will work best with older children though–young ones don’t sit still for very long. So you may want to use a zoom to reach them without running around.
2. Camera Settings for Kids’ Photography
The number one mistake newbies make is to shoot in Auto mode.
Don’t be afraid to switch off the Auto mode on your camera; once you take control of shutter speed, aperture, ISO and white balance, you can be far more creative.
Especially with kids’ photography, at the minimum, you want to control the aperture and shutter speed. You will see why…
Related Article: Best Camera for Kids
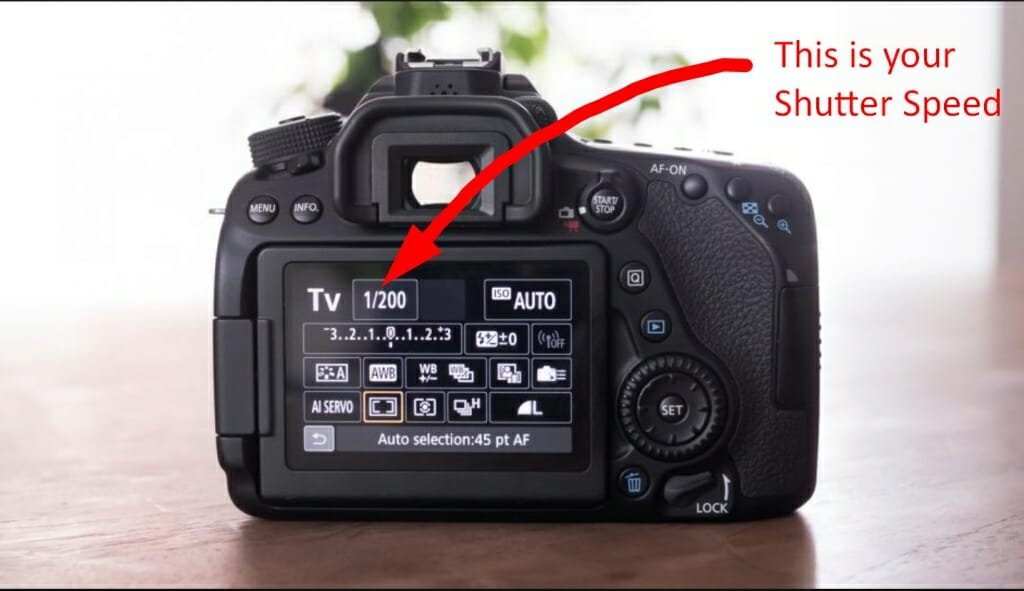
3. What Is the Best Shutter Speed for Kids’ Photography?
Shutter speed determines how long the shutter stays open once you press the shutter button to take a photo. So it determines two things:
- How much light reaches the sensor and
- Freeze action (fast shutter) or create motion blur (slow shutter) in an image.
Shutter speed is usually shown in seconds as 1/100s in the back of your LCD. The higher the number, the faster your shutter speed.
So which shutter speed should I use for kids’ photography?
It depends. Here are some guidelines to freeze action:
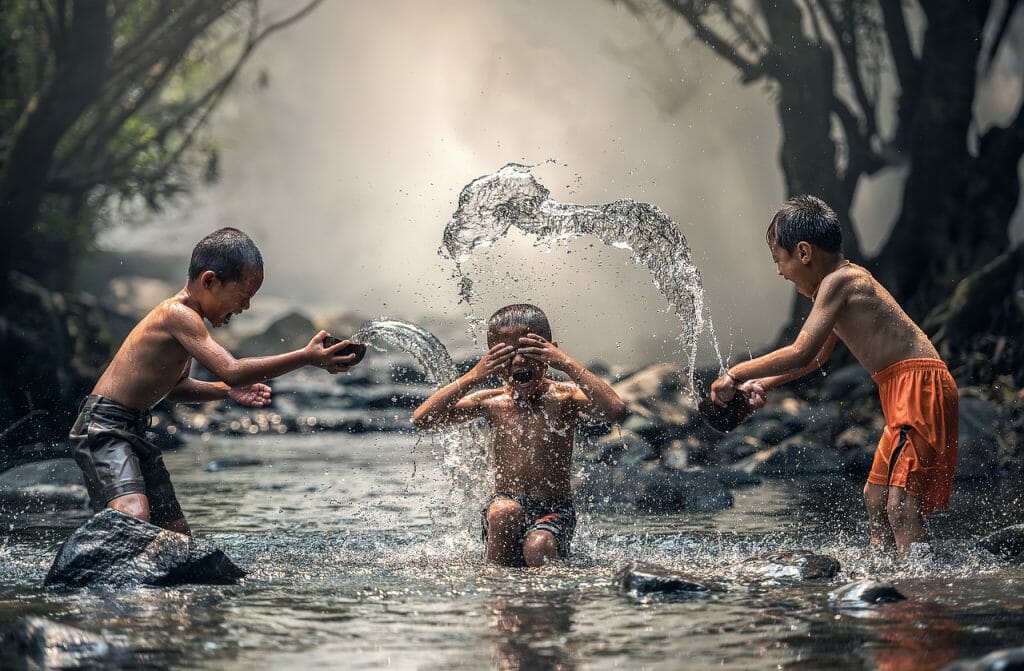
- If the kids are running around, use a faster shutter (1/400s or more) to freeze action.
- If there is more available light (bright days) you can afford a faster shutter speed like 1/1000 seconds without underexposing your shots.
- If it is a dull day, you might need a slower shutter speed like 1/80th or less to properly expose your photos.
- Don’t go below 1/60s, unless you have a tripod, as your camera will record vibrations (camera shake).
Shutter Priority Mode (Av) is a good place to start if you’re not confident in full Manual (M) mode. It will automatically set your aperture while you choose the shutter speed.
On the other hand, if you want to create motion blur, use a slower shutter speed.

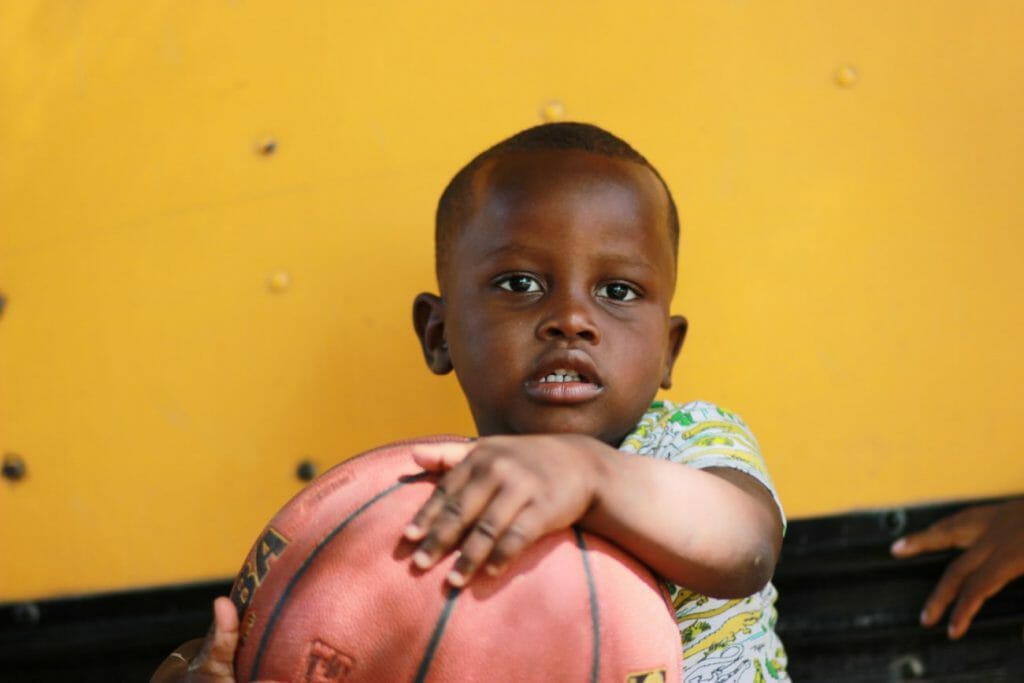
4. Use a Large Aperture to Isolate Your Subject
Aperture controls the depth of field, or blur, on your image. Blurred backgrounds (also known as bokeh) always look beautiful on kids’ photography.
It helps to isolate your subject and get rid of unwanted background distractions.
The lower the aperture number (f1.2 to f6), the more blurred your background will be. The higher the aperture number (f6 to f32), the more in focus your background will be.

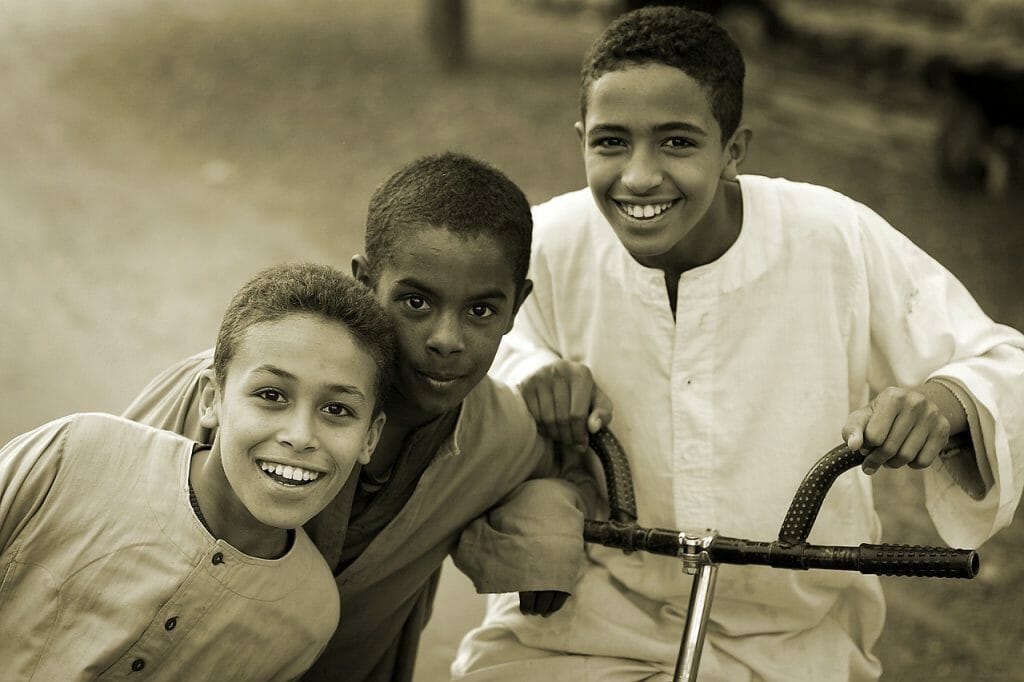
Aim for an aperture of f4 or lower to get that lovely bokeh effect. This works better with one to three subjects in your image. Ensure you get them all to stand at the same distance away from you, so everyone is in line and at the same focal length.
Pro Tip: If you have more than three subjects, aim for f6 to f8 and above to ensure everyone is in focus, especially if you have a larger group where people are standing behind one other.
This will prevent some of them being blurred out.
5. Keep Your ISO Low to Reduce Noise
The ISO (or film speed in film cameras) is the sensitivity of the image sensor to light.
I try to keep it low at 100 to 400 wherever possible to avoid grain/noise in my images–the sensor is less sensitive to light at these levels.
However, if there is not much light, you may be forced to go up to 600 or above. Be careful not to go too high, as once an image contains too much noise, it can’t be fixed in post-production.

Each camera performs differently in high ISO settings. Play with your camera to find out what is the max ISO you can get away with.
6. Adjust Your White Balance to Match the Scenery
Many parents complain that their photos have a fiery orange or cold blue cast to them. The reason is simple…
The white balance is not set properly.
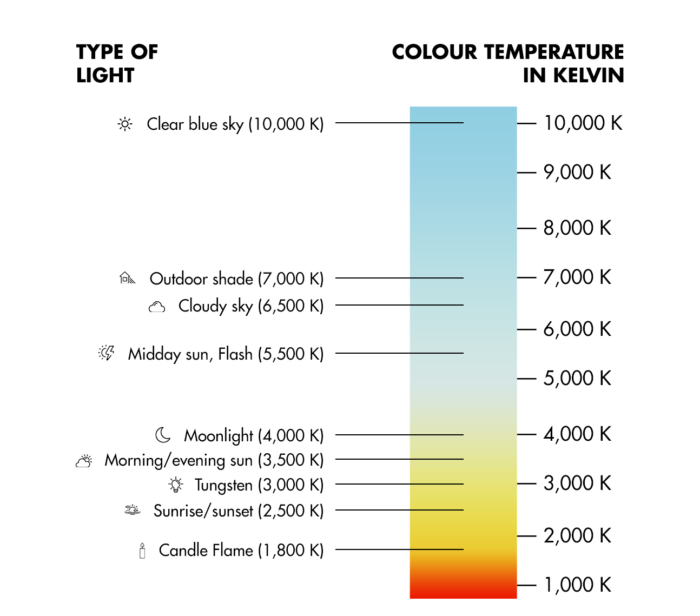
White balance instructs the camera what color temperature (measured in Kelvin) your light source is. By setting the correct white balance, you can avoid nasty color casts and ensures tones are natural.

There are pre-set white balance settings on your camera under the WB button. If you do not have a WB button, check for WB settings in your LCD panel’s control menu.
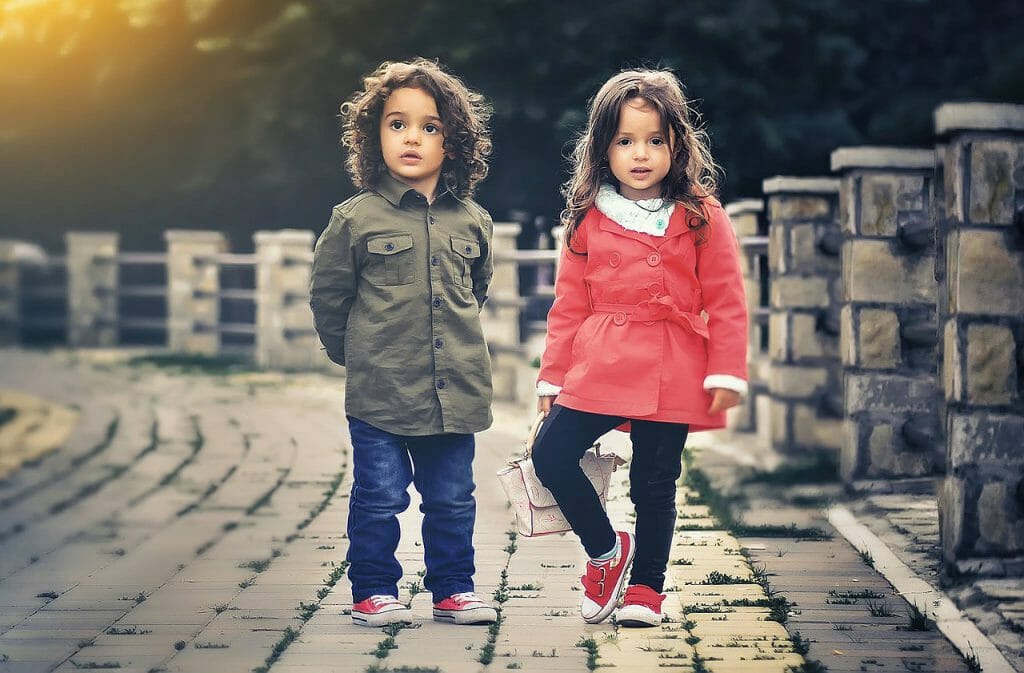
7. Best Kids’ Photography Locations
Keep it as simple as possible. Outdoors is my favorite place to take kids’ photography as there is usually more available light than indoors.

Choose a favorite family spot such as a local park, woodland, or even your back garden. But make sure it is somewhere within the child’s natural environment, so they are relaxed.
If you choose to shoot indoors, find a well-lit room. Make sure there is plenty of available light from windows and adjust your aperture/shutter speed/ISO accordingly.

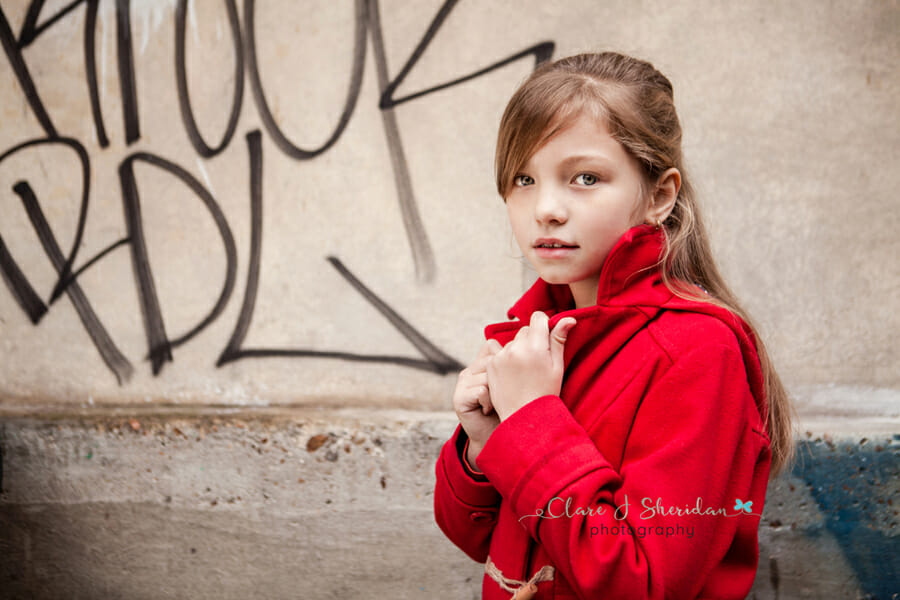
8. Find Textures for Backdrops
Use your natural surroundings to your advantage.
Think outside the box: is there a lovely brick/colorful wall that would make a fabulous backdrop? Or are there some beautiful trees/flowers?
Look for interesting textures. Sometimes graffiti can work to great effect too (but make sure the text is not a rude word or picture). Be creative–the only limit is your imagination!
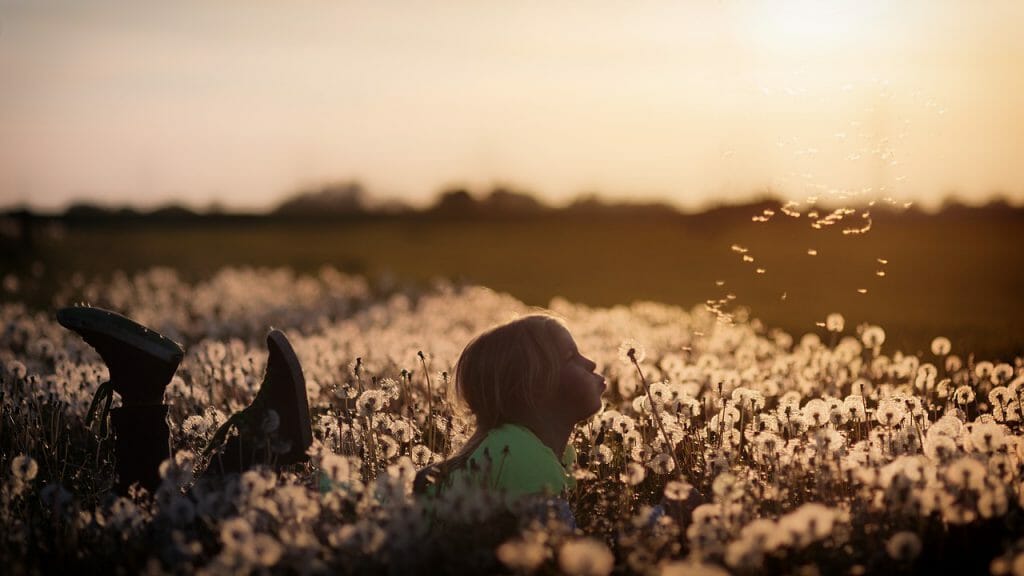
9. Best Time to Shoot Kids’ Photography
Avoid shooting in the middle of the day, as this is when the sun is at its strongest. If the sun is too bright, it can cast harsh shadows on faces–you want to avoid this.
Early morning or late afternoon usually offers the best light. The ‘golden hour’ shortly after sunrise or before sunset, gives images a beautiful golden hue.

Cloudy days are also great because they give lovely, even lighting.
Because they act as diffusers.
On dull days you can add some sparkle and a bit of extra light to faces by using a white or gold reflector. Hold it under your subject (and below your cameras so it’s not in the shot) to add a catch light to the eyes.
If the day is too sunny, seek some shade where the light will be more even.
Pro Tip: Watch out if the sun is behind your subject, as it may bleach out the background in your image. If this happens, seek an alternate background or use exposure compensation to adjust exposure.
10. Take Advantage of Rainy Days
Don’t let a little rain dampen your spirits!
A bit of bad weather can be fabulous for children photography: raincoats, wellington boots, and umbrellas make wonderful props.
Plus who doesn’t love to splash in puddles? And they offer great reflections of your subject if the water is still.
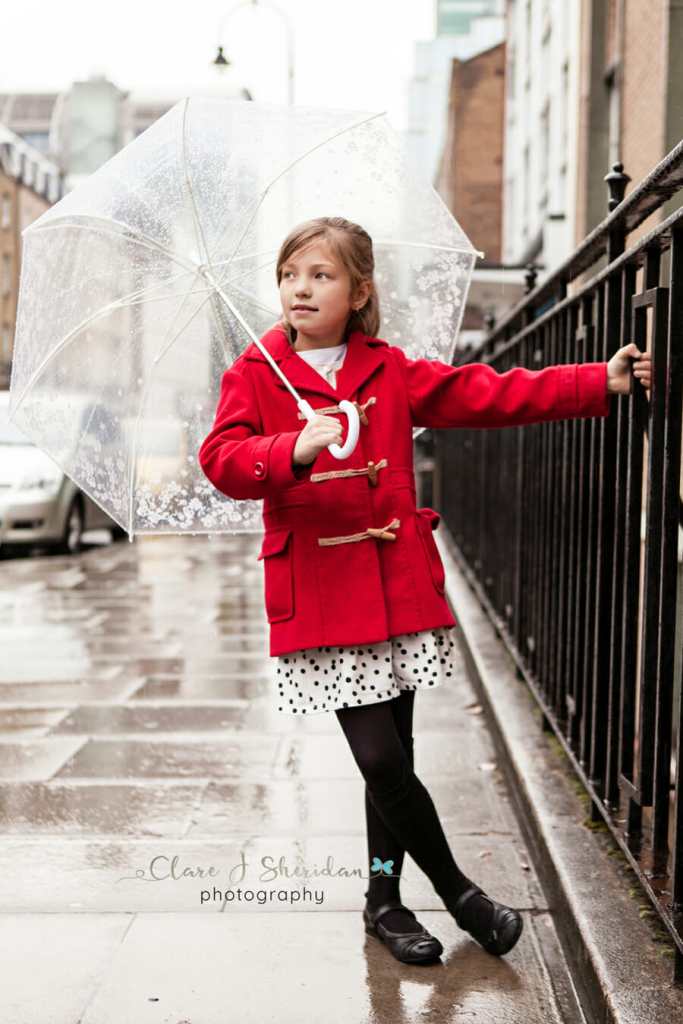
Don’t forget to protect your camera equipment though, as water and cameras don’t mix–you can buy rain protector covers for most DSLRs.
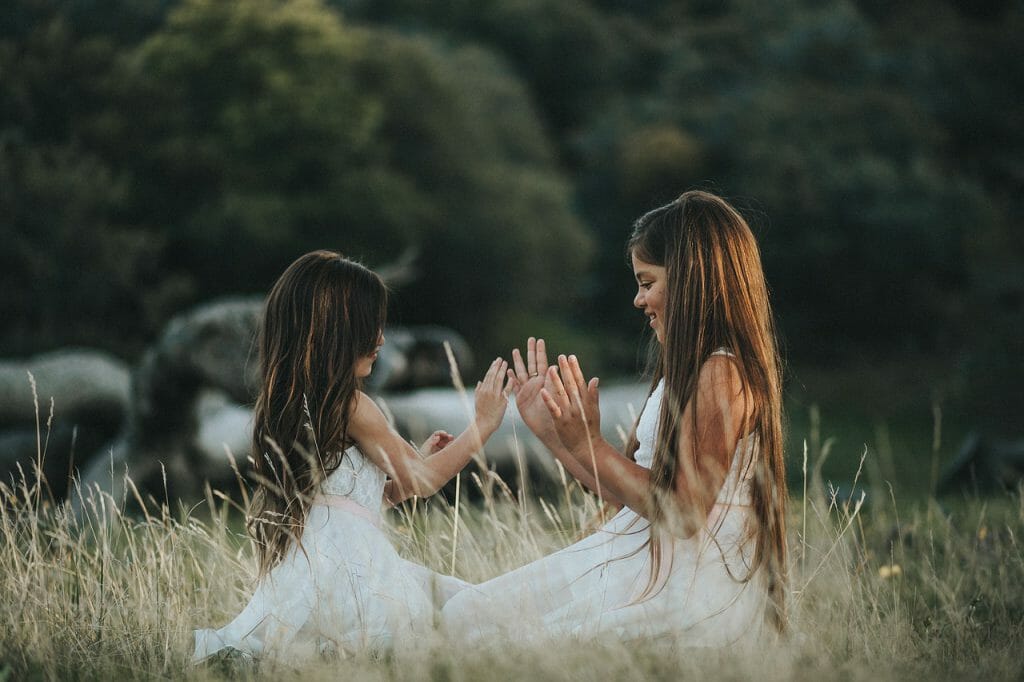
11. Best Outfits for Kids’ Photography
What to wear is often a daily battle with children. Here are my four tips for children photography success:

- Options: Have at least 3 outfits on standby per child, even if it’s simply a change of sweater, coat or cardigan. This will mix it up a little and give you a nice variety of images to choose from once you’ve finished;
- Not too distractive: avoid overly patterned, garish garments. If clothing is too bright or busy, the viewer’s eye will automatically migrate to that, taking the attention away from the child;
- Colors: color co-ordinate whenever possible. If there is more than one child, clothe them in similar colors; and
- Beware neon colors: they can cast nasty color onto the children’s skin, giving ugly skin tones.

12. Be Prepared with Props
Don’t just focus on the child’s face. Bring plenty of props such as a favorite toy, Teddy bear, book, or tiny shoes, etc.
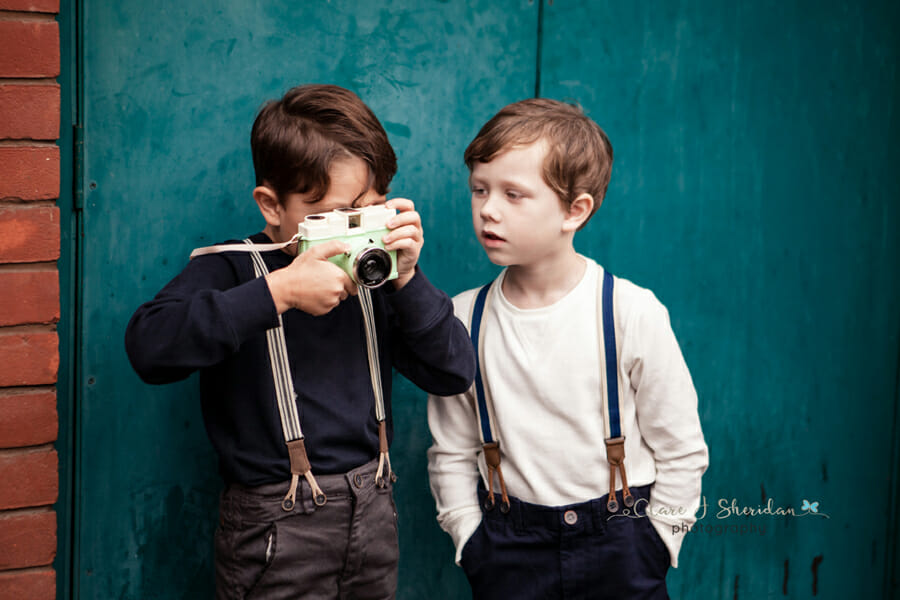
Focus on the child with one of those items, or just the item itself, so that they can look back in years to come and remember their cherished childhood possessions.

Don’t be afraid to zoom in. Little details such as tiny hands or feet, or cute little shoes, all make for great shots and memories.
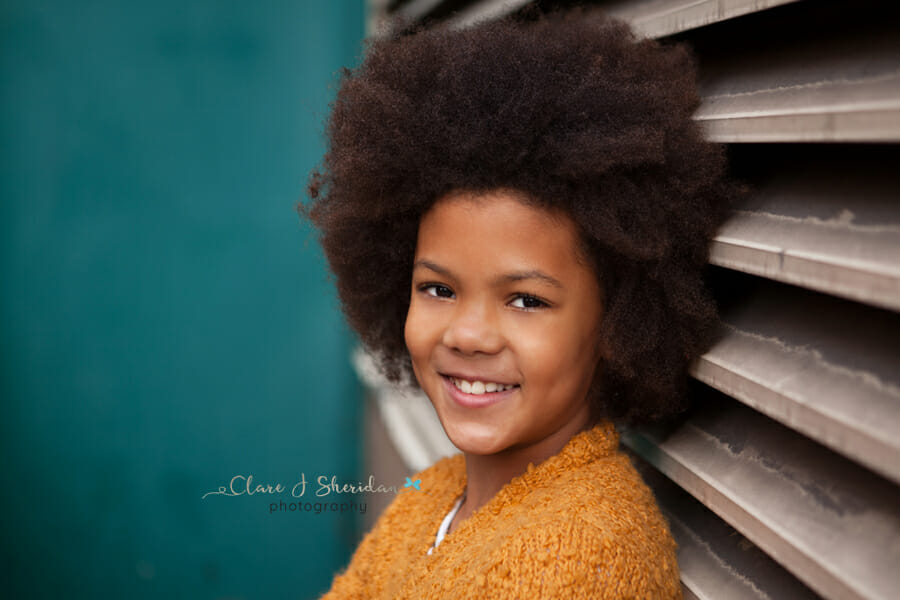
13. Shoot at the Child’s Eye Level
Make sure you crouch down low to the child’s eye level and shoot from that angle–it gives a lovely perspective.
If you get down to their level, it also gives you a chance to connect with the child and helps to put them at ease during the shoot.
14. Shoot Both Landscape and Portrait Orientation
Take a good mixture of images–portrait and landscape. Don’t forget that head and shoulders shots work just as well as full body shots.

Pro Tip: Take any group shots first, as attention spans wane after a very short time, especially in young children.
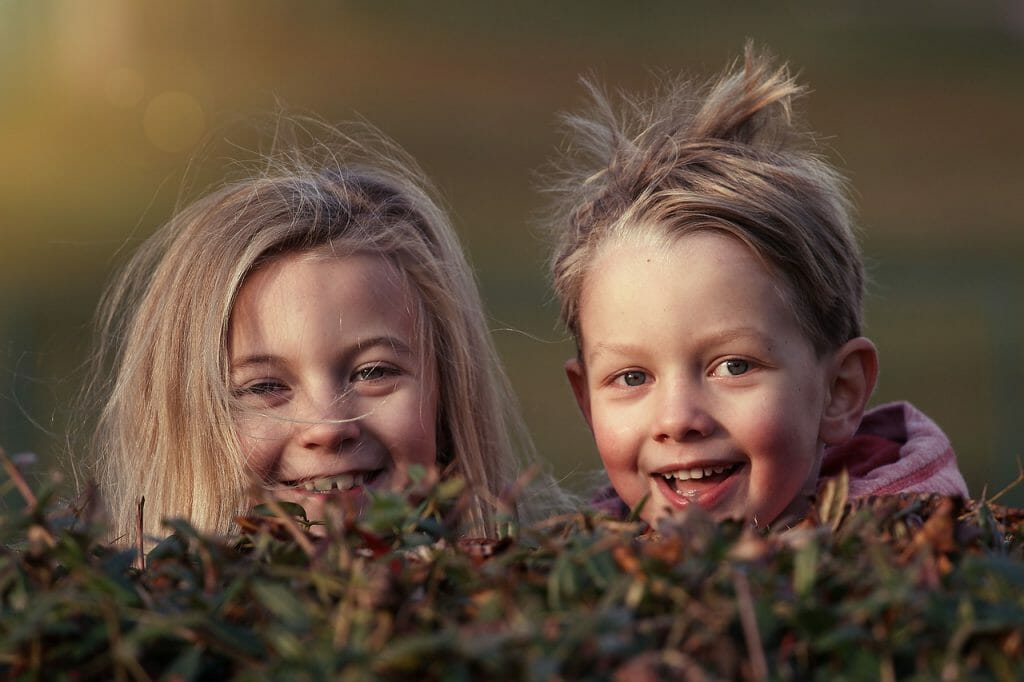
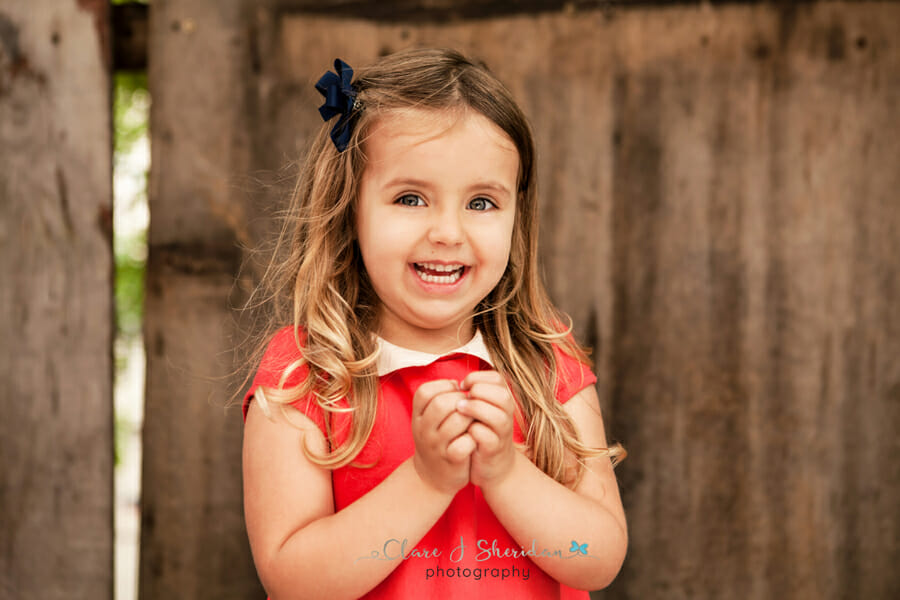
15. Focus on the Eyes
Always focus on the child’s eyes. We as humans are hard-wired to look at the eyes in a photo. So make sure they are in focus.
I usually use the focus and recompose method to grab focus from their eyes.
You can also use the back button focus to easily grab focus from eyes—especially if your subjects aren’t moving much.

16. Get Their Attention
Keep their attention by talking to them; ask them questions and play along with their games.
Get them to talk about their favorite things and you will see their little personalities shine through. What is their favorite color, film, game, or cartoon character?

Hold up their favorite toy underneath your lens to direct their gaze, or have another adult stood behind you getting their attention towards the camera.
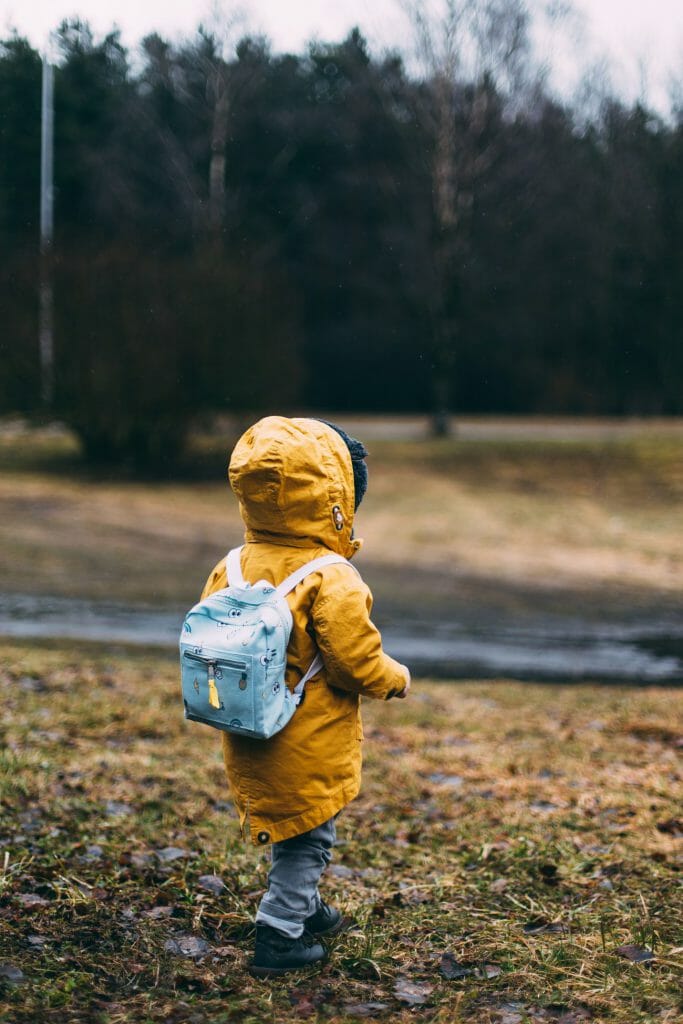
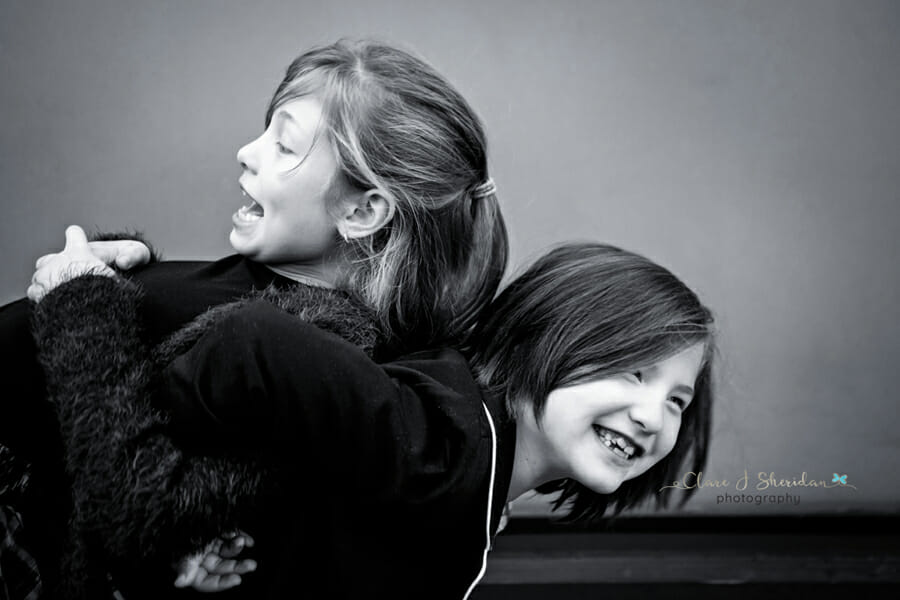
17. Break the Rules
Kids don’t have to face the camera: let them play and be themselves. Often the best candid shots come when children are unaware the camera is on them.
The subject doesn’t have to be sat centrally in the camera frame. Use the rule of thirds to position your subject off to the sides (for landscape shots), or even towards the top or bottom of your frame (for portrait shots).

Cheese is cheesy–don’t worry about making them smile; often the best shots are looks of surprise, concentration or even frustration! Of course, smiling and belly laughs are good too.
18. Patience Is Your Best Friend
Children work to their own timetables, so patience is your best friend–don’t rush them.
Don’t force them to pose–kids know when to dig their heels in and be stubborn. Although who said a little bribery with their favorite sweet doesn’t go amiss here and there?
Plus, who doesn’t love a child’s laughing face covered in candy?

Let them play. A fast shutter speed is key to capturing action shots, such as them running or jumping. You’ll need a shutter speed of 1/400th upwards to freeze-frame those moments–don’t forget to adjust your ISO and aperture accordingly.
Enjoy Snapping the Kids
Above all, enjoy yourself and keep snapping. It will be precious time well spent with the kids, plus you will have created some treasured memories to look back on.
As long as you and the children enjoy it, that is what counts. And remember, practice makes perfect!
Related Article: Family Photography Tips
Now that you’ve learned these tips for stunning photos, you’re a better photographer.
Guaranteed.
But the fact is, the journey doesn’t stop there. There are more tips, tricks, and secrets–all of which will help you take gorgeous photos.
And if you want to learn all of these secrets, I recommend you sign up for the PhotoBlog newsletter. We send our subscribers all sorts of great stuff–including the tips, tricks, and secrets, straight from the experts. All to help you capture world-class photographs.
Did I mention that it’s all totally FREE?
(Oh, and we’ll send you a natural lighting cheat sheet–designed to help you use light in ways you’ve never considered.)
So to start taking stunning photos, enter your email: