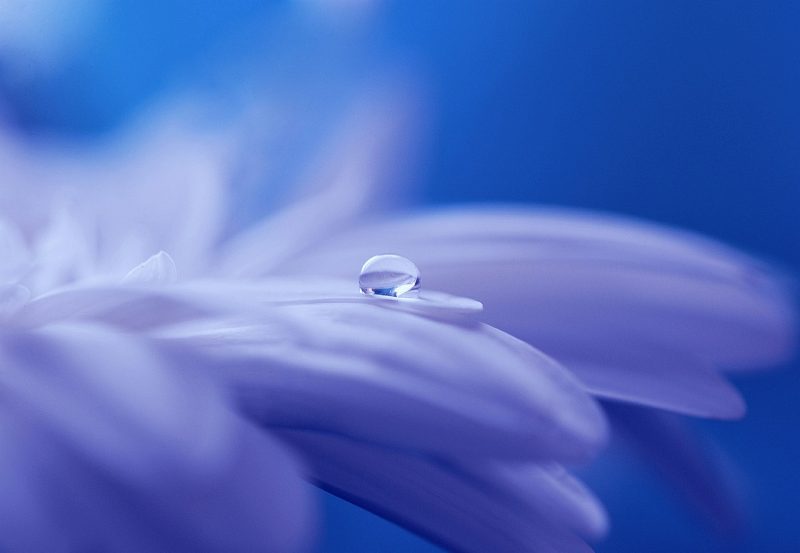
Photo by Soorelis / CC0
Macro photography is the art of not only the close-up but the extreme close-up as well. In this style, we use precision aperture control and sometimes specialized gear to take minute details and make them loom large in our digital sights. Let’s explore how to take sharp, stunning close-ups of a variety of subjects together.
Aperture is the Key Consideration
Let’s get slightly technical for a moment. Aperture is the foundation principle for macro photography. Aperture is also one of the three main foundations of the Exposure Triangle. The aperture setting determines how wide open the hole in the camera lens is that lets in light. But this can be a little confusing at first. Counterintuitively, the larger the aperture number, the SMALLER the hole becomes.
In the photo below, the lens has been set to a high aperture number, possibly f/16 or more. If we decided to set the lens to a lower number like f/2.8, the hole would become larger. But the largest possible setting for your lens will depend on the maximum aperture of that lens. If you’re using a standard kit lens it probably says something like 18-55 f/3.5-5.6. This means the maximum it opens is f/3.5, which really isn’t all that wide. In macro photography, we will almost always want to use lenses with wide open apertures. Therefore we want settings below f/3.0 when shooting up close and personal.
→ Related reading: Why Shoot in Aperture Priority Mode?
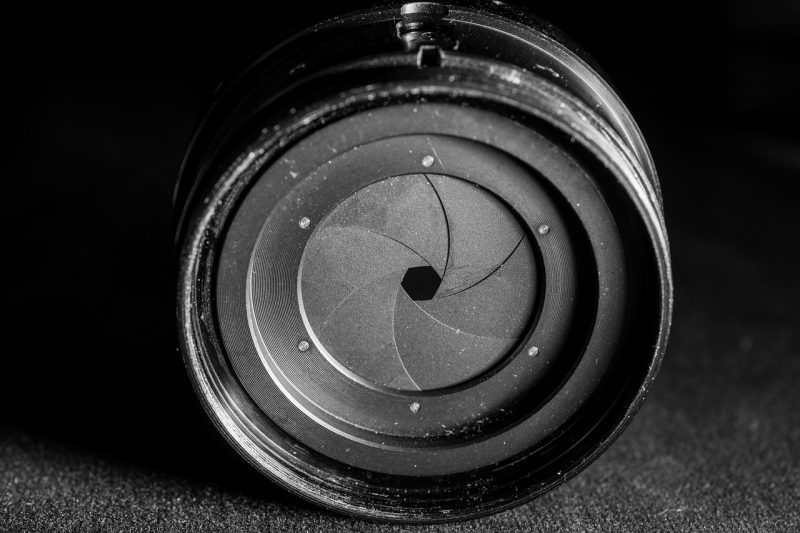
Photo by Josch13 / CC0
A nice open aperture means that the depth of field is reduced. In case you’re unaware, the depth of field is the amount of a scene that is in sharp focus. Take a look at the photo below. Notice how the dewdrop in the very center is perfectly in focus while the others in both the back and foreground are out of focus. This is an example of a very narrow depth of field. If instead all of the dewdrops were in focus, it would be said to have a very wide depth of field. Depth of field control is very important in composition because this shallow depth of field makes the subject stand out even more from the background. Your attention is focused on the single dewdrop as if your eye were perceiving it naturally. And the rest of the scene is de-emphasized by the out of focus blur created with the wide open aperture.
→ Related Reading: How to Create Beautiful Bokeh in Nature Photography
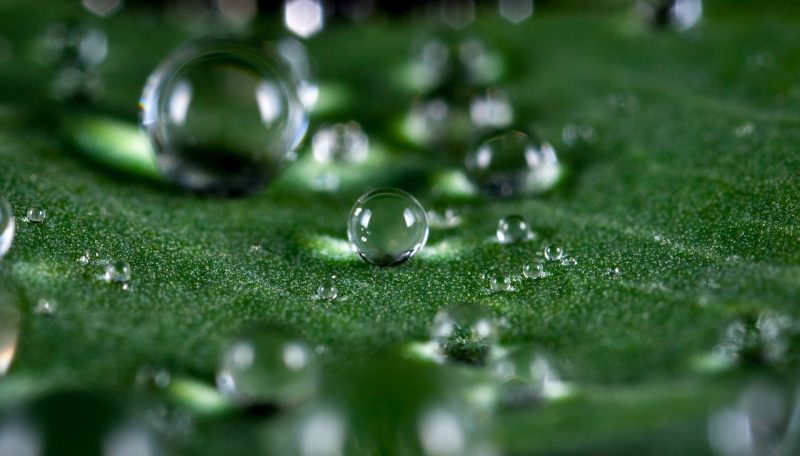
Photo by ekamelev / CC0
So What Gear Do I Need?
Macro photography is sometimes very gear-heavy. If you want to take a picture like the one of the jumping spider below, you may need an entire trunk full of equipment. A tripod and remote shutter are the first tools to consider. These provide the best possible image stabilization as any amount of hand shake will ruin the fine details we’re trying to capture. A multiple flash unit also helps here for perfect lighting control. Some macro photographers prefer a softbox over their flash to create a more diffused light along with a single flash to create good exposure.
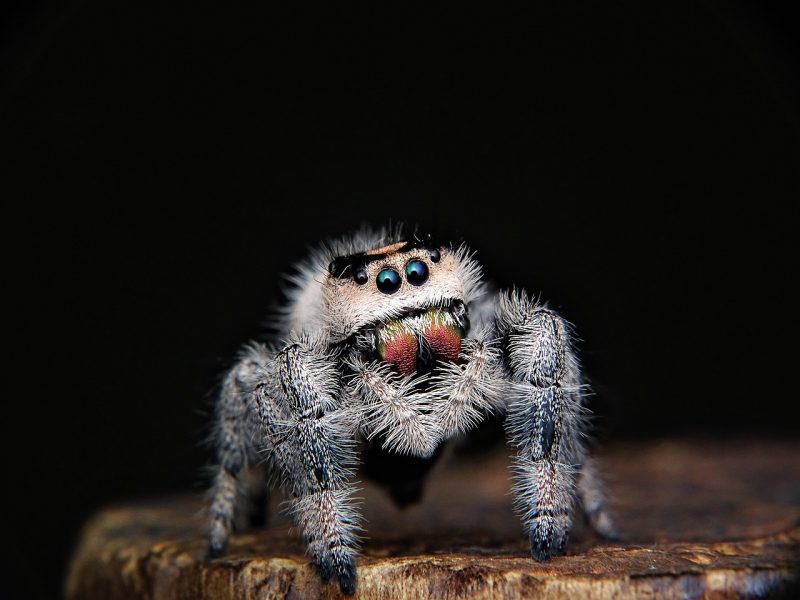
Photo by macrotiff / CC0
Reversal rings are also becoming more and more popular. A reversal ring is fortunately very cheap and is a tool that photographers can use with nearly any lens. Reversal rings let your lens mount backward onto the camera body instead of in the usual manner. This gives us highly increased subject magnification at the cost of autofocus and aperture control. Therefore, prime lenses are a good choice to use with a reversal ring.
Lens extension tubes are another possibility. You’ve probably noticed that when taking a closeup you can only get so close to your subject before the camera can no longer properly focus. Extension tubes create a larger space between the back of the lens and the image sensor. This gap allows you to focus from much closer distances. The least expensive extension tubes block electronic communication between your lens and camera, which means no autofocus or aperture control. The more expensive tubes allow for full lens control despite the increased distance.
And all of this isn’t even taking into account dedicated macro lenses which are the best option for true macro photography lovers. Macro lenses have optics optimized for peak sharpness at the minimum focusing distance, whereas most lenses are the reverse. While all of these tools aren’t needed, think about doing some shopping if you think you’ll be spending a lot of time taking close-ups.
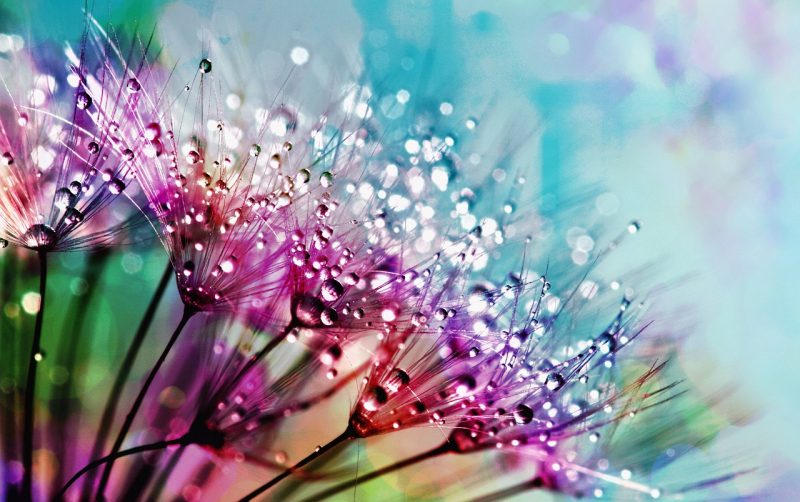
Photo by InspiredImages / CC0
Digital Macro Techniques
There are some great software techniques that work well with macro photography. If you take a look at your camera’s user manual, there’s a good chance your DSLR or Mirrorless camera has Focus Bracketing as a feature. Focus bracketing allows you to take a preset series of photos where the plane of focus is changed between each picture. This gives you a series of images with different areas in focus. If you used a tripod, and your subject didn’t move, the photos are otherwise identical. The next step is to combine the images that have the in-focus portions you want. Most photographers will need to use focus stacking software like HeliconSoft.
Many of the newer interchangeable lens cameras on the market have focus stacking built-in. The camera will first focus bracket the scene as above. The user then chooses the focus points or images that they want to stack. The camera will then merge them into a single image. If you only have focus bracketing then you’ll have to take your collection of photos and import them using your focus stacking software. But for precision depth of field control, focus bracketing and stacking are fantastic ways to create stellar macro photographs.
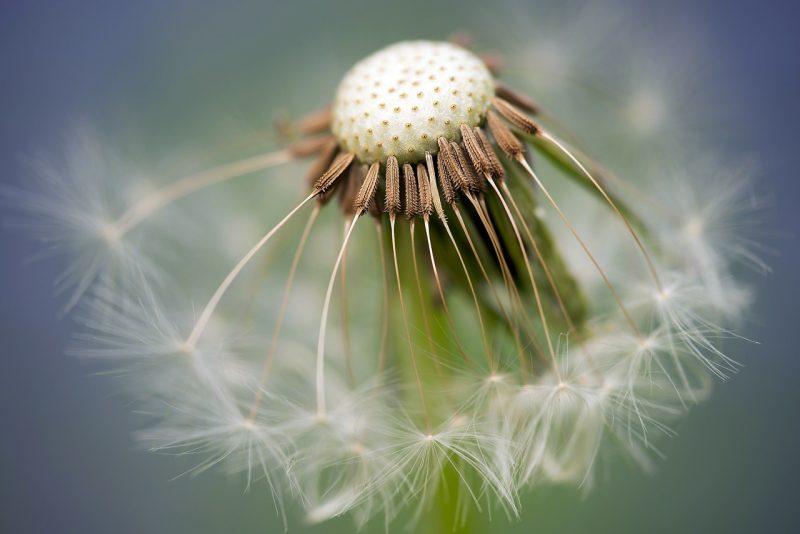
Photo by miniformat65 / CC0
Conclusion
There’s never a shortage of possible subjects when it comes to macro photography. Photos can be created using tons of gear for capturing every possible detail. But even lucky, unplanned opportunities in nature can make for great photos if you can get close enough to your subject. A final tip for lovers of small critters to remember is to try going out early in the morning. The cool air and morning dew slow the movements of cold-blooded creatures. This gives you a much better chance of getting close without scaring them. So use your new knowledge of aperture and macro photography to get up close and personal today!