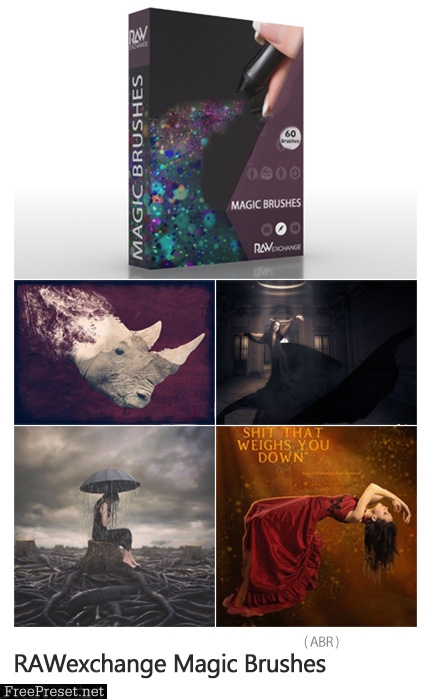
RAWexchange Magic Brushes
60 Photoshop bokeh brushes, dust particles, smoke, bubbles and … | 84.7 MB | ABR format
In this section, you can see 60 Photoshop brushes, including bokeh, dust particles, smoke, bubbles, etc., which are placed on the site for download in ABR format. You can use these brushes to create beautiful artistic images.
RAWexchange Magic Brushes
What if you could apply complex textures as easily as you can paint with brushes? Adding elements (especially textures like smoke or dust) involves using a premade textures and applying it onto the image. This is not a difficult process, but it takes time.
We know that a brushes has somewhat of a bad name,. and not many use them for creating stuff. Sure, they are great for embedding a watermark ,or a logo, or even a vignette on a finished photo. But if you plan them right, Brushes can be quite a powerful tool and do much, much more. A brush set with the right properties for continuous painting can work wonders. (and our brushes do work wonders)! Especially if you are working with a graphic tablet.
This package contains 60 brushes. But they are not just plain stamps, each brush is packed with pressure sensitive settings for graphic tablets. The pressure The pressure applied controls the shape, scattering, transparency, color and direction of of the brush.
Pressure sensitivity is pure genius. It give you a lot of control and you can, for example, create many different looks without searching for stock photos.
- You can create a whirling column of dust around your model
- Or you can raise a storm of rain, hail and snow in a move of wacom pen.
- Or you can create a stunning Bokeh just by waving a bokeh brush around.

The Brush tool allows you to paint on any layer, much like a real paintbrush.
It’s easy to use the Brush tool to paint in your document. Simply Import The Brushes, locate and select the Brush tool from the Tools panel, then click and drag in the document window to paint. You can also press the B key on your keyboard to select the Brush tool at any time.
Brush Size: If you want to make the brush larger or smaller, click the Brush Picker drop-down arrow in the Control panel, then adjust the Size slider. You can also press the bracket keys [ ] to quickly increase or decrease the brush size at any time.
Hardness: If you want to make the edges of the brush harder or softer, you can adjust the hardness from the same drop-down menu. A harder brush will have clear, defined edges, whereas a softer brush will have blurry, less-defined edges. For most situations, we recommend setting the hardness to 50% or less because it will help to make individual brush strokes less obvious.
Brush Tip: If you want to create a unique effect, there are different brush tips to choose from in the same drop-down menu. Some of these are designed to mimic real-life drawing tools like pens and markers, while others are simpler.
Opacity: By default, the opacity of your brush is set to 100%, meaning the brush will use the highest intensity. However, you can reduce the opacity of your brush to make it less intense.