In this article, I’ll break down the different shooting modes for you and explain what your camera does in Manual Mude, Aperture and Shutter Priority Modes. There are certain times when shooting in Manual is the best choice, but other times when it is not.
This is a huge pet peeve of mine. My students tell me that other photography instructors insist that they MUST shoot in Manual Mode only if they want to be considered a “real” photographer. To which I say, “Phooey!”
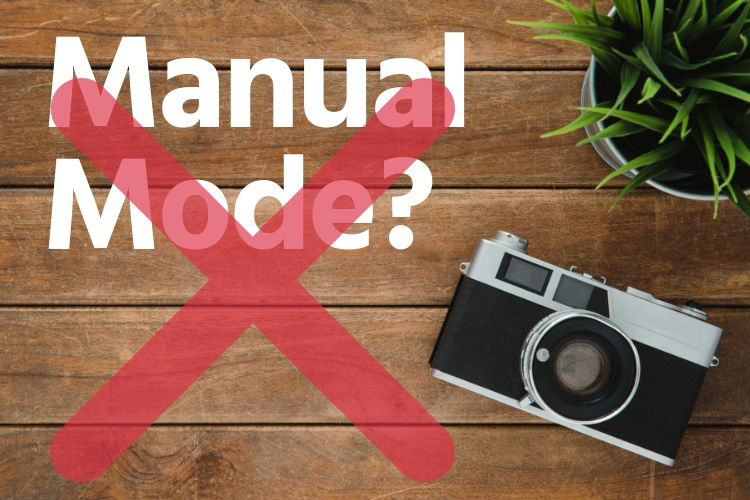
So if you’ve ever been told that you need to shoot Manual by an instructor, it’s time to rethink that advice. Each mode is there for a reason and they all have benefits.
Knowing which mode to use in different situations will help you be more successful in getting the best exposures, among other bonuses. It pays to learn about all of them, so let’s get to it!
Real Photographers Only Shoot in Manual Mode – NOT!
So you already know my thoughts on this, but let me expand on why I believe it is a mistake to think this way and take this advice onboard.
#1 Manual Mode can be extremely overwhelming as a beginner
When you’re already stressed out just trying to figure out how to use your camera, adding in shooting in Manual Mode is like learning to drive a car with a manual transmission! Taking baby steps and learning one thing at a time is a much better plan of action.
Get the basics down first, drive in Automatic for a while (pun intended) and take it one step at a time. Maybe progress to Program next, then one of the semi-automatic modes explained below.
Then when you’re comfortable with the basic functions of your camera and have been using it for a while, you are ready to tackle Manual Mode.
#2 – Manual Mode isn’t always the best choice!
Believe it or not most pros, myself included, do NOT always shoot in Manual Mode. Instead, we choose the shooting mode best suited to the subject we’re photographing.
I’ll explain this is more detail below as I go over each mode below, but the short answer for when to use each one goes like this:
- Use Aperture Priority when you want to control the depth of field (I use this mode 95% of the time when I’m walking around doing street photography or traveling).
- Use Shutter Priority when you want to control motion (freezing action or creating blur – I rarely use this mode except perhaps when I’m doing panning).
- Use Manual Mode when you have plenty of time to shoot and check your exposure and reshoot if need be, the lighting and your subject aren’t changing, OR you are using a tripod (when I’m using a tripod my camera is almost always in Manual Mode).
NOTE: Manual Mode and Manual Focus are NOT the same!
I’ve seen many beginners make this mistake and get confused between shooting in Manual Mode and using Manual Focus. Some have come to me asking for tips on how to focus using Manual Mode.
It’s easy to get confused because they have very similar names. But they do NOT do the same things.
- Manual Mode – this is about the exposure and in this mode, you must set all three pieces of the exposure triangle; the ISO, the shutter speed, and the aperture.
- Manual Focus – this is how your camera achieves sharpness on the subject.
- With Autofocus activated the camera will attempt to focus for you, and if you choose the right settings it usually does a pretty good job.
- Manual focus means YOU must turn a ring on the lens to attain sharpness. It’s extremely difficult to do without some kind of assistance like using the zoom feature on the LCD screen (impossible for a moving subject or without a tripod) or focus assist/peaking if you have a mirrorless camera.
So please understand that the two are NOT mutually exclusive.
Meaning if you are shooting in Manual Mode you can still use Autofocus and if you are shooting in Automatic Mode you can use Manual focus (but why would you – let the camera to its job).
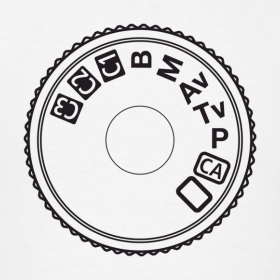
Camera Shooting Modes
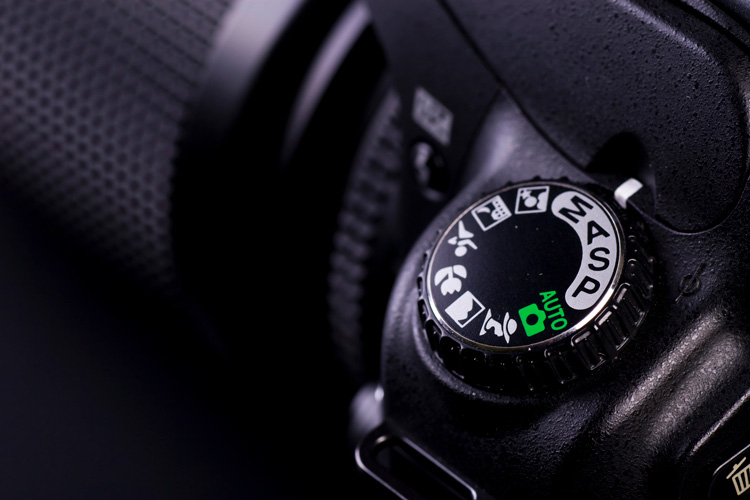
There are five main shooting modes on most cameras. Some cameras, like Pentax, have a couple of extra modes (Sv and TAv), but I’m just going to cover the modes that you are likely to find on your camera. They are:
- Full Automatic Mode (usually shown as a green square or box on your mode dial)
- Program Mode (usually shown as P on your dial, and no it doesn’t stand for “Professional Mode”)
- Aperture Priority Mode (shown as A or Av on your dial)
- Shutter Priority Mode (usually shown as S on your dial or Tv for Canon)
- Manual Mode (M on your dial)
Basically, the difference between each of these modes is how much work the camera is doing for you, and how many settings you are choosing yourself. Here’s a breakdown to help you:
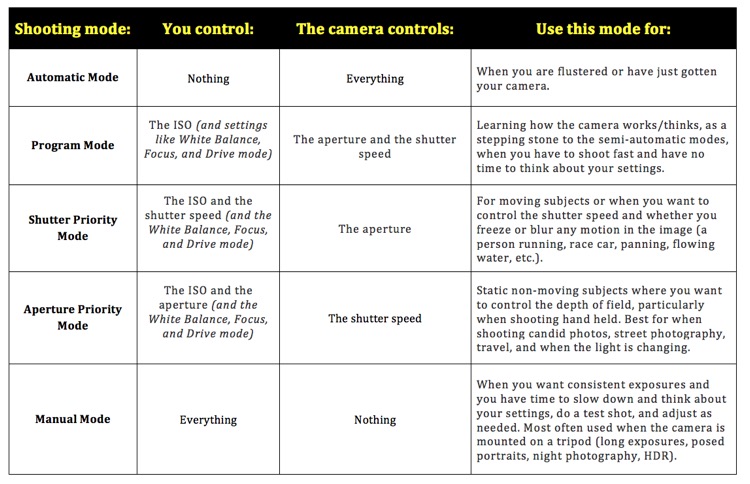
Full Automatic Mode (A or Auto or a green box)
Full Automatic is often a green box or option on your dial as seen here. In this mode, your camera makes ALL the decisions for you, and all you have to do is press the button.

Not only does it choose all the exposure settings, but it also sets the focus mode and points, White Balance, drive mode, etc. It chooses everything for you. So you have no options, but it’s usually going to give you a decent exposure with little fussing around.
The options on the same side of the dial marked with little icon graphics like the lady, mountain, flower, runner, etc. – are all options and variations of Full Automatic. They just have special uses depending on the subject you’re photographing (as indicated by the icon picture – eg. the lady is for portraits, the mountain is for landscape scenes).
Do NOT feel like there is something wrong with you if you need to use those modes! It’s perfectly acceptable to do so. Read your camera manual to see what they each do and use them if necessary.
However, these auto modes may not produce images with the look or effect you want. So if you’re ready to take over a bit of control let’s move on to the next option – Program.
Program Mode (P)
Program mode is the next step up from full Automatic. You can see it below on the dial as a “P”.
Notice all the other modes we will cover are in the same sort of greyed out zone as the P. Those are all of the semi-automatic and Manual modes. Those are the ones you want to eventually graduate to using once you feel more confident with the settings.
In Program Mode the camera will choose the three settings that control the exposure for you; ISO, aperture and shutter speed. But it will allow you to set other things like the White Balance, Focus mode, and Drive mode.
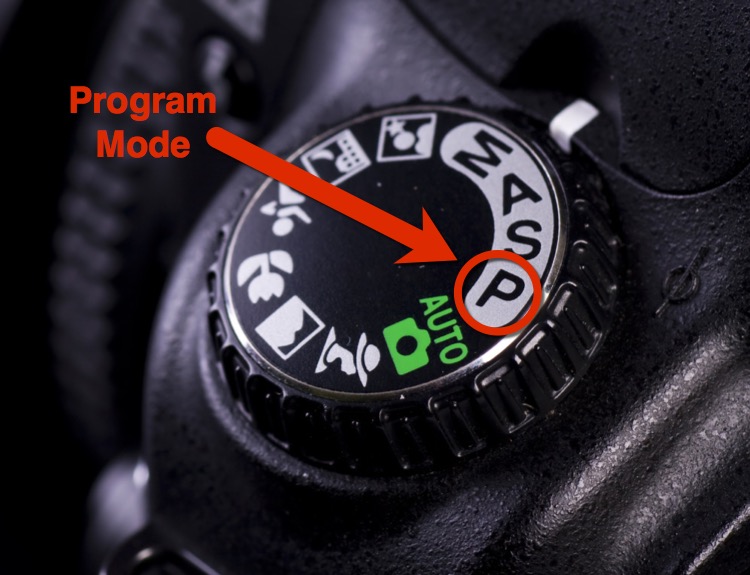
You can also dial in a setting you want to use, like an aperture of f/4 for example, and the camera will adjust the other settings to give you a good exposure. So it’s actually a really helpful mode for helping you learn about exposure.
Use Program Mode as a learning tool. Let the camera pick the exposure, then go look at what it chooses and dial in those same settings yourself using Manual Mode to practice.
Go back to Program any time you need to get a shot fast and haven’t got time to fiddle with the settings. If the light is changing too fast, if you have a moving subject that you might miss if you take too long, those are good times to use Program if you aren’t sure what to do.
Shutter Priority Mode (S or Tv)
As I said above, I rarely use this mode. Even when I want a fast shutter speed for freezing a moving object, I almost always use Aperture Priority Mode (more about that below).
So when should you use Shutter Priority? I recommend using it in a couple of different scenarios:
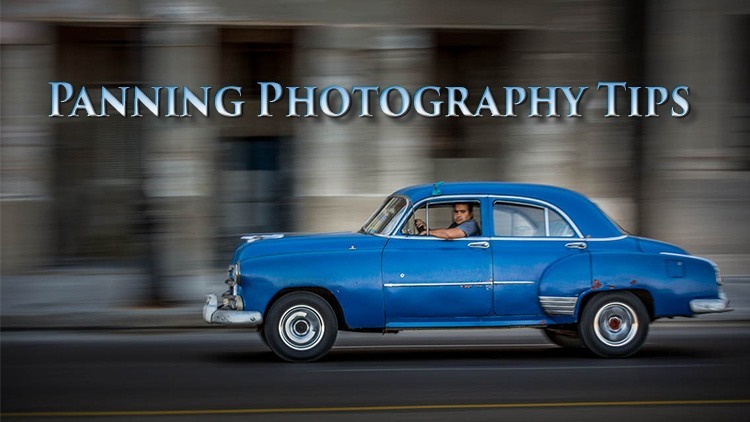
- When you’re doing panning and shooting a moving subject
- When you’re shooting with a flash indoors and you want to capture as much natural light as possible (but this is advanced photography so don’t worry about it right now).
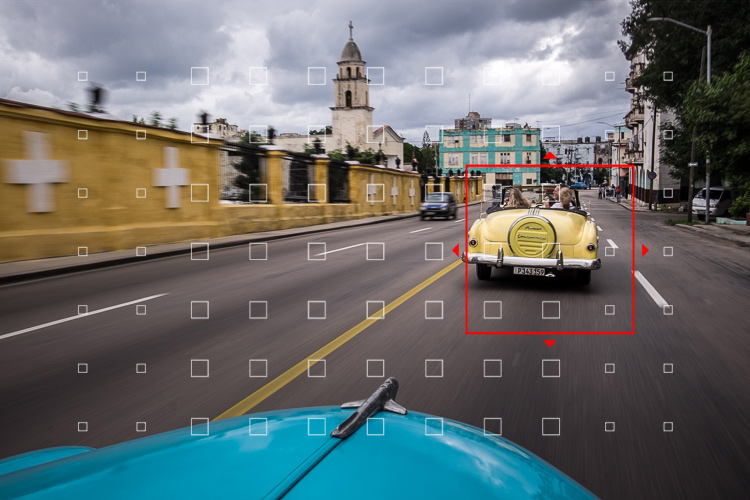
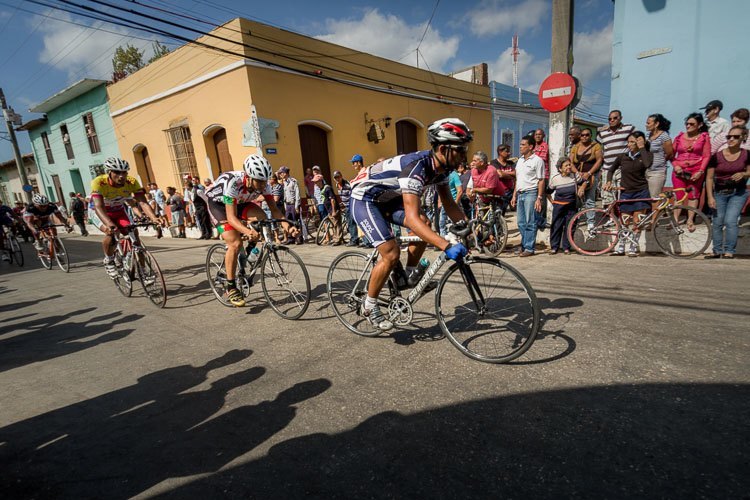
Number one above is pretty straight forward. If you’re shooting a cyclist or a moving car for example, and you want to blur the background by panning, then you want to use Shutter Priority Mode and set the shutter speed low.
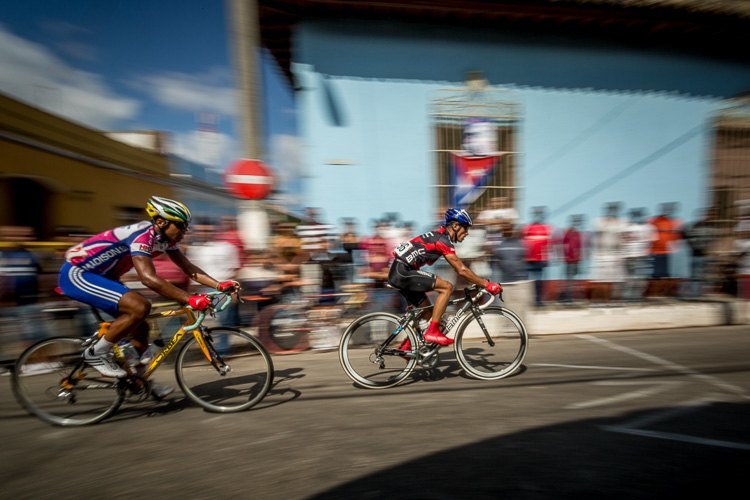
Using Shutter Priority allows you to choose the shutter speed and the camera will select the aperture that is needed to make a correct exposure.
HOWEVER… beware of warnings and the limitations!
Be aware that Shutter Priority will let you make a bad exposure! There are two situations where you may run into issues using this mode.
- First, if you are shooting in bright sunlight (as I was above) and you choose a shutter speed that is too slow. For example, if I had set the shutter speed to 1/15th for the cyclists, it would be letting in too much light and the camera can’t go lower than ISO 100 or smaller than f/22. The image would have been overexposed (too bright).
- Second, the exact opposite is also true. If you are in a dark room or scene and choose a really fast shutter speed, the camera can max out the ISO (its highest) and open the lens to its maximum aperture and then that’s it. It has nowhere else to go to get more light to the sensor. The image will be underexposed (too dark).
In either of those scenarios, your camera will try and get your attention somehow. Usually, something is flashing in the viewfinder or you’ll see an error message or warning notice.
NOTE: Shooting in Manual Mode will NOT fix either of those issues either! If you’re trying to shoot in the bright sun at 1/15th, ISO 100, and say f/8 – it doesn’t matter what mode you use, the image will be overexposed!
Look in your camera manual to find out how your camera will warn you and take notice. If you see the warning it means you need to make a change to your settings.
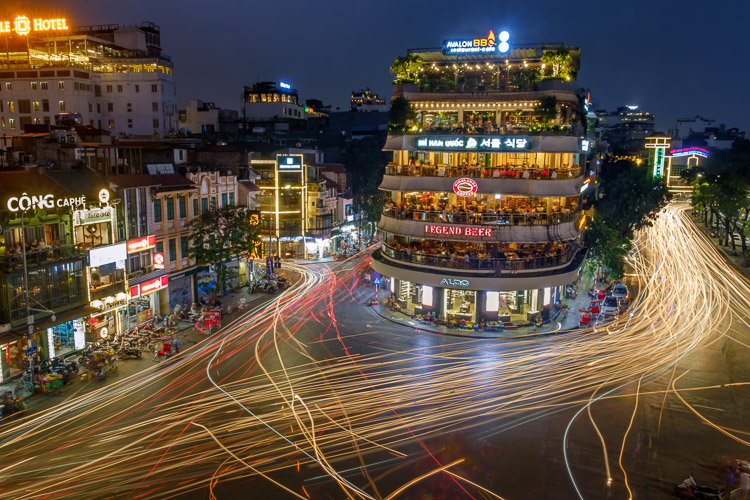
For things like waterfalls, long exposures for car trails and night photography in general, I recommend using Manual Mode. But, if you’re not comfortable there yet, use Shutter Priority. Just remember to watch out for the warnings the camera may send you!
Aperture Priority Mode (A or Av)
This is the mode I use most often. I shoot in Aperture Priority 95% of the time when I’m shooting handheld (without a tripod). It provides the flexibility to just shoot, without having to constantly monitor the exposure levels for every single shot.
Personally, this is the number one reason why I do NOT recommend Manual Mode for everything. In situations where you are moving around and going from a shadowy area to bright sun, or the light is changing quickly it’s too hard to get the exposure right on the fly.
Even for me!!! And I’ve been shooting a long time, so it’s not about experience.
That and it’s one more thing to think about as you’re learning. You already have to consider your composition, check the lighting, and general things like is a tree growing out of your friend’s head. Adding exposure into that mix just complicates matters even more.
Give yourself a break and set it to Auto ISO and Aperture Priority Mode and focus on all the other aspects of getting a good shot. I would almost place a wager that you’ll see your photography improve just by doing this one thing.
Allow yourself time to think about the image, NOT the exposure!
Manual Mode (M)
Okay, so by now you may be asking, “When should I use Manual Mode then?”
The short answer is to use Manual Mode when your scene isn’t changing quickly and you have time to fiddle with the settings. That is usually when your camera is mounted on a tripod.
So if you make it a rule of thumb that when you are using a tripod that you shoot in Manual Mode you’ll be on the right track.
Here’s a short list of the kinds of things I shoot in Manual Mode:
- Night photography
- Long exposures (waterfalls, car trails, star trails)
- HDR (bracketed images to merge later)
- Posed portraits (if the light is not changing, the subject isn’t moving, and the camera isn’t moving)
- Macro photography
Conclusion
To sum this all up, the bottom line is that you certainly do not need to always shoot in Manual Mode. If anyone that tells you otherwise, kindly thank them for their advice and do your own thing.
You have to find what works for you. If that’s Program, so be it, embrace it. If you can handle Manual Mode then go for it – WHEN it’s appropriate and it’s not causing you to work harder than you need to.
Make your life easier, and make photography more fun.
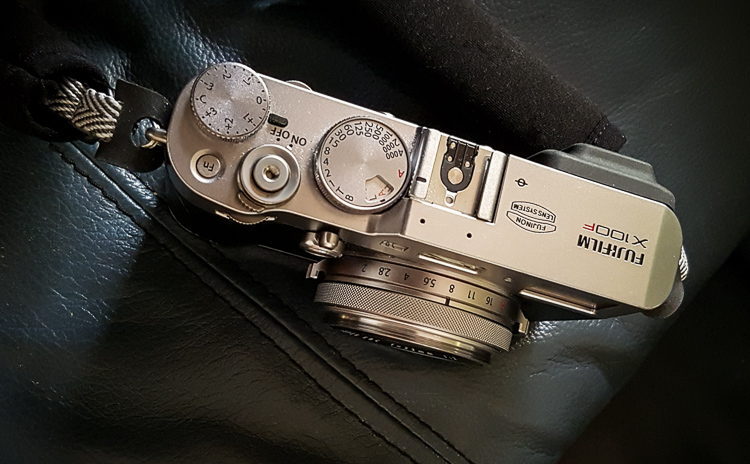
I love my little Fuji X100F because it’s so small, has great high ISO capabilities and even shoots great JPGs (yes sometimes at family events I do that!). But most of all I love it because it makes photography FUN again!
Life is too short to be overly complicated. Enjoy it and keep shooting!
Cheers,