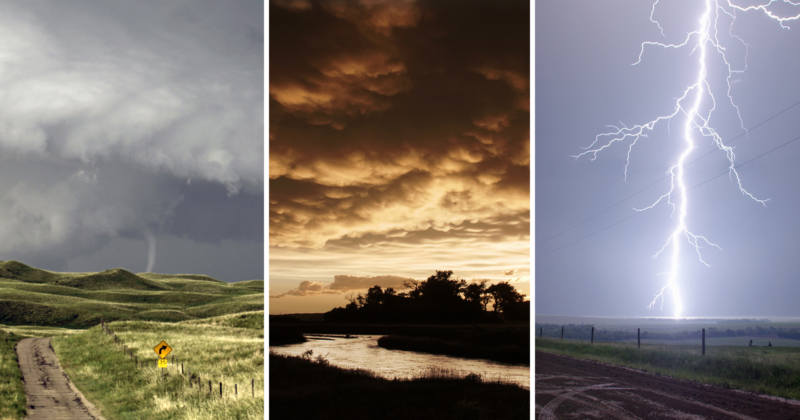
I first became interested in storms when I was a boy growing up in Texas, the only state in the US that experiences tornadoes, hurricane and blizzards on a regular basis. I built a scale model of a supercell thunderstorm inside a clear plexiglass box using cotton and a light bulb for lightning, and won first place in the weather category at our local science fair. Then I got permission from my mother to climb onto our roof and build a weather station.
When I was 12, I took my first storm photo: a big, fat bolt of lightning shot on a Kodak rangefinder through the window in our kitchen. In 1993, I founded StormStock, a collection of premium storm imagery including lightning, tornadoes, hurricanes and other beautiful and dramatic weather. You can see some of my work in a short film I made titled “Wakinyan” (Thunder Spirit).
Over the years, people have often asked me what kind of gear is best for storm photography. Although I spend most of my time capturing weather imagery on motion picture formats for use in movies and TV commercials, I do also take stills. That is the medium I will focus on here.
A lot of folks ask me to suggest a “best” camera or lens for photography. My first question is always, “What are you shooting?” That’s because different subjects require different gear. The more unique your subject, the more you may need to specialize. For example, one of the most demanding types of photography is fast action sports. It typically requires long and fast lenses. Long and fast. Those two things don’t go together easily and require large, heavy, expensive lenses – which is pretty specialized.
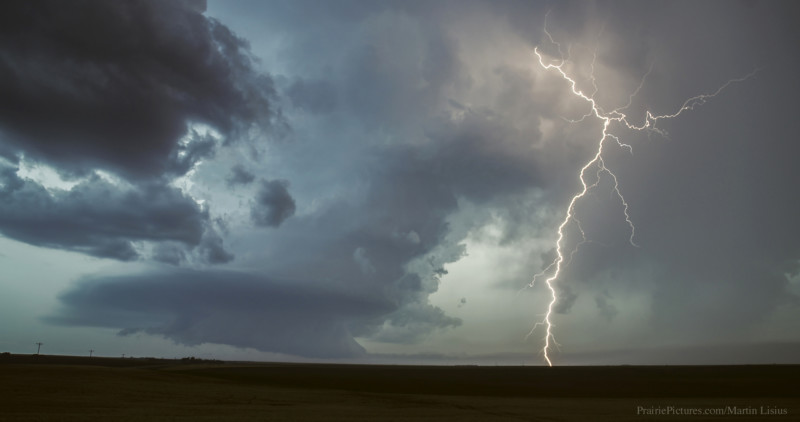
The good news is storm photography is only somewhat demanding. The most unique things about it are relatively low light and lightning. Lightning is an unusual thing to photograph because it exists only for a fraction of a second. Plus, you’re pointing your camera at something that doesn’t yet exist.
The best way to discuss this topic is to divide storm photography into two categories. General storm photography and lightning photography.
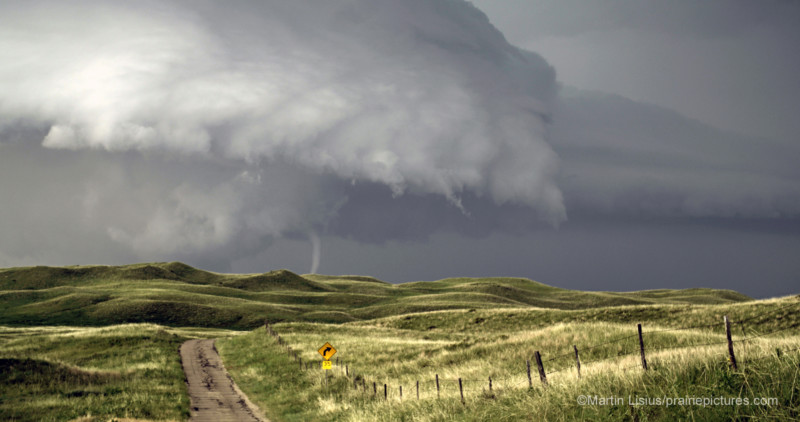
General Storm Photography
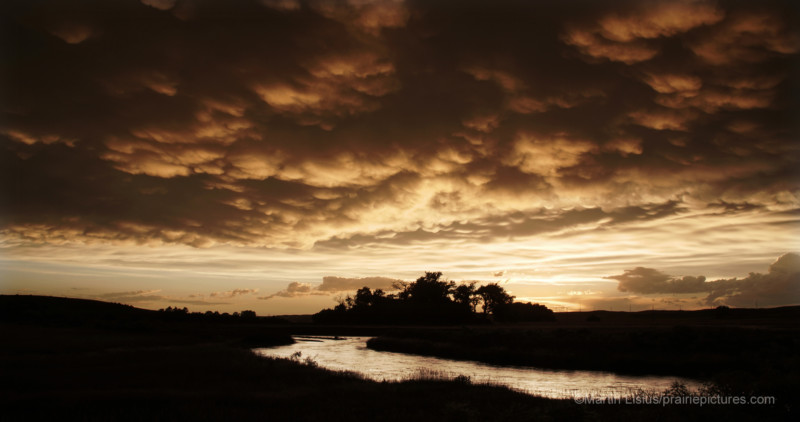
Subjects: Storm clouds, rain, blowing dust, sunsets, tornadoes.
Storm subjects tend to be dark rather than bright. This may sound obvious, but know that storms can sometimes be exceptionally bright when sunlit. Given the fact that low light is more common, a camera and lens that performs well in that environment is generally preferred.
Lens focal lengths that I like tend to fall in the 24-105mm (full-frame) range. That is why I like the Canon 24-105mm f/4 L so much. The newer version of this lens is the Canon 24-105mm f/4 L II.
If a storm is very close, then I’ll go wide with something like a Rokinon 14mm f/2.8 on a full-frame sensor.
For a camera, I would suggest a full-frame or APS-C sensor camera. That’s because they tend to produce less noise in low light than smaller sensors. Although…an iPhone 6s or iPhone 7 can take some very nice storm shots. I use my iPhone often because it’s always in my pocket, and storm light can be quite fleeting.
Naturally, in low light a tripod can be helpful. However, I rarely use a tripod for general storm photography because they are bulky and slow, and tend to shake in the wind. Instead, I use a fast lens/camera combination handheld.
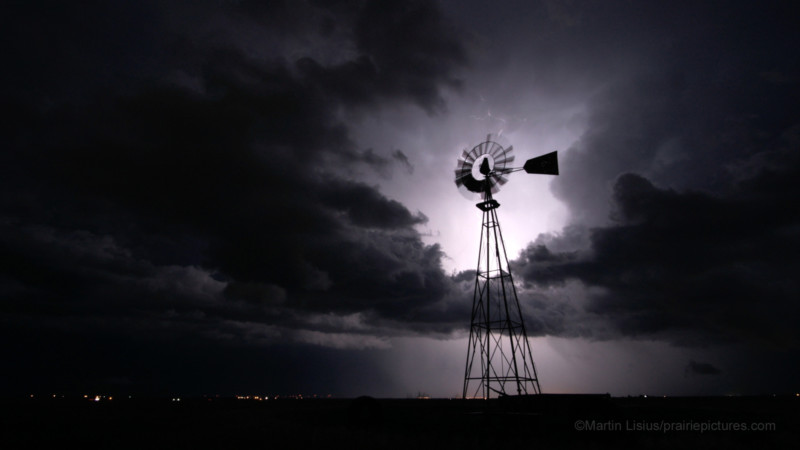
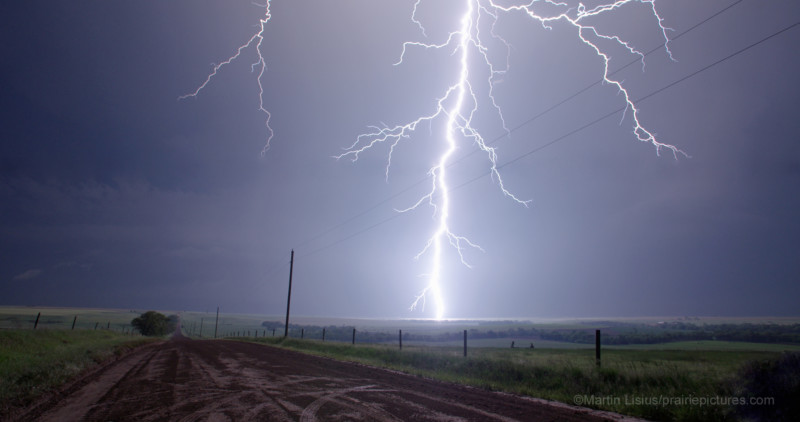
Lightning
Subjects: Day and night lightning.
I separate lightning into day and night because they require somewhat different techniques. Day lightning allows for only short exposures while night lightning offers the chance to capture several strikes during a long exposure.
One thing is certain, a tripod is mandatory for lightning photography (and astrophotography). That’s because the camera must remain steady for long exposures or images will be blurred.
Another device you will need is something to activate your shutter remotely so the camera continues to remain steady. You can use a smart phone remote app or a dedicated remote trigger for this. Use the one you trust most.
For day lightning, you might be able to get away with a ¼ to 1 second exposure by lowering your ISO, decreasing your aperture size, and employing a neutral density (ND) filter. You want your exposure to be long enough to “catch” a lightning strike, like using a bigger net to catch fish. But, not so long that you overexpose. You can also employ a nifty piece of technology called a lightning trigger which senses the strike and opens the camera shutter just in time to record it.
I suggest an aperture setting of about f/5.6 for “dim” lightning, and about f/11 for “bright” lightning. Always use the lowest ISO hone you can. Exposure duration and your aperture will compensate for low light.
At night, you can use the bulb setting on your camera and wait for a strike, or set your camera to take a series of 20 or 30 second long exposures. Whatever the case, I wouldn’t exceed 30 seconds because this is when a lot of cameras begin to introduce noise into the image.
Finally, be safe when you photograph lightning. It can kill and injure. Avoid tall objects, fences and water. The safest place to be during lightning is inside a hard top car, or inside a well constructed building with wiring and plumbing. The rubber tires on a car don’t make it safe from lightning. It’s the metal that protects you. The metal? Yes. It works only if you are surrounded by the metal with some space in between, aka the “Faraday cage,” named after the English scientist Michael Faraday who invented it in 1836. More on storm safety below.
Best Camera and Lens Pairings
Sony a6000 on up to the a6600. Lightweight APS-C cameras with good noise control.
Pair with: The Sony 16-50mm “kit” lens (24mm-75mm FF equivalent), Sony Vario-Tessar E 16-70mm f/4.0 (24mm-105mm FF equivalent), Rokinon 21mm f/1.4 (31.5mm FF equivalent), or a Rokinon 12mm f/2.0 (18mm FF equivalent).
Canon 6D, Canon 5D Mk II, Canon 5D Mk III and Canon 5D Mk IV. All around good performing full-frame sensor cameras.
Pair with: Canon 24-105mm f/4 L, Canon 24-105mm f/4 L II, Rokinon 35mm f/1.4 EF, or a Rokinon 14mm f/2.8 EF.
Sony A7s Mk II. This is a “see in the dark” full-frame camera. Nothing touches it for low-light performance.
Pair with: Sony 24-70mm f/4.0, Rokinon 35mm f/1.4 for Sony E, or a Rokinon 14mm f/2.8 for Sony E.
Nikon D5300, Nikon D5500 and Nikon D5600. These are fairly inexpensive APS-C cameras that shoot beautiful pictures. The Nikon D5300 can be purchased new for a little more than $400, or for less used.
Pair with: Nikon AF-S DX Zoom-NIKKOR 17-55mm f/2.8G IF-ED (25.5mm-82.5mm FF equivalent), Nikon AF-S DX NIKKOR 18-105mm f/3.5-5.6G ED VR (27mm-157.5mm FF equivalent), Nikon AF-S DX NIKKOR 35mm f/1.8G (52.5mm FF equivalent), Rokinon 16mm f/2.0 ED AS UMC CS for Nikon F Mount (24mm FF equivalent), or a vintage NIKKOR AI-s 28mm f/2.0 (42mm FF equivalent), one of my favorite lenses.
An iPhone. Smartphones are good all around storm photography options. The only thing they don’t do well is lightning. Consider pairing them with an app like ProCam 7, which allows you to control ISO, shutter speed, etc. Shooting with a smartphone is a pure and simple type of photography. It’s easy and liberating. If this is all you use, then focus on content and composition, and you’ll have some beautiful pictures.
Simplicity
If you want something simple, but more potent than an iPhone, consider a Nikon D3300 with a Nikon 24mm f/2.8D AF lens (36mm FF equivalent). The combo is lightweight, easy to use, and fairly inexpensive considering the great pictures you can take with it. You won’t need to zoom, and the focal length is pretty universal. It’s basically a very nice “point and shoot.”
Note: When using an autofocus lens with no marked, manual focus option, you should become familiar with how to set the lens to infinity, especially for night lightning. I prefer manual focus for storm photographer, but autofocus is okay as long as you know how to control it.
Tripods
Lightweight, sturdy tripods are best. Consider the Prima Photo Big Travel Tripod, Davis & Sanford TR654C-36 Traverse Carbon Fiber Grounder Tripod with Ball Head, or the Manfrotto MT055CXPRO3 Carbon Fiber Tripod with 054 Magnesium Ball Head Kit. You want something with fast deploy legs and an easy to adjust head. Frankly, you can use any tripod that is steady as long as you practice setting it up and taking it down beforehand.
Lightning Trigger
Hahnel Captur Pro Module
Filters
At the very least, you should have a UV filter attached to the front of your lens simply to protect it. Shooting outdoors without a protective filter is like running around naked. Since that’s not a pretty sight, I always buy a UV filter with every lens purchase.
Consider adding a neutral density filter to your kit for exposure control as well as a circular polarizer and gray graduated filter to bring down those overly bright skies. I especially like Formatt-Hitech filters. They are well made, arrive clean, and are hand signed by their QC technician.
Batteries
Always get extra batteries. My experience is the camera brand batteries are the best.
Cleaning
At this point, I’m assuming you ARE going to get a protective filter for all your lenses. Good. When you are shooting harsh weather, you’ll notice your gear getting quite dirty, mostly with dust.
Do NOT use canned air to clean your filters, lenses, viewfinder or LCD screen. That’s because that stuff shoots an oily substance. Instead, use a bulb blower like the amazing Giottos Rocket Blaster to remove dust and then a very clean cloth like a Zeiss Microfiber Cleaning Cloth. Check carefully before using a cloth to make sure that all grains of dust are gone to avoid scratching those precious surfaces.
We spend a lot of time cleaning gear after a storm shoot. It’s a ritual.
Bags
The Tenba Messenger. I use the small, olive green model. It’s tough and well thought out.
Being Safe
Before you try your hand at storm photography, I must make a statement about safety. I do not encourage anyone to film anything that is potentially dangerous. I am not telling you to go shoot storms. I’m detailing photographic principles as they relate to storm photography. You can apply my suggestions to other subjects such as astrophotography which is much safer.
Please understand that storm photography requires not only knowledge of photographic technique, but more importantly, a thorough understanding of severe weather, how it evolves and how to stay safe. I wrote a book about severe weather safety titled “The Ultimate Severe Weather Safety Guide.” Reading the book will help, but it takes much more than a book to actively pursue storms in a safe manner. You can see people on YouTube doing it and think it’s safe to just jump in your car and try and “chase” a storm. It isn’t.
My recommendation is you go with an expert if you want to photograph storms. Take time to select a genuine expert because some who call themselves “experts” are the same people on YouTube who are driving into tornadoes and large, dangerous hail while yelling and laughing. Would you get on an airplane with a pilot who exhibited these characteristics? I didn’t think so.
Finally, whether you go outside to shoot storm photos, or stay safely inside, you should be weather aware when storms are nearby. Get a NOAA Weather Alert Radio or a good weather alert app for your smart phone. If you live in an area where tornadoes are frequent, consider purchasing a manufactured EF5-rated storm shelter or build your own using free FEMA shelter design plans.
Conclusion
Storm photography can be fun. Just do it safely with experts, use the right tools, and practice.
About the author: Martin Lisius is an award-winning Texas-based photographer and cinematographer. His work can be seen in feature films, TV commercials and in documentaries such as the Academy Award-winning “An Inconvenient Truth.” He licenses his work through his StormStock collection, and offers storm chasing expeditions to photographers through Tempest Tours, which he founded in 2000. He recently created a fine art retail print collection specializing in storms called StormShots. You can follow him on Facebook. This post was also published here.