Leonardo Regoli was born in Venezuela and currently lives in Germany. He works as a researcher on space physics and has two main hobbies: climbing and photography. His main interests in photography are travel and landscape.
You can find more of his work on 500px, his website, Twitter, and Tumblr. This post originally appeared here and is being republished with express permission from Leonardo.
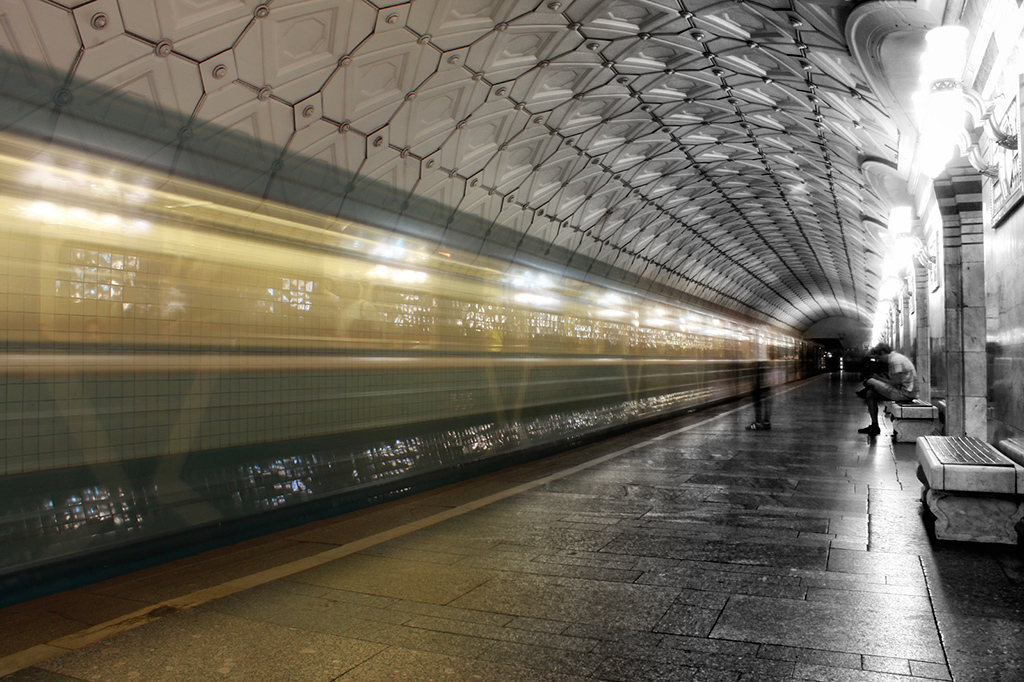
With the popularization of DSLR cameras during the 2000s, end users were given access to a world previously reserved for professionals and a relatively small number of aficionados of the film-developing process. I’m talking about the world of image post-processing.
Once done with carefully selected chemicals and delicate techniques, nowadays photographers of any level of expertise can open their files (jpg or raw) on photo processing software and—before sharing the final result either with their relatives and friends on a personal level, or with a wider audience through the internet—they will, on a regular basis, make adjustments that can go from small changes in contrast or white balance to combining several photos to create surreal art pieces that help express a pre-conceived idea.
Of course, easy access brings up other issues—for instance, ethics. And, more important for people learning the process of creating nice images (a learning process that, one might argue, has virtually no end), how to do it, what to do, and what to avoid.
The ethical aspect of post-processing arises from the fact that one can, given sufficient skill, make virtually any picture captured with a digital camera look special even when neither the original file nor the captured scene itself were more than simply dull.
Whether this is an honest thing to do or not is a matter of personal taste, but I personally like the idea that the late Galen Rowell had about it. I don’t remember the exact words, but the idea goes like this: if you are honest to the public about what you’ve done in order to enhance your image, everything should be alright.
Of course, being ‘honest’ to your ‘public’ will mainly depend on who you call your public, and how important the techniques you used were to obtaining the final result.
If you post your pictures on a website, it might make sense to say that your image was created by blending different exposures, say, to capture the details on a mountain while simultaneously capturing a star trail; but it might be an excess of information to write on every post that you changed the white balance, or that you introduced some vignette.
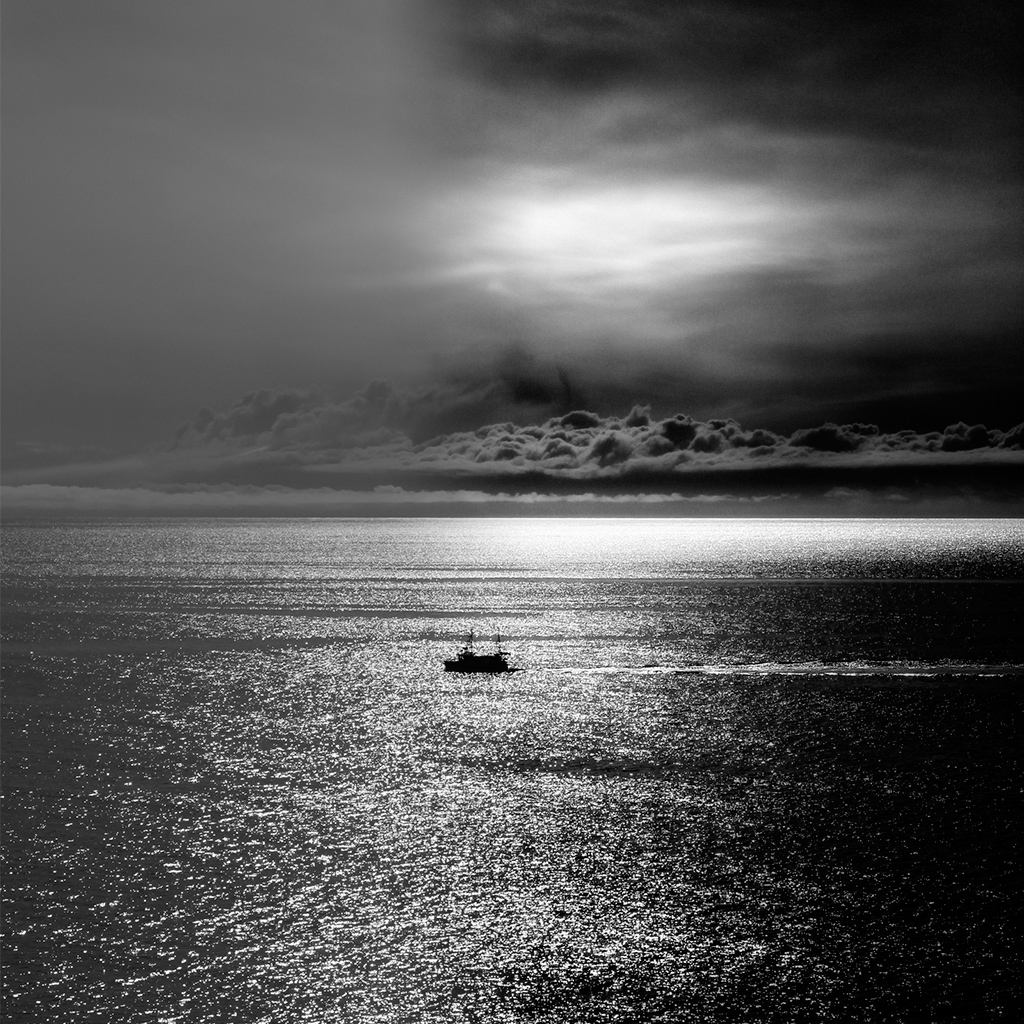
Now, some people basically feel that a photograph is honest if and only if no post-processing has been applied to it whatsoever.
While I personally value an image that only needs minor adjustments in order to look good—after all, with digital photography it has become easier to shoot with whatever settings you have, take a look on the screen and, if you don’t like what you see, just make a couple of changes and shoot again—even when you open a .jpg file created by your camera you are already relying on a heavy post-processing applied by the camera itself.
So what’s wrong with doing those adjustments yourself? In fact, the freedom you have with some of the software packages out there is such that I would go even further and say that it doesn’t make sense NOT to shoot in raw and consistently post-process your own images.
Which brings us to the most important aspect of post-processing: how to do it?
Approaching the question of how to process an image is tricky, given that there are as many ways to go about post-processing as ideas. In general, it is a very personal and subjective process that will depend on what the photographer wants to achieve.
There are a couple of general rules that need to be followed if one wants to create a visually appealing image, especially regarding the overuse of certain techniques (for instance, HDR tone mapping). But since the process is so subjective, I will focus Parts 2 and 3 of this article on a general workflow I have developed for myself throughout the years, and given that my main interests are travel and landscape photography, the techniques presented will focus on that type of photography.
One last remark: the workflow that each photographer develops is not only dependent on subjective aspects such as type of photography and personal taste, but also on the camera the photographer is using.
Each camera on the market has its strengths and limitations; one must adjust their personal workflow to those specific characteristics.
For instance, I personally shoot with a Canon EOS 500D (Rebel T1i). This camera has some nice features, but it also has limitations like its relatively limited dynamic range. This leads to a lot more exposure blending in my workflow, something not as necessary for people shooting with full-frame bodies that boast better dynamic range than my little 500D.
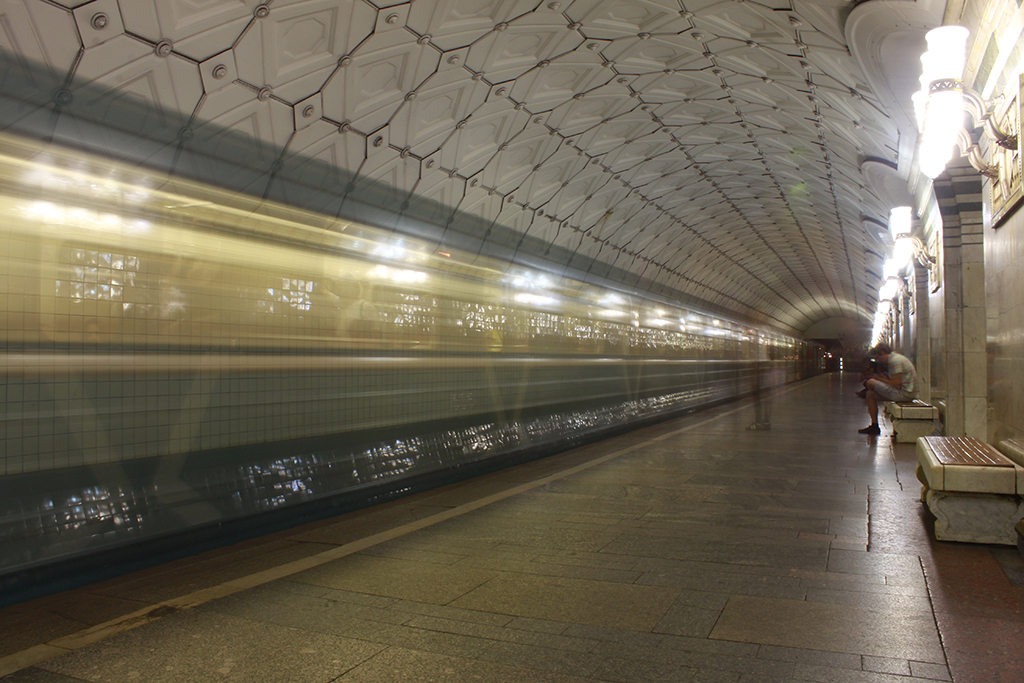
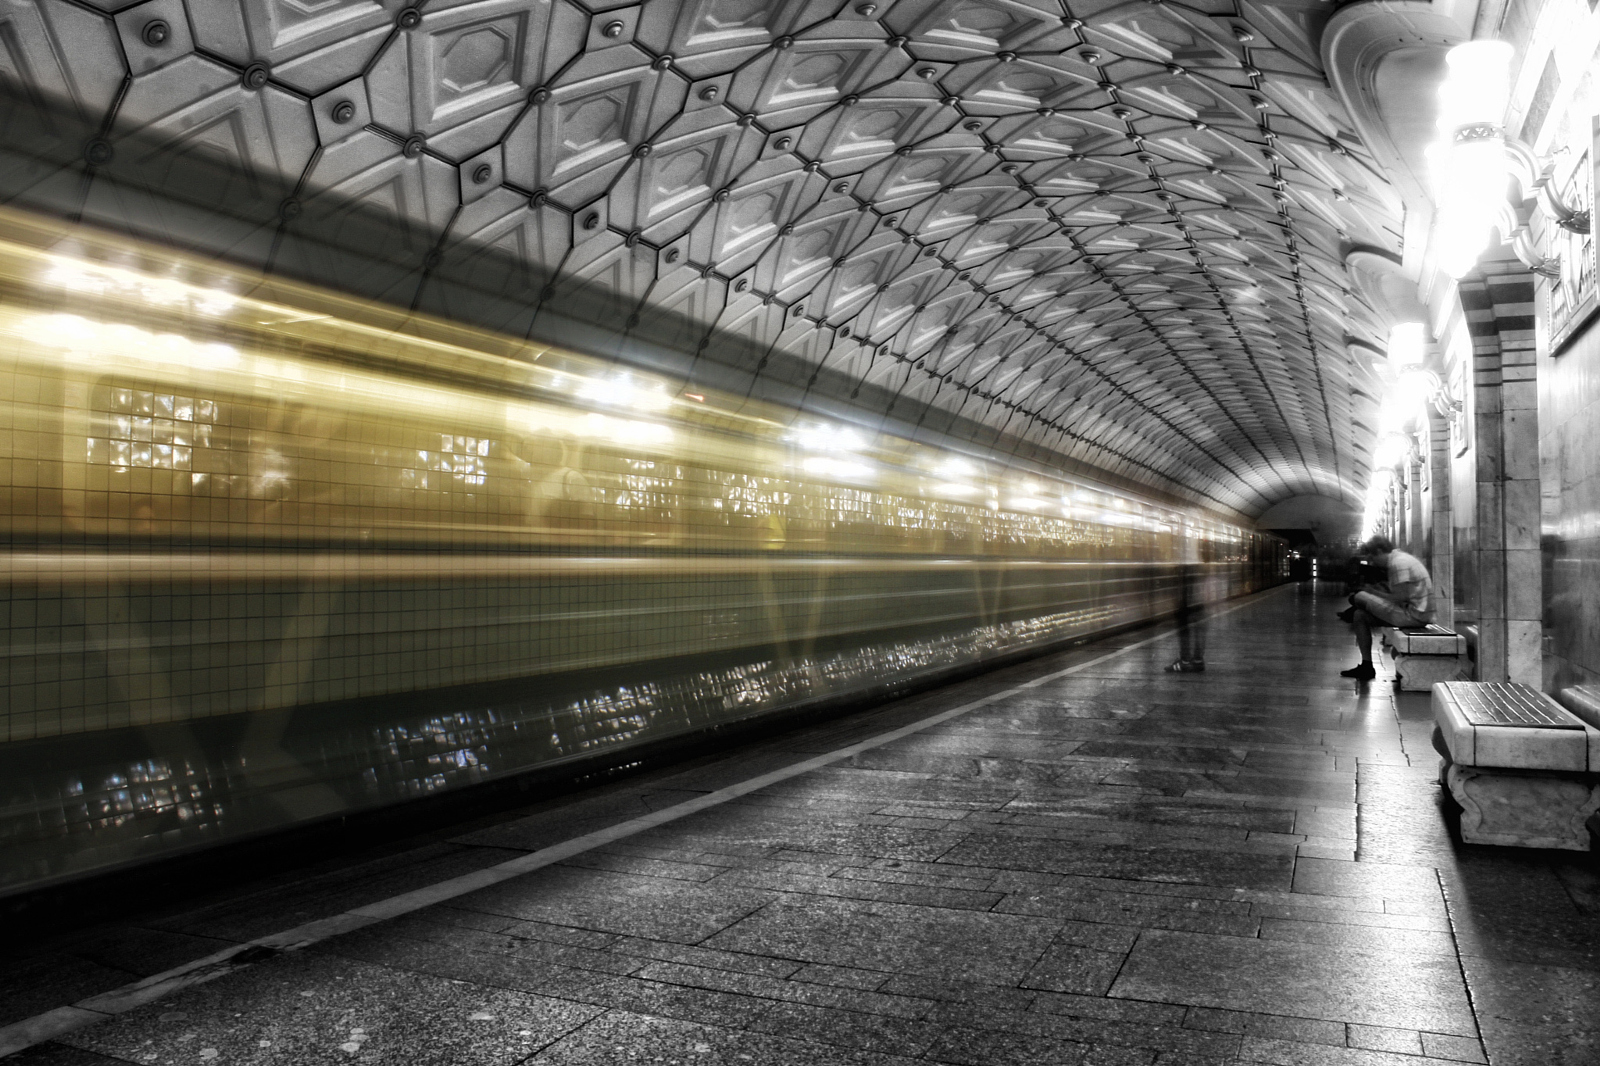
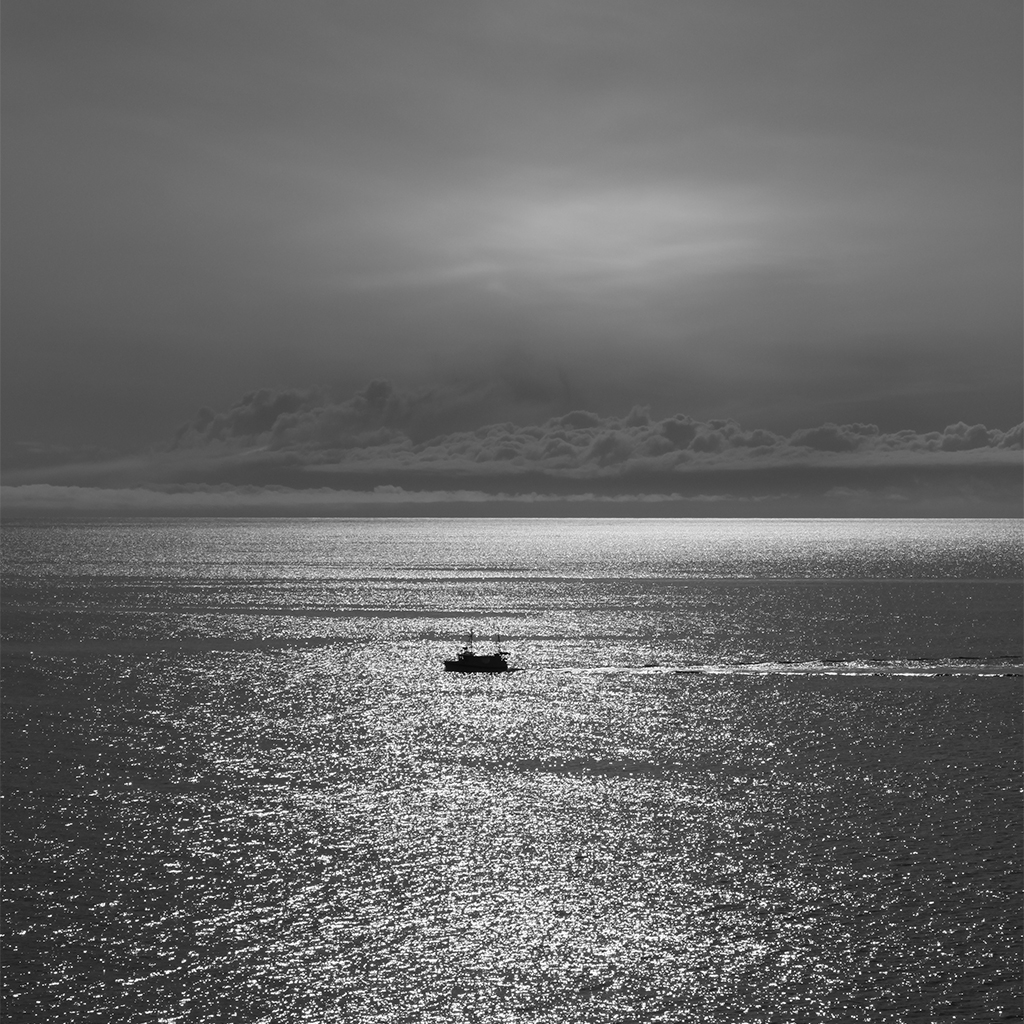
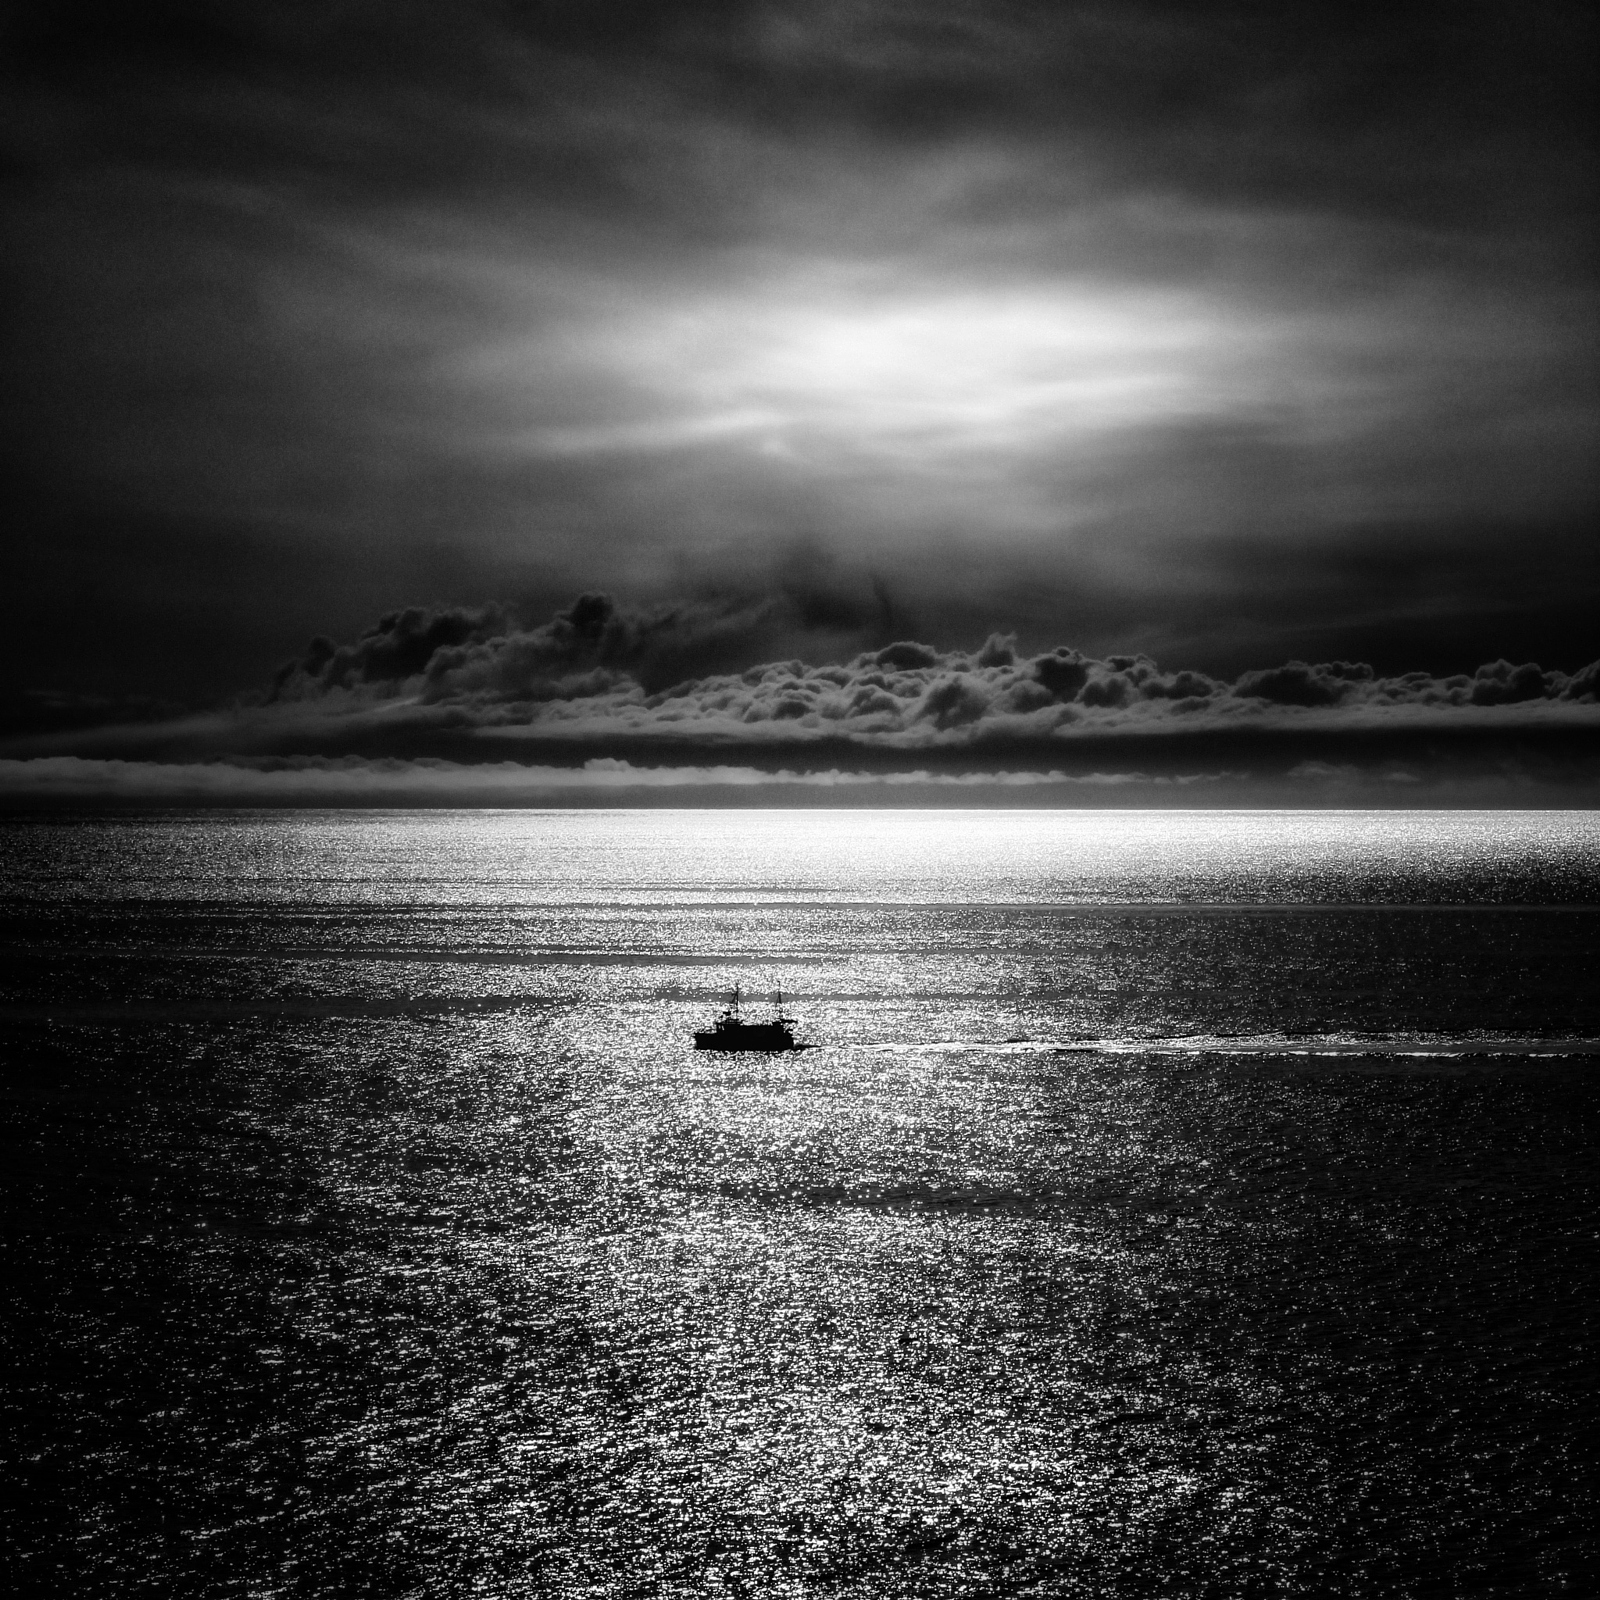
Over the next few posts, I will go through some of my photos, showing you the original image, explaining the different post-processing steps I used (and why), and then revealing the final result. Some of them will be travel pictures, some will be landscapes; some will be in color, some in black and white; and the techniques demonstrated will range from basic adjustments to more specific effects such as selective color.
So stay tuned and don’t hesitate to ask any question you might have!
