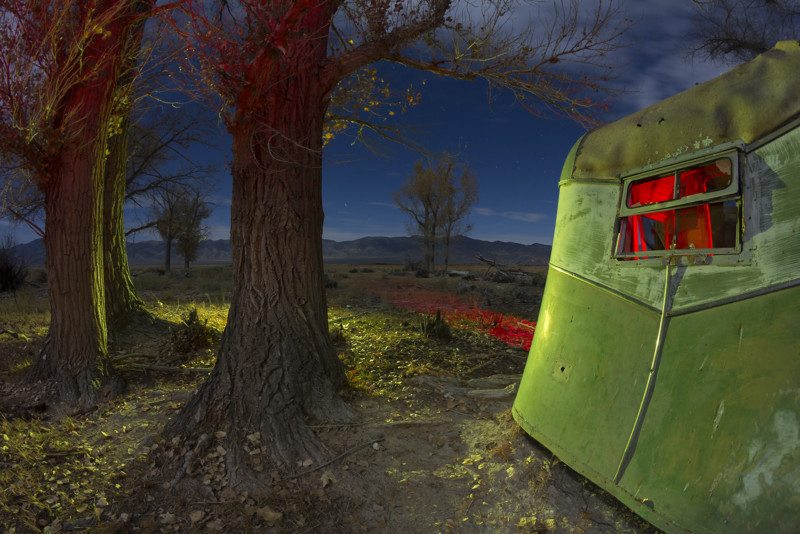
It was the late-eighties. I had been working at Galoob Toys as a designer on the Micro Machines line, creating cars and playsets for several years. A dream job, drawing and painting cars and roadside architecture for a living, but I also craved something different that I could do for personal work.
In my formative years, I developed a love for that nameless ancient human pursuit now known as Urban Exploration. From an early age, I was moved by the way nature consumed the things once adored… but eventually discarded and ignored. As a teenager, I whet my appetite sneaking around local decommissioned military installations. Once I began driving in the late-seventies, fresh desert ghost towns, recently bypassed by the new interstates, beckoned. Lured by the siren call of the road, my friends and I would make epic desert journeys, driving in ‘round-the-clock shifts for days on end. Tie me to the mast, turn up the Floyd, and I will take us ’til dawn.
The hand-lit night photography inspiration happened in late 1989, when I audited a night photography class taught by Steve Harper, at the Academy of Art in San Francisco where my brother Tom was enrolled. I was floored by the moonlit, time-exposure aesthetic, immediately connecting it to the creepy abandoned sites I knew from my past explorations. Having no previous experience with manual photography, I bought my first 35mm camera—a battered, sixties-vintage, fully manual Canon FX, and jumped right into the deep end—experimenting with eight-minute exposures by moonlight, of abandoned Route 66 buildings and airliner boneyards.
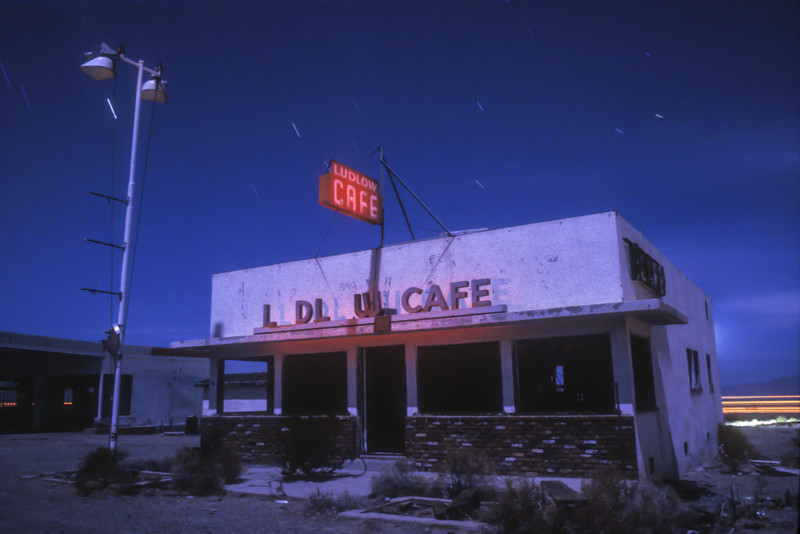
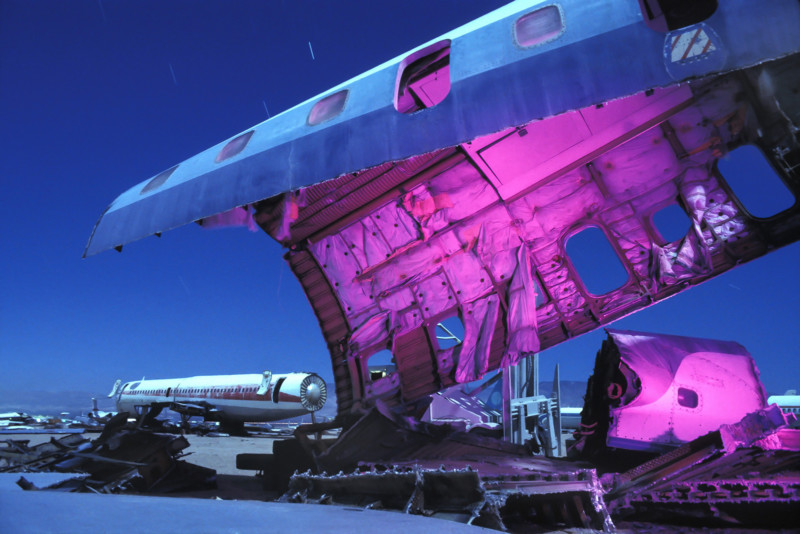
As the nineties marched on, I kept shooting for kicks, fitting it in around the toy job. Progress was slow. Working on film means no preview. It was do one, wonder if I got the shot, shrug, and pick up the tripod to move on to the next set up. Only shooting during the full moon phase meant only a few nights a month to work. Eight-minute exposures meant relatively few frames a night. My “shooting junk subjects with junk equipment” mentality brought its own list of technical failures. The hit rate for work worth showing to anyone was very low. It didn’t matter that much to me back then–the pleasure was mostly about the experience of being in these decrepit, ominous sites alone, late at night, often with no permission. The melancholia of a future denied was palpable in these stark, lonely places. Almost all the subjects in my nineties work are already gone, vanished into the windswept Mojave night. After all these years, the romance it holds for me is the one thing that hasn’t changed much.
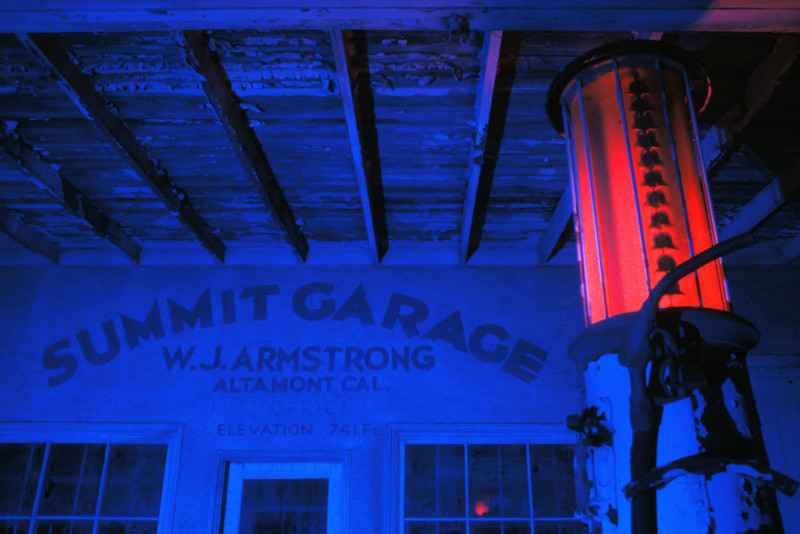
This was before the internet, there was no one to share this work with except a couple of Harper’s former students, Lance Keimig and Tim Baskerville, who had begun holding their own “Nocturnes” workshop series, I would guest lecture and do slide shows for them, but other than that, only close friends ever saw what I was doing. I explored the process mostly in a vacuum for many years, but even then, I knew I was an outlier in the small community of night shooters–not only because of my subjects, but also how I lit them. No one was doing what I was doing, in the places I was doing it.
I frequently cite O.Winston Link’s 1950s train images, or the commercial work of Chip Simons from the ‘80s as the source of my lighting inspiration, but both of them used studio-style lighting arrays on location. Power supplies, fixed lights on stands, assistants. None of that could work with the late-night guerilla-style shooting I was doing. It didn’t take long to understand that I could get sophisticated-looking lighting effects during the time-exposure by simply walking through the scene, working with a hand-held strobe and hardware store flashlight that fit in my pockets.
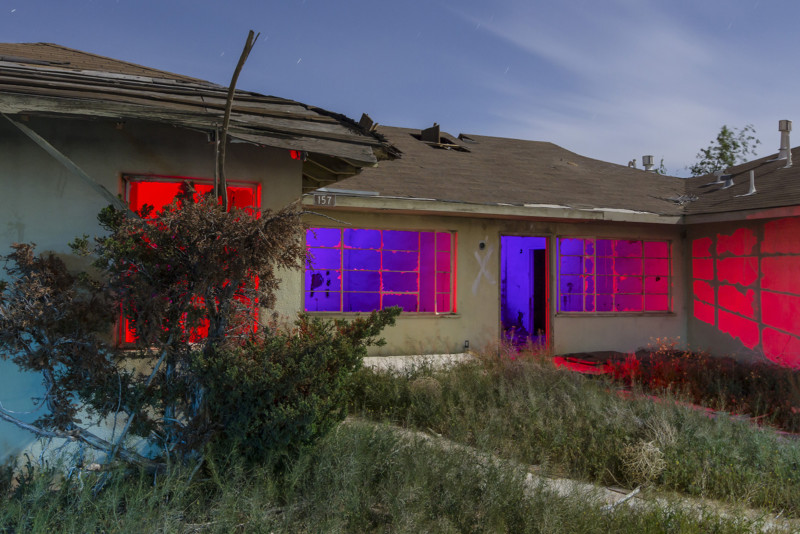
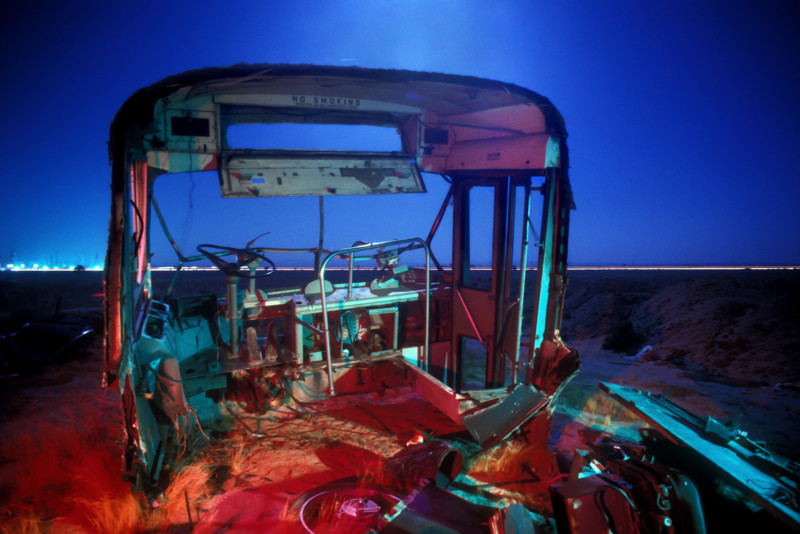
My work is different than most light painters in that you never see my light source. I don’t take pictures of lights, I take pictures of things that are lit. Even at its boldest, my light is there to serve the scene, not be the subject itself. It could be argued that what I do isn’t light painting, but I’ve always felt it was the “hand application of the light” (as opposed to fixed lights) that defined the term, whether you see the source or not. I equate my aesthetic with stage or movie lighting more than anything else. Hitchcock, Kubrick, Lynch, maybe that’s where to look when thinking about where it comes from. Or all those rock concerts I went to as a teenager.
Because I approached it from a sketching and speed painting background, it has always been more important to provoke an emotional response than create technical perfection. It was free form and organic, non-technical. No one said to me “You’re not supposed to do it that way!” until it was too late. Turns out, I did it this difficult old-fashioned way for a long time . . . until it suddenly became modern again when the technology caught up and made it easy.
The digital era brought the image preview and the flexibility of the RAW file. It changed everything. Night photography and light painting, once considered the final frontier of amateur photography, instantly opened to the masses. When I switched to digital in 2005, my own output exploded. Now using the preview to dial in the shot, my hit rate went from 5% to almost 100%. Already fifteen years of experienced in this arcane technique, I knew exactly how to exploit it with this new technology.
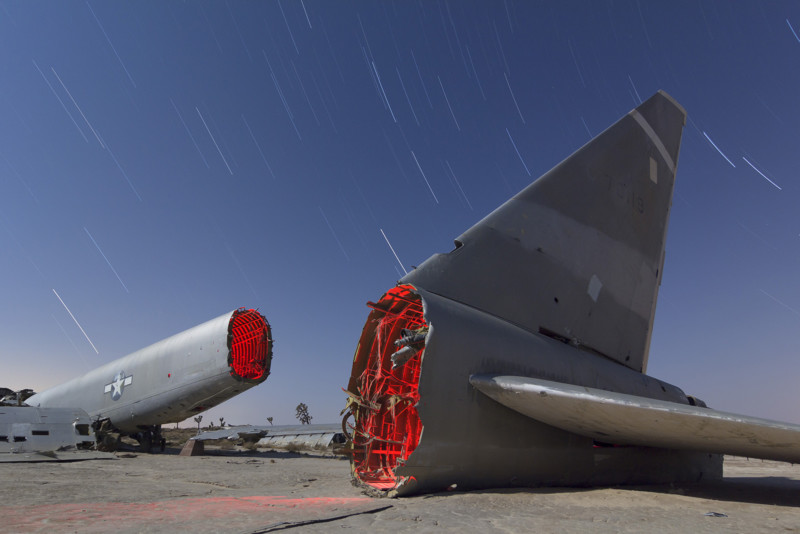
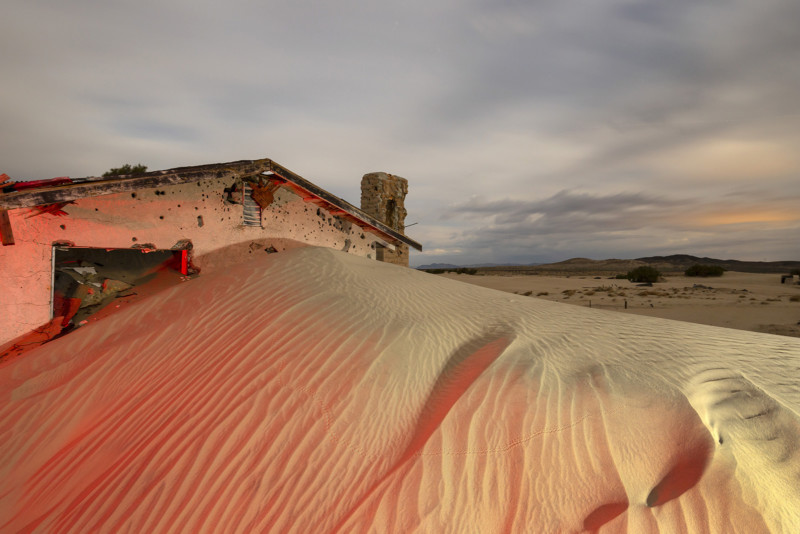
Brighter and more adjustable than 20th-century incandescent flashlights, LEDs totally changed hand-held lighting as well. Since 2011, I’ve used the full-spectrum, fully adjustable Protomachines PM1 and PM2 for all my lighting. It’s the only light I carry at this point. As the tech improved, my lighting became more ornate. As I got comfortable with each step in complexity, I pushed further. In the ‘teens I even switched to shooting almost exclusively with a fisheye lens for a few years, just to keep challenging myself.
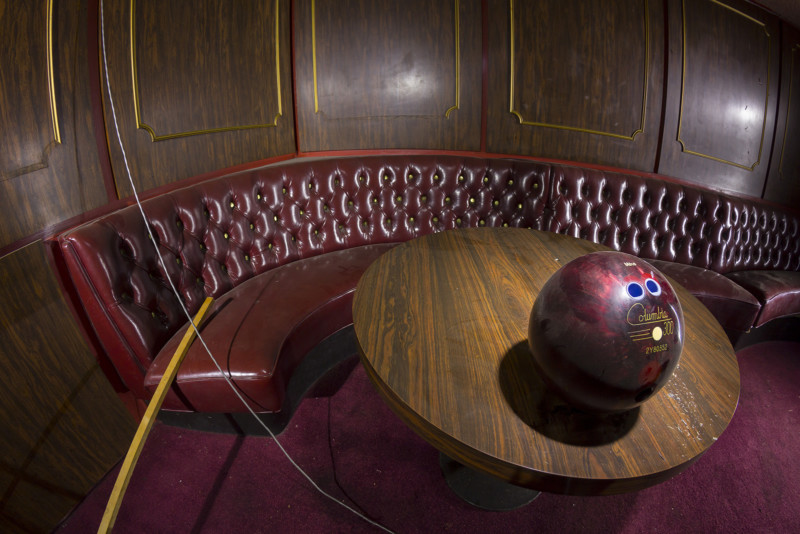
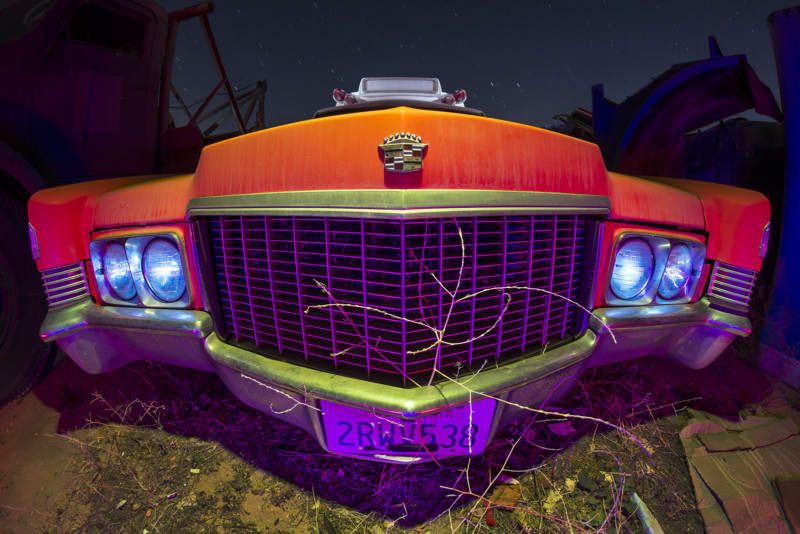
If putting the work online in 1999 made the popularity of this style skyrocket, the switch to digital five years later lit the afterburners. The “Lost America look” became a touchstone for the kind of night photography and low-cost hand lighting many amateurs and pros wanted to try. Today, light painted night photography of ruins, derelict aircraft and junk cars shot on every continent, are all over the web. Advertising, TV, light painting is everywhere now. It’s so ubiquitous, LED light shows are even being projected on ruins from antiquity, like the Acropolis, for people to watch and photograph.
After all these years, I still approach it small, as a personal art project, striving to keep it as pure and uncompromising as I can. Being a life-long, working artist, I’ve done pretty much every kind of art job there is. Creating for a living always means having art directors and marketing departments telling you what they want you to make. My night photography is the one type of art that I make that is only for me. The one discipline where I only do what I want, when I want, the way I want. This is the only kind of photography I do, the only kind that interests me. For such an oddball personal project, the idea it has become so popular is almost frightening. It’s been a fascinating arc to live through and I still wonder where it all leads.
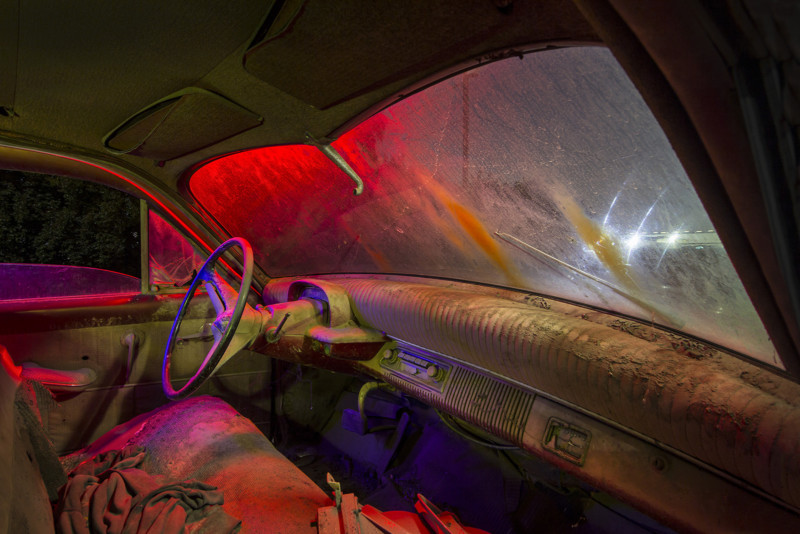
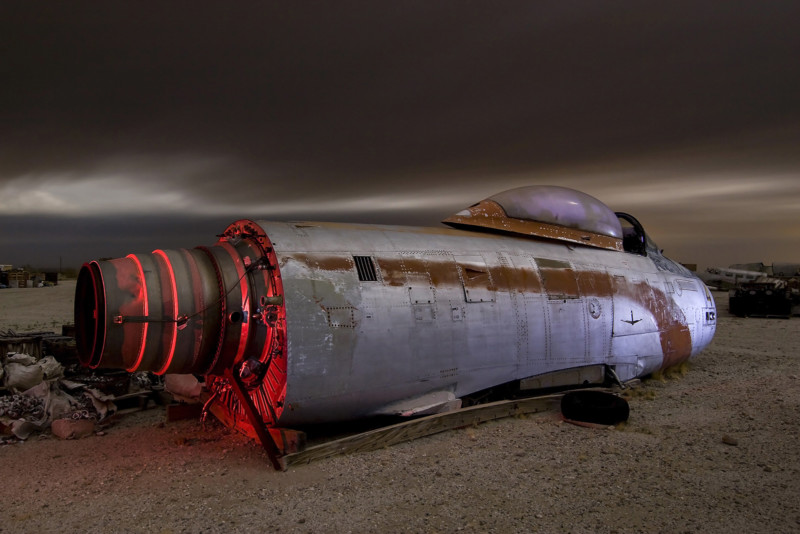
I’ve always been open about the formula for the very specific way I work and it’s a relatively simple checklist to follow:
- Tripod up and find yourself a remote release.
- Turn off all the auto features. Make the camera as simple and manual as possible.
- Find a place with as little man-made light as possible.
- Shoot within a few days of the full moon.
- Save your night vision: throw away the headlamp and work by moonlight. It’s bright out there.
- Use a wide lens, the wider it is, the more forgiving it is to zone-focus.
- Use a low ISO, 100 or 200, to keep noise down.
- Set the camera to Bulb mode, the lens to f/8, and expose for 2-4 minutes. Those two exposures will look only one-stop different, so it depends on conditions, but start there and you’ll be very close to that “night for day” look in much of my work.
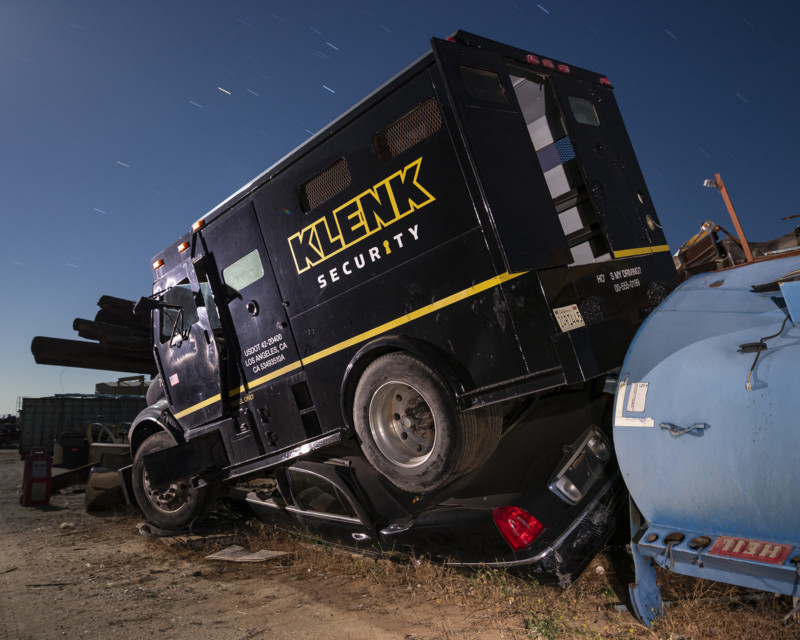
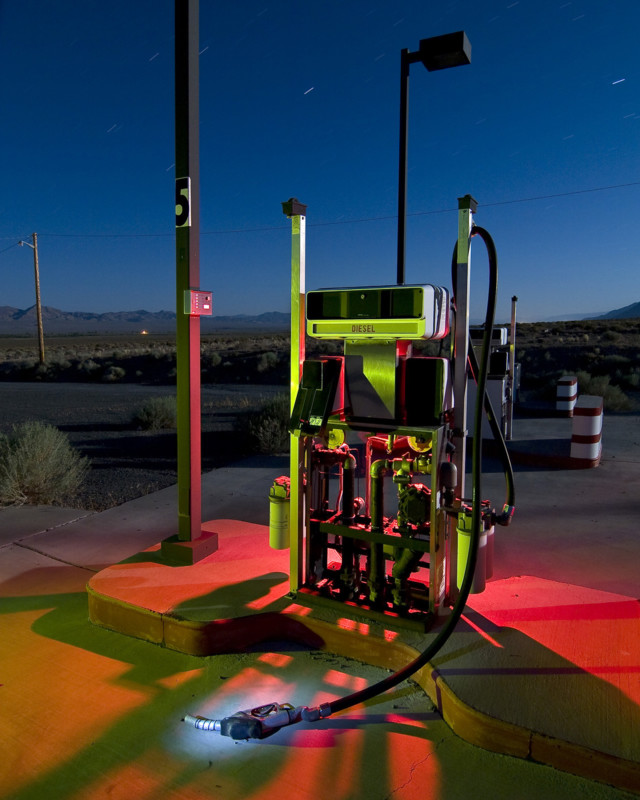
If you’re adding light, any relatively powerful flashlight can get you started. It’s not the type of light you use, but where you put it, that matters. In the old days, I used swatches of theatrical lighting gel held over the light to add color. All the same old rules for using lighting in daylight apply at night: Added light to areas fully moonlit simply disappears on the sensor, overwhelmed by the burned-in moon. Underexpose a stop to deepen shadows and then light into those shadows. Light surfaces from shallow angles to bring out texture. Light from one spot at a time to retain shadows, or move it in circles to soften them. Try to light from angles oblique to the lens. Use the light to project shadows. Cool-colored objects are best lit with cool-colored light and vice versa. It’s often best to use white or near-white light to let the natural color of the subject dominate to the scene. Sometimes it’s best to light the environment instead of the subject. Sometimes it’s best to just leave most of the frame dark.
After your first exposure, use the preview to dissect what you just did. Assess, adjust, reshoot. Build on what you did. Try different lighting angles, intensities, and colors. It becomes almost like a dance as you move through the scene to repeat the same motions and movements to add the light, with slight variations each time, until you get it right. Most importantly, be safe out there and have fun.
About the author: Troy Paiva, AKA The Lost America Guy, has photographed the abandoned underbelly of the American west since 1989. His surreally lit night photographs have been displayed in galleries and museums–as well as published–in over a dozen countries. Five books and a puzzle are currently available on Amazon.
Want to shoot with Troy? He will be co-hosting a workshop in October this year with Timothy Little, in Nelson Nevada. Still a couple of spots left. All the info is here. For more from Troy Paiva, you can follow him on Flickr, Facebook, Instagram, or his website here.