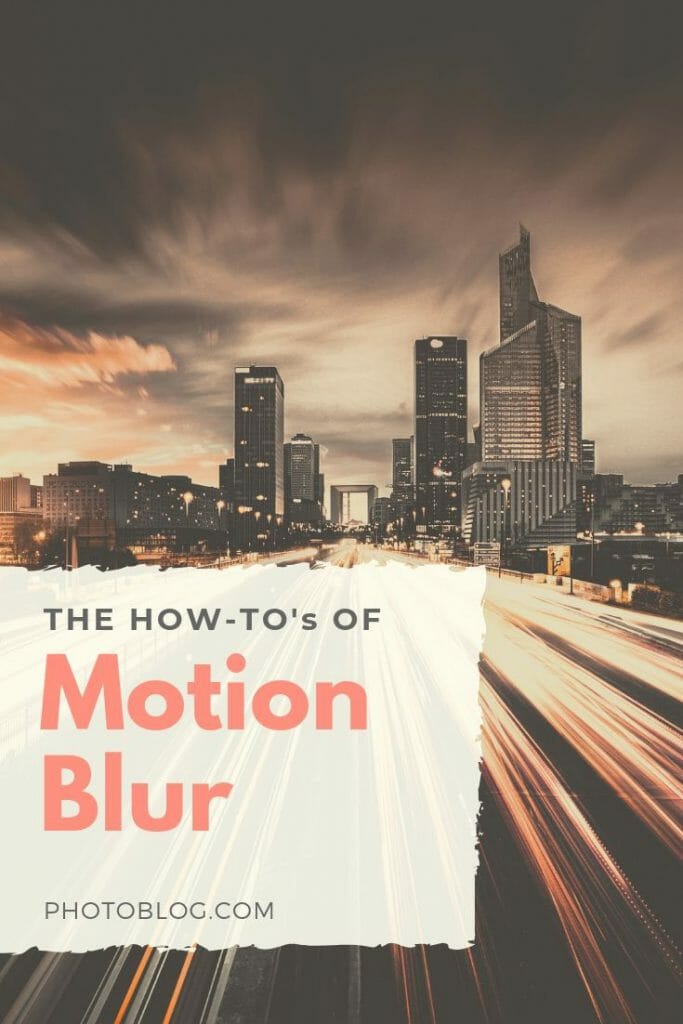
Have you ever wondered how you can add a sense of motion to a still photo? Motion blur is your answer.
You can create a sense of movement and bring your images to life using motion blur.
Join us as we uncover what it is, how to capture it, and when to use it.
What is Motion Blur in Photography?
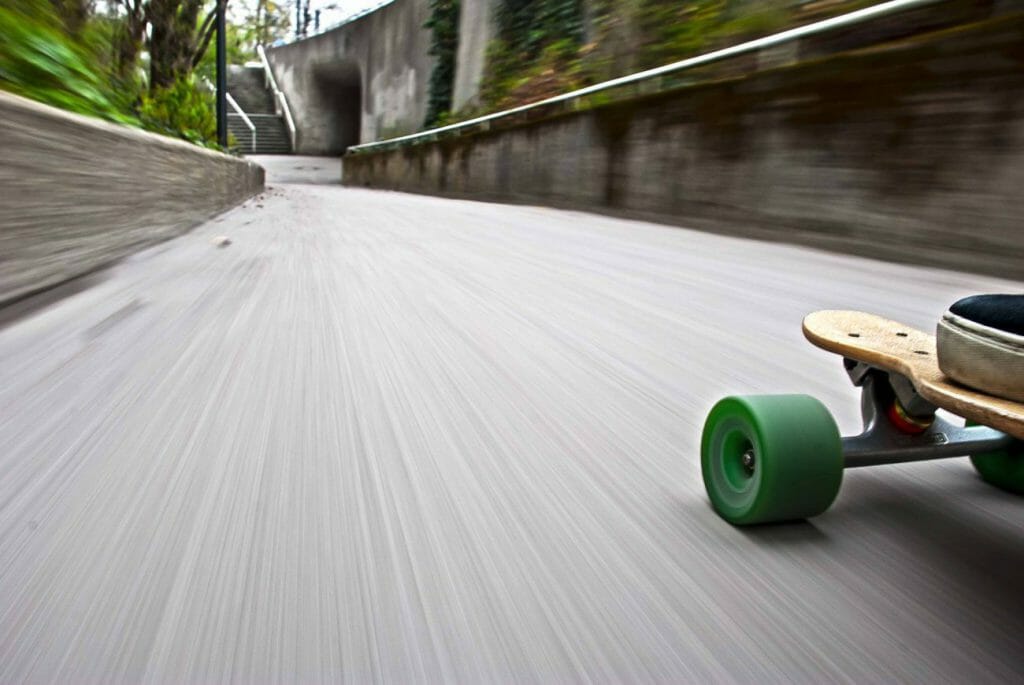
Motion blur is the streaking effect recorded when your subject, or your camera, moves during an exposure. Not to be confused with camera shake, motion blur is a photographic technique used to portray a sense of movement or speed.
Camera shake, on the other hand, is the unintentional blurring of an image when a photographer accidentally moves the camera while taking a photograph.
How to Capture Motion Blur
Capturing motion blur is a relatively easy technique to master once you have the basics down.
The following steps will help you on your way to motion blur mastery.
1. Decrease Your Shutter Speed
Shutter speed is the most critical factor to consider when capturing motion blur. A shutter is the curtain in front of the camera sensor that opens to let light in when you take a shot. A fast shutter speed will freeze motion, while a slower shutter speed will cause your subject to blur.

Which Shutter Speed Will Blur Motion?
There is no perfect answer to this question. It all depends on the speed of your subject. The slower your subject is moving, the slower your shutter speed will need to be.
You can use this table as a rough guide.
| Subject | Shutter Speed (s) |
| A person walking | 1/60 or slower |
| A moving car | 1/125 depending on its speed |
| Light trails and light painting | 10 seconds and longer |
| Waterfalls | 1/6 down to 30 seconds |
Bear in mind that as you decrease your shutter speed, more light will reach your camera’s sensor. This can result in overexposed photos (too much light has reached the sensor). Your picture will look washed out and will lose detail. To compensate for this you will need to adjust either the aperture, ISO, or use filters.
If you decrease your shutter speed, more light will reach your camera’s sensor, overexposing your image. 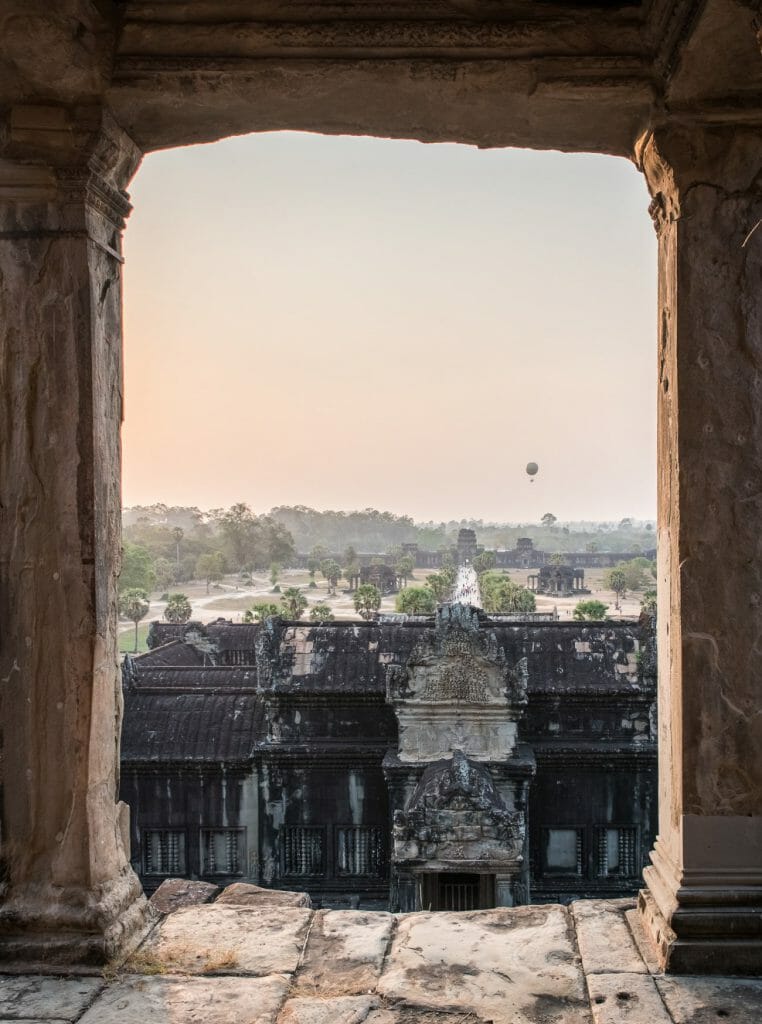
You will need to adjust your aperture, ISO or use filters to get proper exposure like this.
2. Use a Smaller Aperture
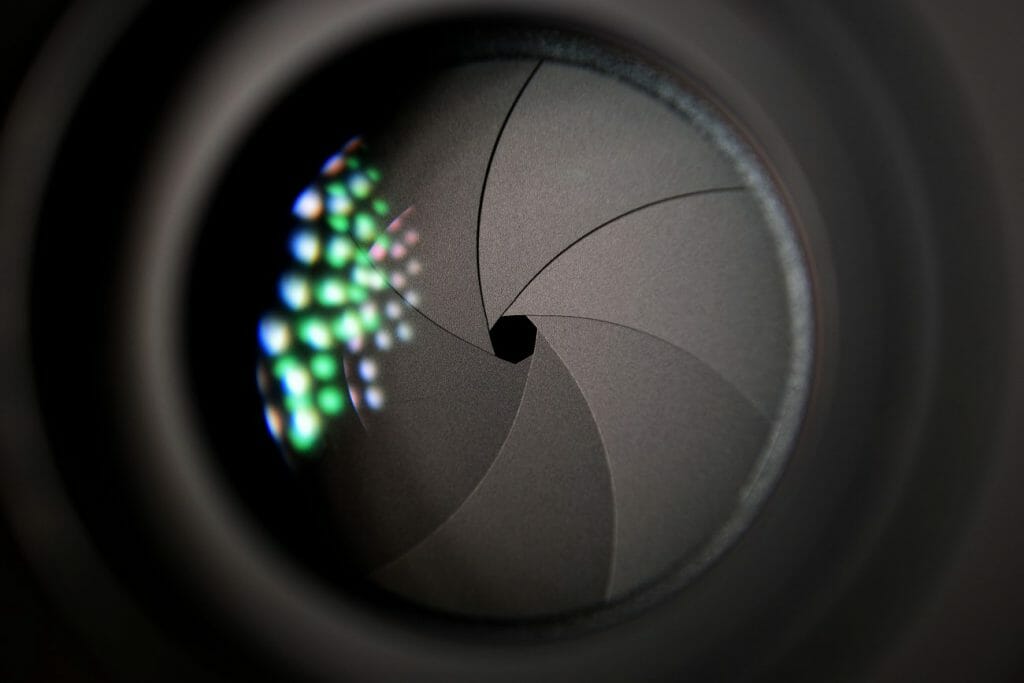
An aperture is the adjustable opening in your lens that lets light into your camera. The wider the opening, the more light reaches your camera’s sensor.
Aperture is measured in f-stops. A high f-stop number (f22) indicates a very narrow opening, whereas a low f-stop number (f2.8) indicates a very wide opening. It seems counter-intuitive, but you’ll get used to it.

So, if your image is overexposed (too much light) as a result of using slower shutter speed to achieve motion blur, you can reduce exposure by increasing your f-stop number.
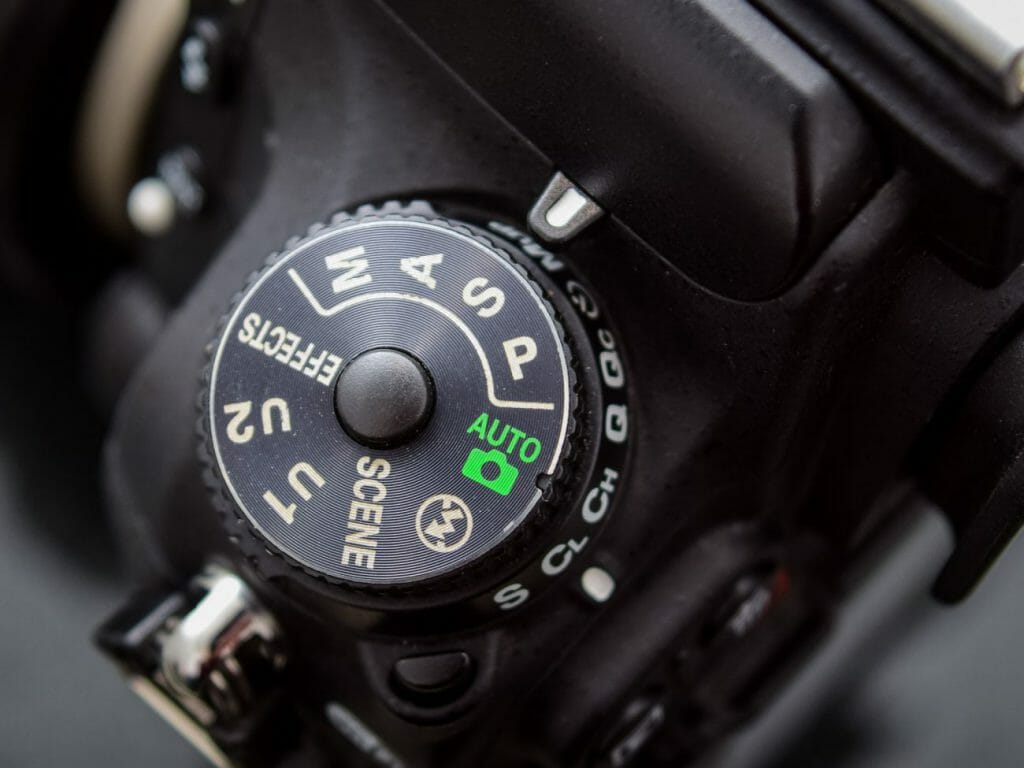
3. Use the Shutter Priority Mode
If you’re not comfortable shooting in manual mode and making the adjustments yourself, use shutter priority mode.
The advantage of using shutter priority mode for taking motion blur photos is that you control the shutter speed (the most important setting when it comes to motion blur). Your camera will select the rest, giving you a perfect exposure and more freedom to focus on getting the perfect shot.
4. Reduce Your ISO Setting
ISO represents how sensitive your camera’s sensor is to light. It can range from ISO 50, up to 204800 in some newer camera models. The higher the number, the more sensitive to light your sensor will be.
For capturing motion blur, you’re going to want quite a low ISO, since your shutter speed is going to be low. If your ISO is too high you will get overexposed pictures. If you’re shooting during the day in sunlight, ISO 100 should do the trick.
5. Use Neutral-Density Filters to Create Motion Blur
Neutral-Density (ND) filters are like sunglasses for your camera lens. They block the amount of light entering your camera and allow you to take longer exposures.
ND filters are your friends if you want to capture motion blur with long exposures during the day. Without an ND filter, the following photo would be overexposed at such a slow shutter speed.
6. Stabilize Your Camera
Unless you’re panning–-a technique we will get to shortly–-stabilizing your camera is a must. Failing to do this will result in undesirable camera shake.
I suggest using a tripod for shutter speeds below 1/60. The general rule is to use a tripod when your shutter speed is less than the reciprocal of your focal length.
That means if your focal length is 100mm, your shutter speed for handheld shots shouldn’t be less than 1/100, and if your focal length is 50mm, your minimum shutter speed for a handheld shouldn’t be less than 1/50.
Secure your camera on a tripod or rest it on a stable surface. Use a time delay or remote trigger to completely remove the risk of any shake.
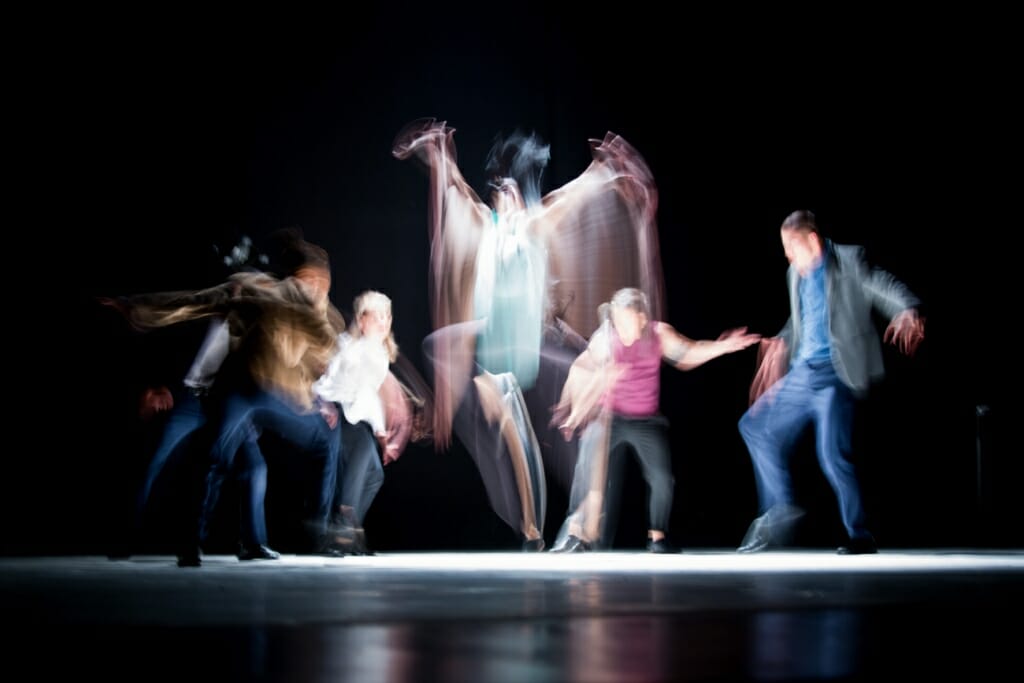
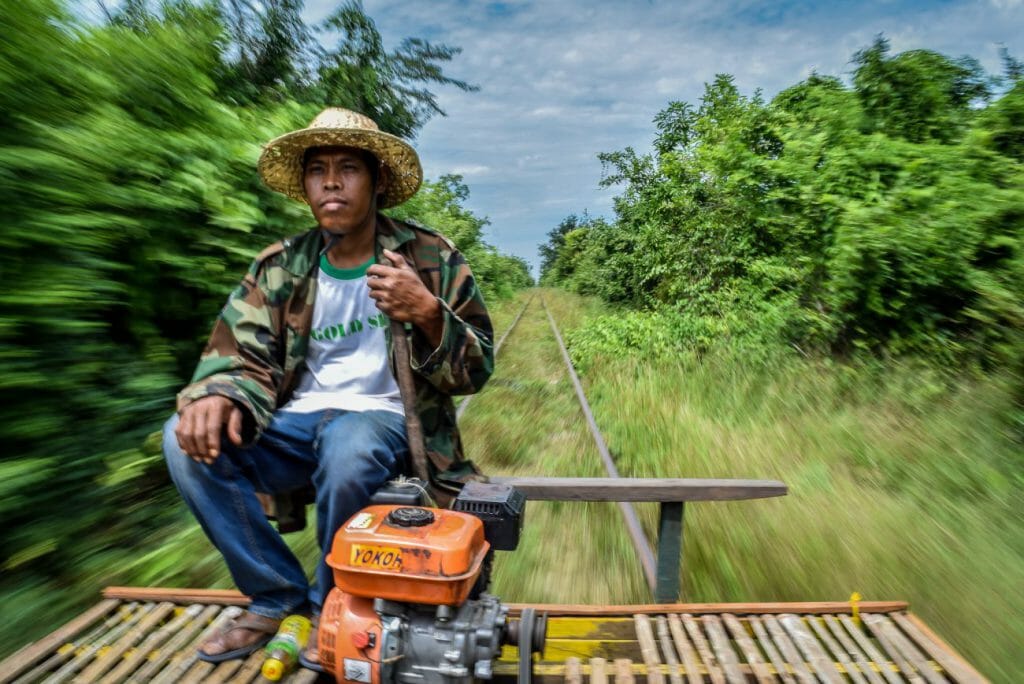
Use Panning to Create a Sense of Motion
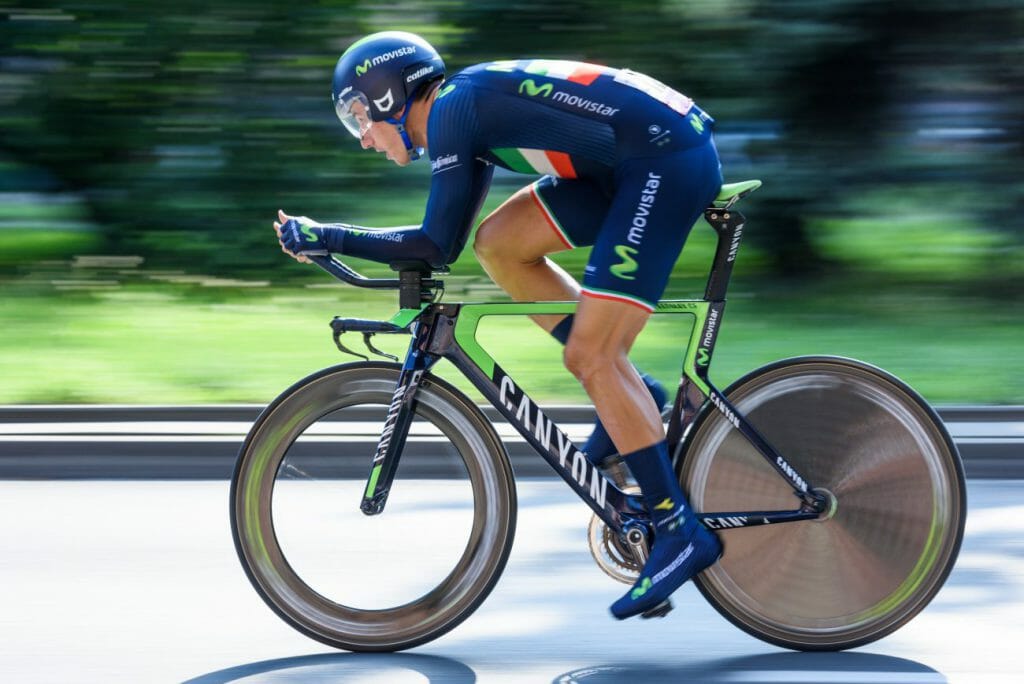
Panning is when you move your camera along with your subject’s plane of motion as you take the shot.
If done correctly, your subject will be in focus and the background will be blurred. This is a really useful technique if you want to create a sense that your subject is moving quickly.
1. Get into the Right Position to Pan
First, your subject should be moving (obviously). For best results, position yourself so that your subject is moving at a right angle to you.
2. Choose Your Panning Shutter Speed
The shutter speed you use depends on the speed of your subject and the amount of blur you want in your photo.
The slower your subject is moving, the slower your shutter speed will need to be. Bear in mind that slower shutter speeds will produce more blur than faster ones.

Shutter speed: 1/160. Photo by Allan Rooke. 
Shutter speed: 1/20. Photo by Jason Groepper.
3. Take Panning Shots in Continuous Autofocus Mode
I recommend having your camera in continuous autofocus mode. Track your subject along its plane of movement with focus locked on.
To do this you need to swing your camera from one side to the other while you match your subject’s speed. Try to keep your camera as steady as possible and avoid any vertical movement.
When your subject is in the desired position in the frame, take the shot and follow through with the panning motion.
This technique will take a bit of practice but the results are highly satisfying once you master it.

How to Remove Unwanted Motion Blur
If you’re finding your subjects are blurred and that’s not your aim, it’s probably because your shutter speed is too slow.
Simply increase your shutter speed and adjust your aperture and/or your ISO to get the right exposure so your pictures are nice and sharp.
When Best to Use Motion Blur
There is a time and a place to utilize motion blur to maximum effect. Here are our recommendations for great scenarios for motion blur.
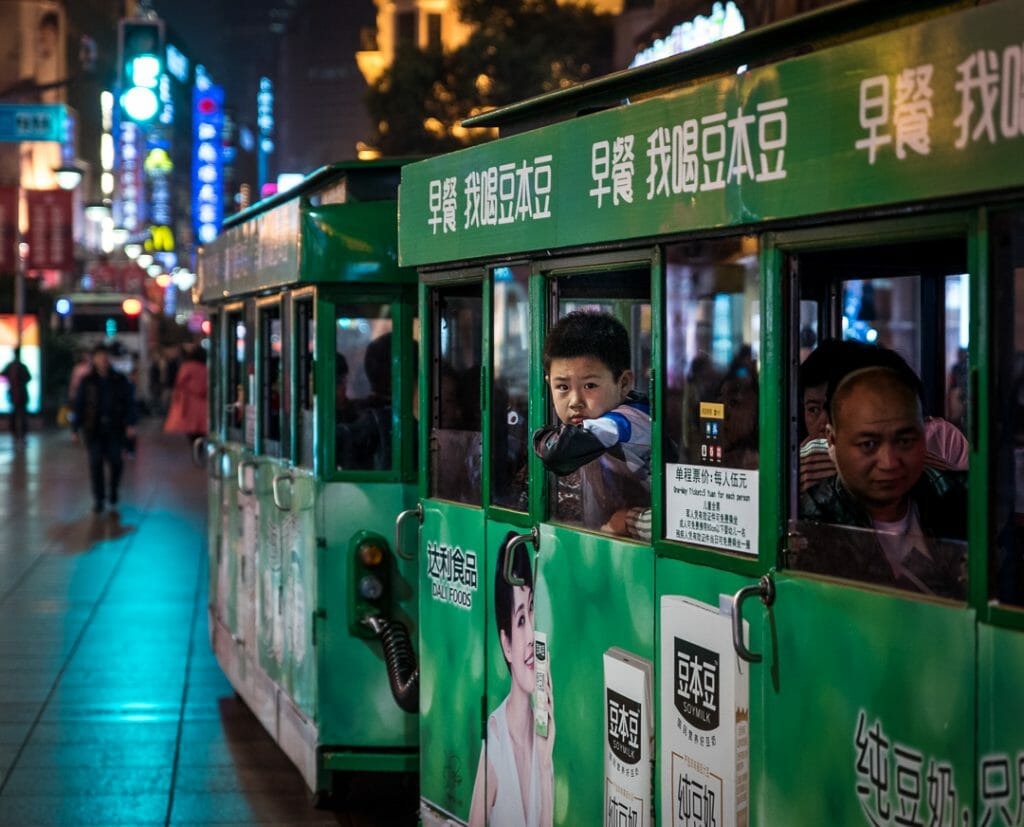
Street Photography
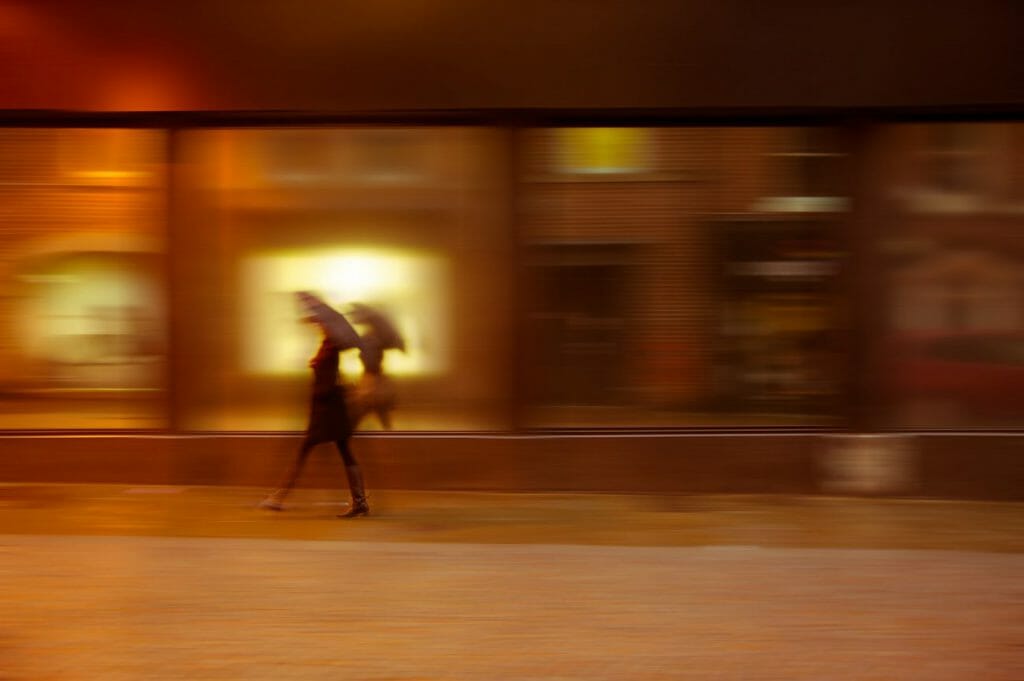
I love street photography because there are no rules. Experiment and be creative.
For example, you can use motion blur to add an abstract touch to your photo or use it to blur pedestrians on a busy street to emphasize the hustle and bustle. Let your imagination run free.
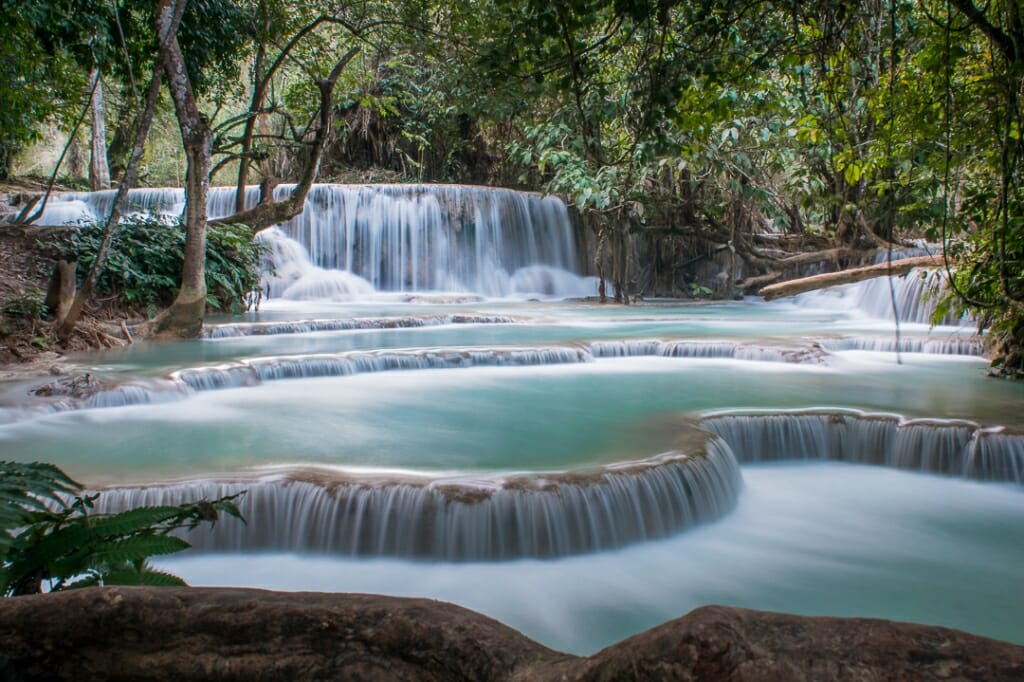
Waterfalls, Streams, and Bodies of Water
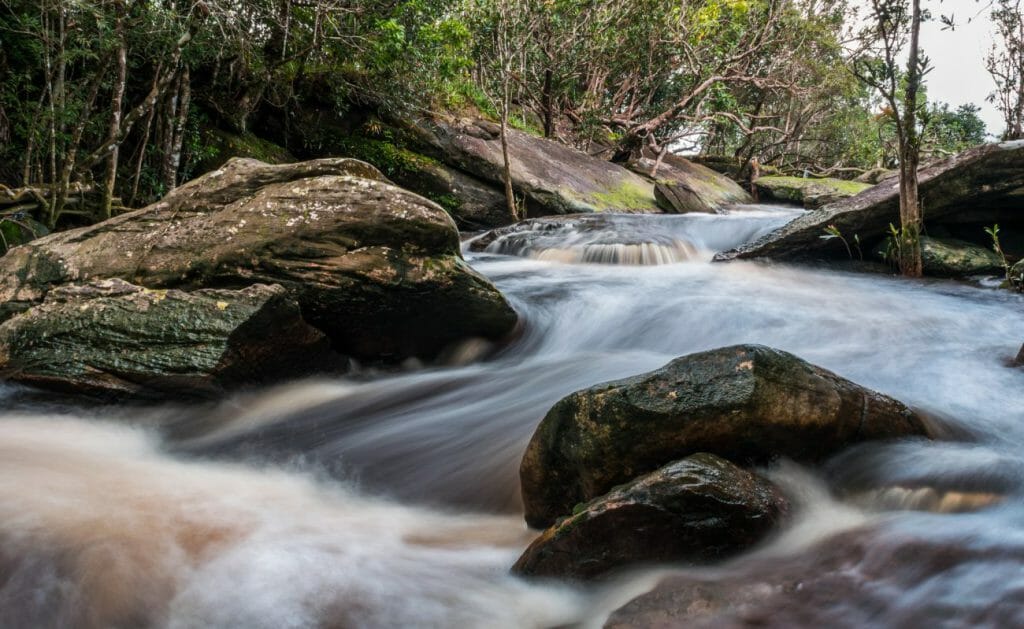
If you want flowing water to have that misty look, start with a shutter speed of about 1/6.
If you want to completely smooth out water on an image, you’ll have to set your speed much slower. The slower you go, the more pronounced the effect will be.
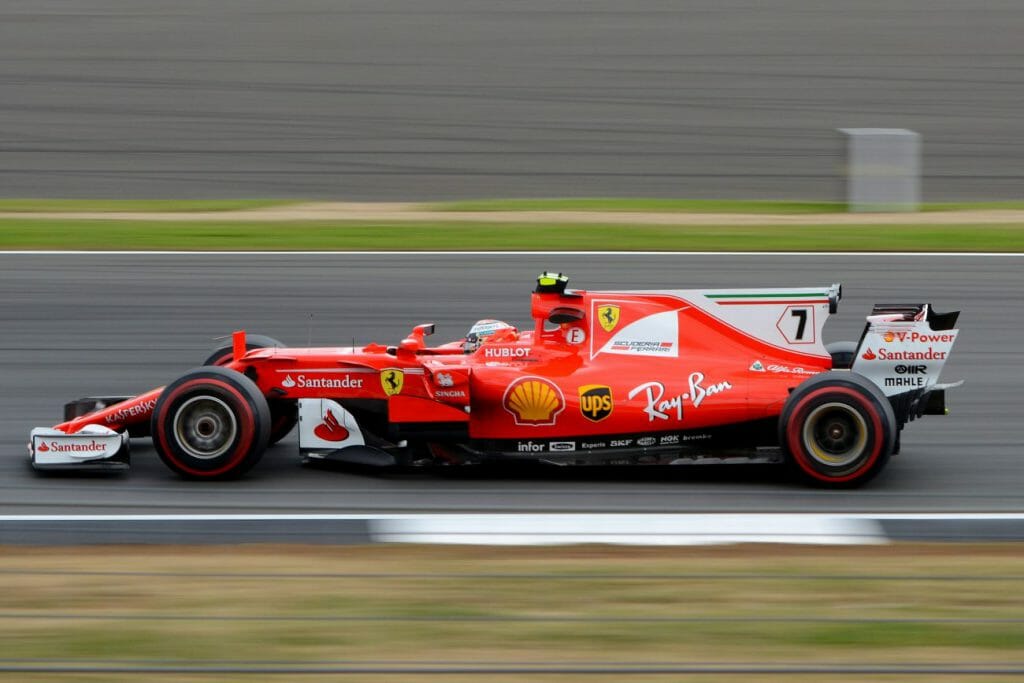
Sporting Events
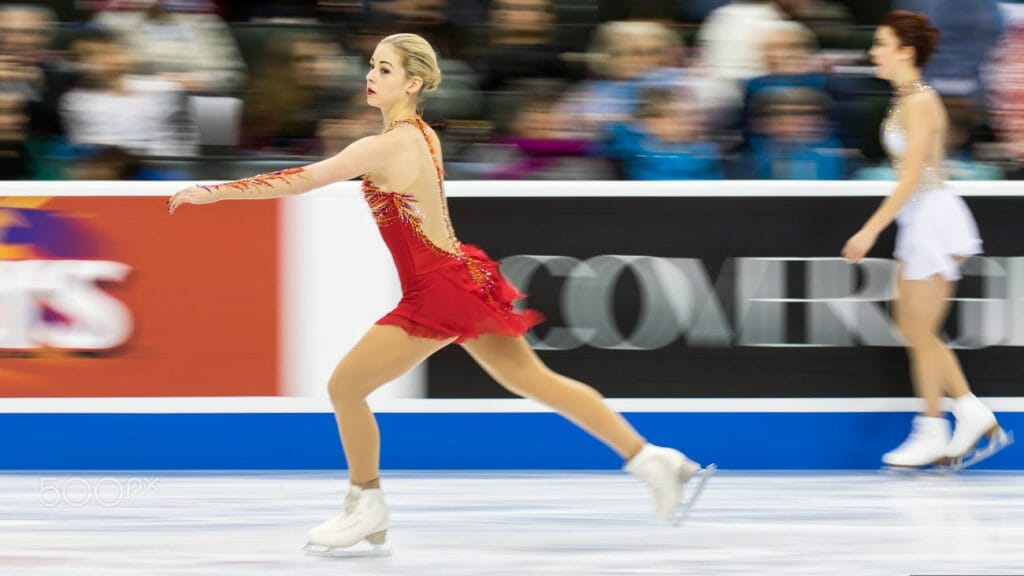
Figure Skating Championship. Photo by Emmanuel Canaan.
Panning is usually the preferred technique when shooting sport and athletes: the subject is in focus and you still get that sense of speed from the blurred background.
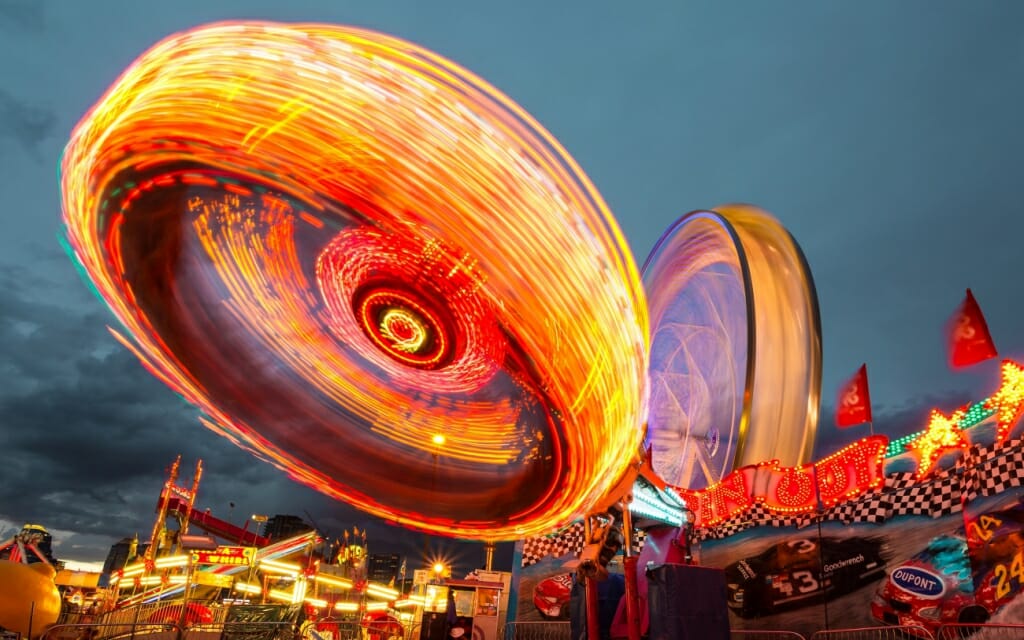
Light Trails
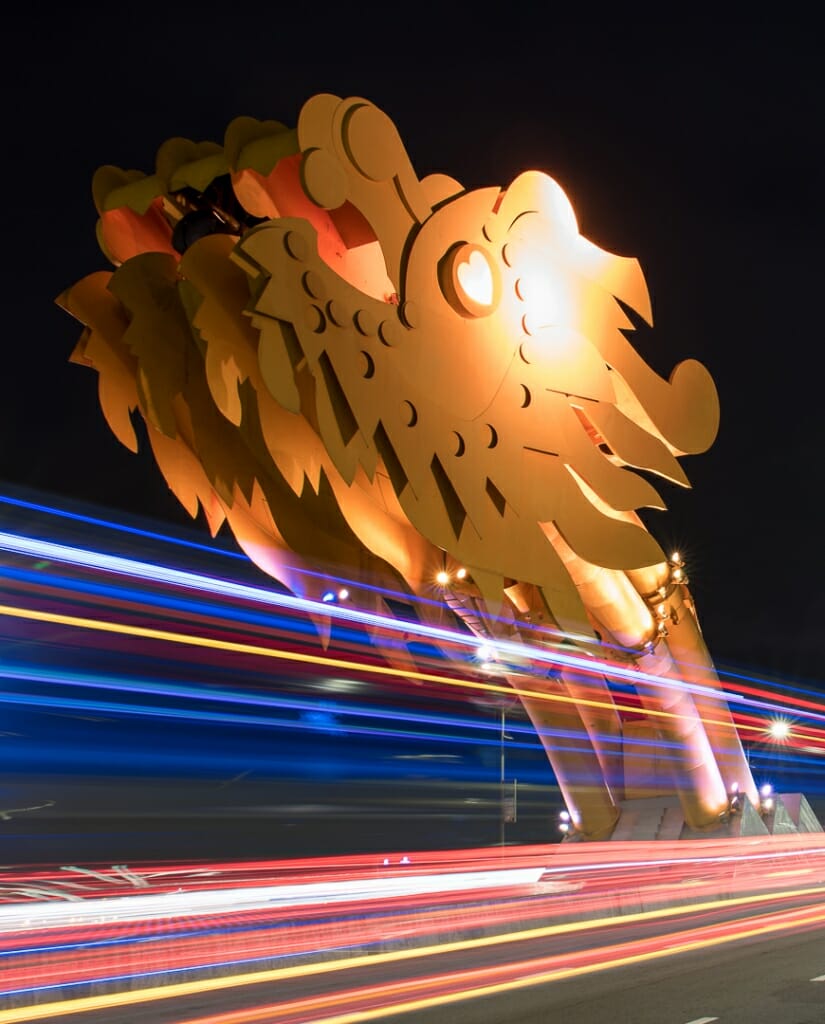
My starting point for light trails is 10 seconds. The slower your shutter speed, the longer your trails will be, and the more trails you’ll have in the frame, depending on traffic.
Be careful not to overexpose though. If you want loads of trails but you find that requires too long of an exposure, you can take two or three shots with a shorter exposure and combine them later in Photoshop.
Light Painting
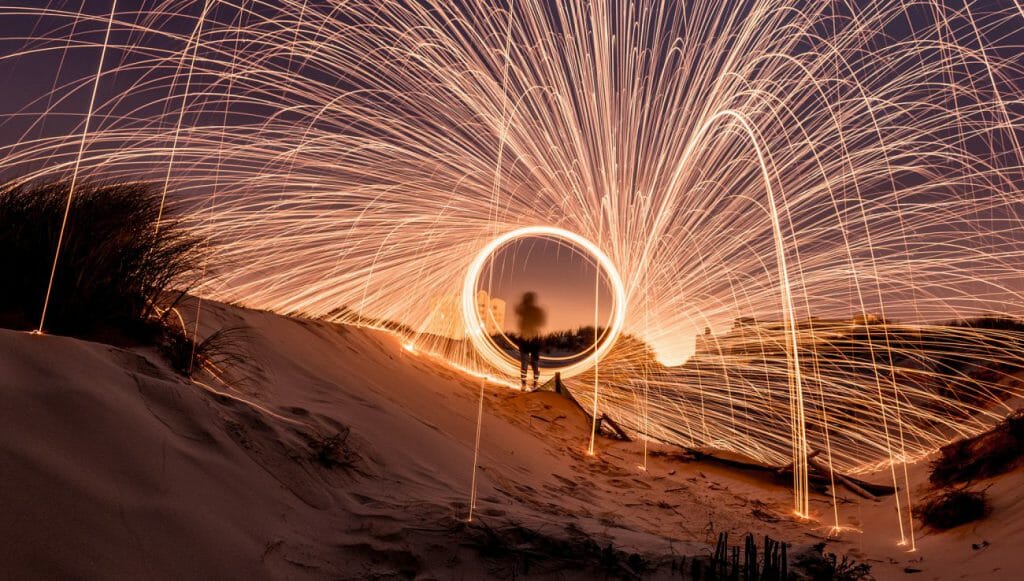
Painting with light is when you use a light source to ‘paint’ patterns or colors within the frame during a long exposure.
Camera settings for painting with light are much the same as those for light trails.
Star Trails and Astrophotography
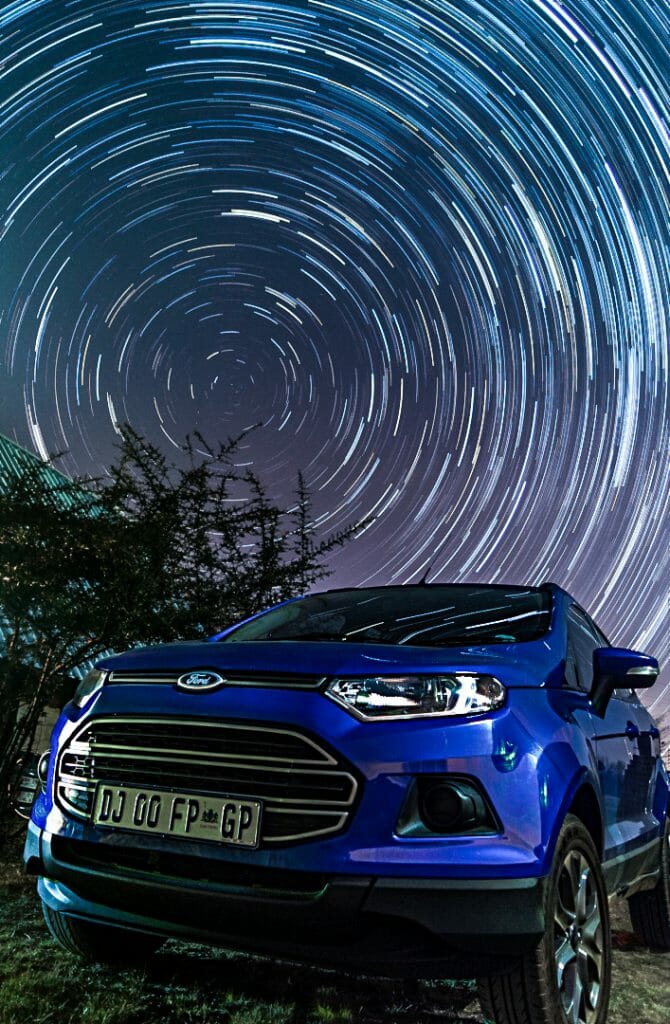
As the earth rotates on its axis, the stars appear to move across the sky. You can capture this motion with very slow shutter speeds.
Star trails will start to become visible after an exposure of about 20 seconds. These won’t be very long trails though. You could decrease your shutter speed to a few minutes, although this will produce a very noisy image.
The best way to get long star trails is to take multiple shots, each with an exposure of 20-30 seconds, and combine them later in Photoshop.
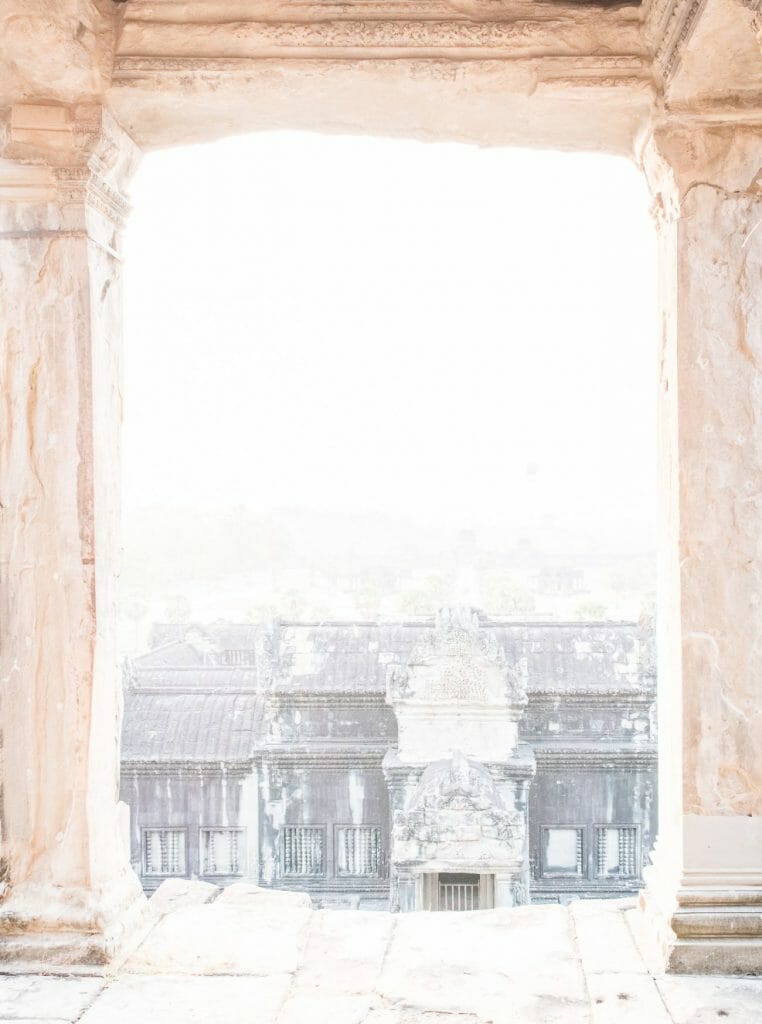
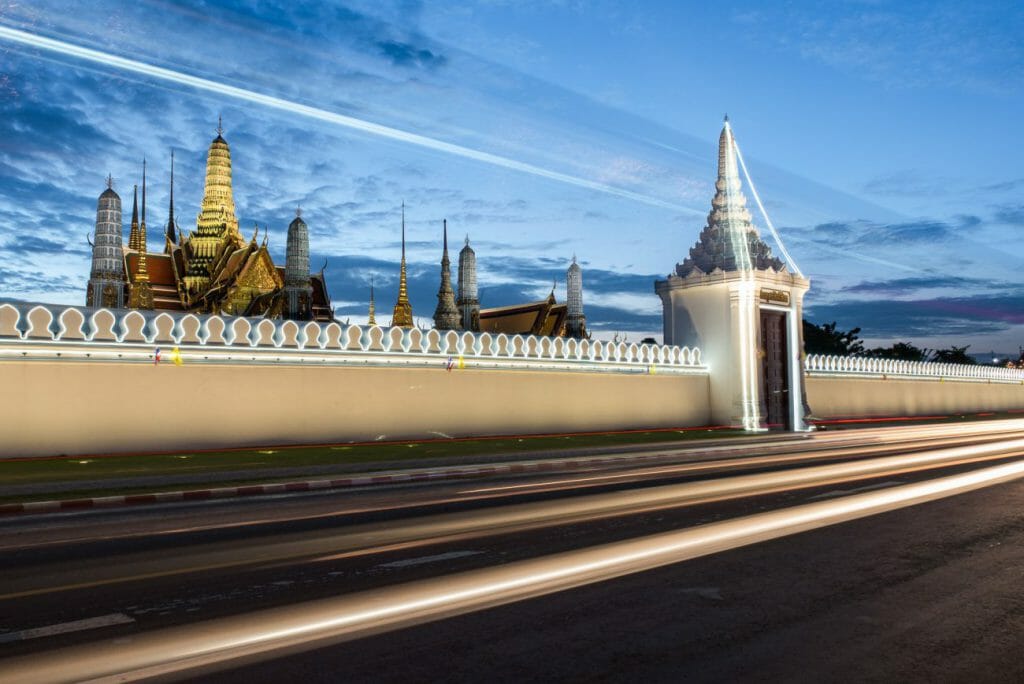
Capture Clouds Moving
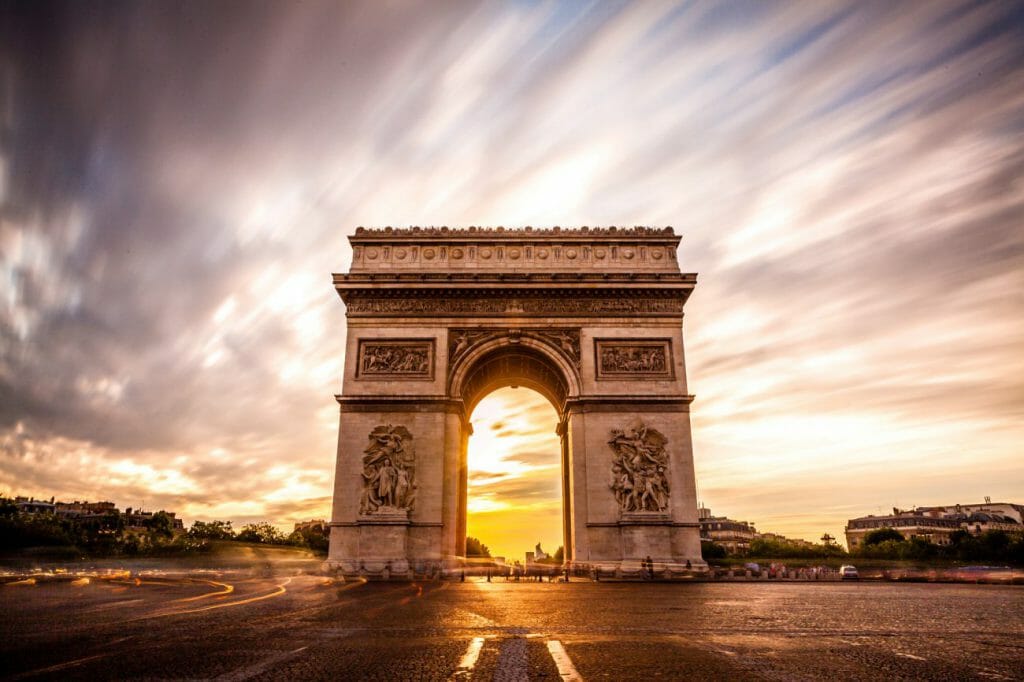
Capturing clouds with slow shutter speeds can add movement to otherwise static environments.
This can be used to great effect in shots of architecture and landscapes.
Photograph Anything That Moves
If it moves, you can capture motion blur in your image. Use your imagination, get creative and experiment.
Get out There and Shoot Motion Blur
Now that you’re armed with everything you need to know about capturing motion blur, there’s nothing stopping you.
Get out and capture silky waterfalls, speeding race cars, star trails, or beams of light on a busy street at night.
Post your results on PhotoBlog.com. I look forward to seeing them!
Now that you’ve learned these tips for stunning photos, you’re a better photographer.
Guaranteed.
But the fact is, the journey doesn’t stop there. There are more tips, tricks, and secrets–all of which will help you take gorgeous photos.
And if you want to learn all of these secrets, I recommend you sign up for the PhotoBlog newsletter. We send our subscribers all sorts of great stuff–including the tips, tricks, and secrets, straight from the experts. All to help you capture world-class photographs.
Did I mention that it’s all totally FREE?
(Oh, and we’ll send you a natural lighting cheat sheet–designed to help you use light in ways you’ve never considered.)
So to start taking stunning photos, enter your email: