Wildlife photography is a very popular area to specialize in, and for good reason.
It gives you a great excuse to spend extended periods of time outdoors, keeps you fit, and allows you to develop a real appreciation for the natural world.
But it can also be a very challenging field too, especially since your subject is often running away from you! Plus, wildlife is usually active in low light conditions at dusk or dawn.
If you are a beginner who is looking to capture beautiful wildlife photograph, you are in the right place.
We are going to share with you 14 of our top wildlife photography tips so you can start improving your nature photos straight away.
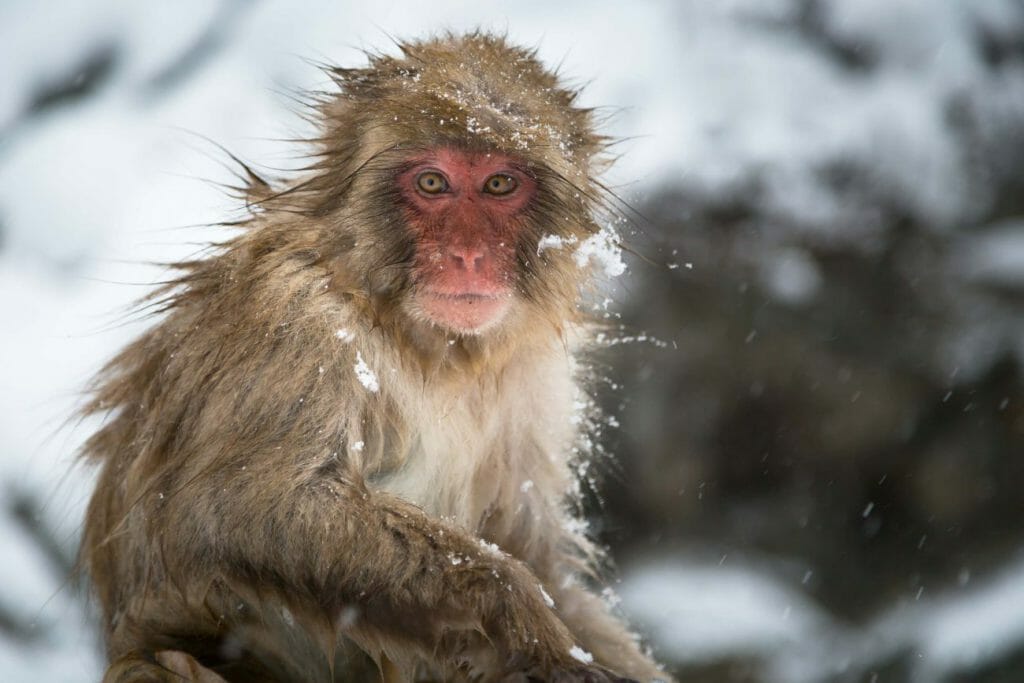
1. Shoot on Eye-level
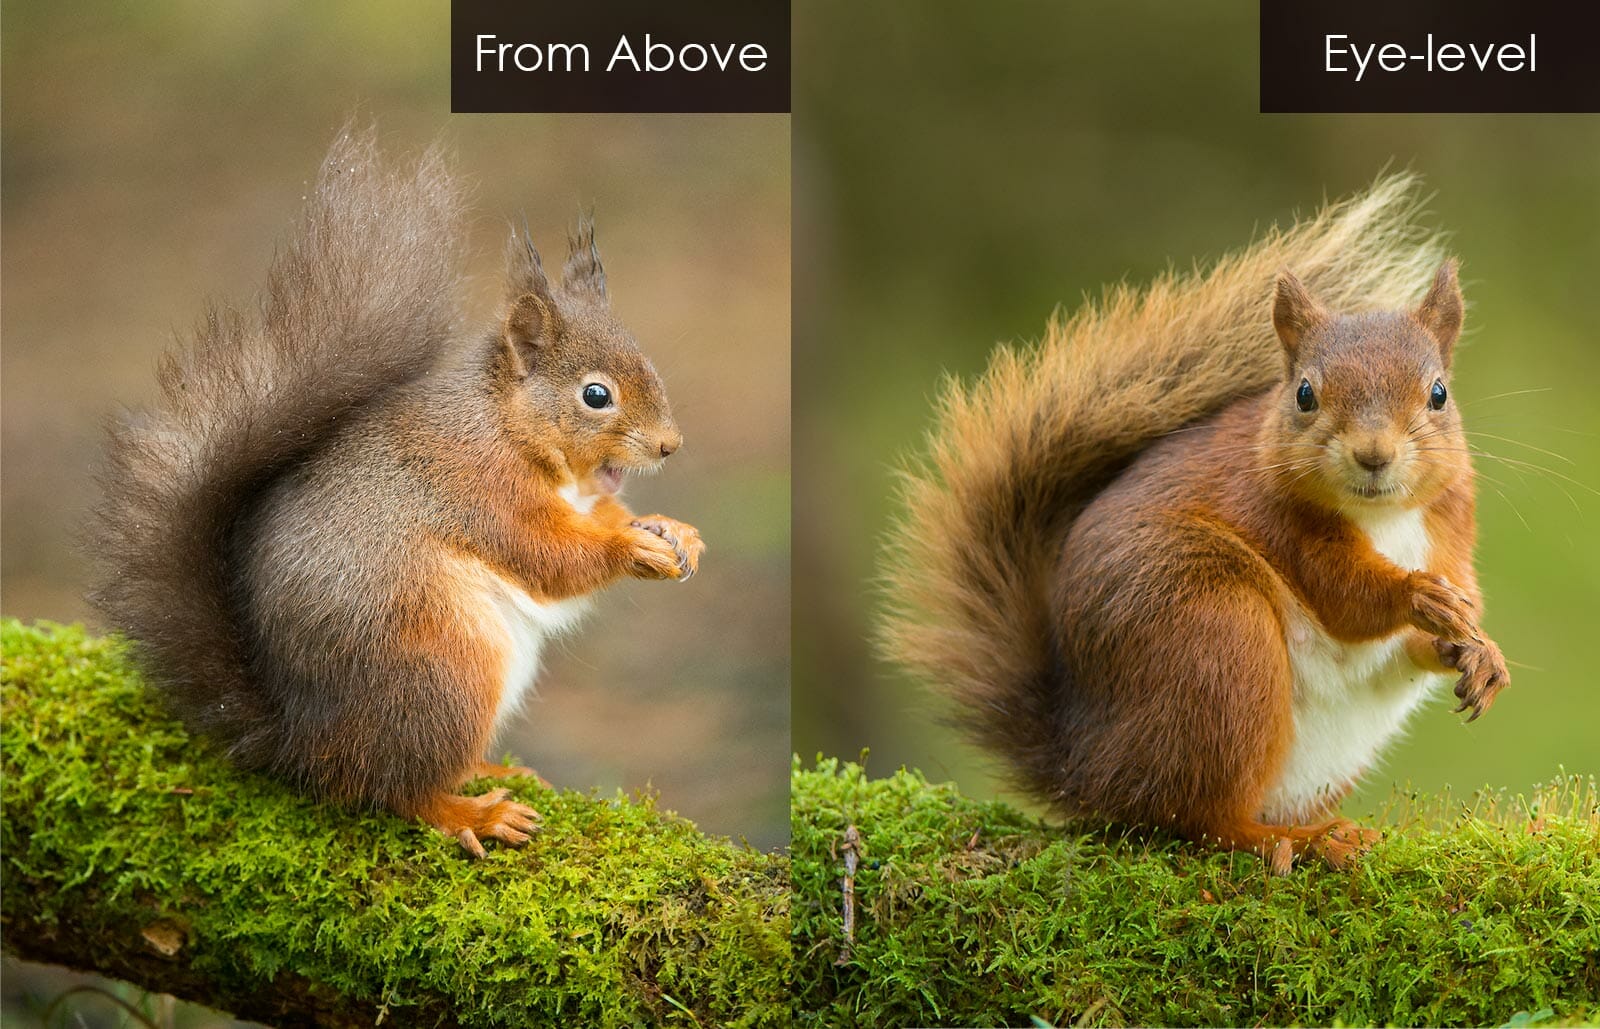
When you’re standing up and shooting an animal on the ground, your angle of view is pointing downwards. This detracts from the photo, making the perspective seem strange. It also decreases the distance between the subject and the background, getting rid of your chance for that nice, soft creamy bokeh background.
Instead, get eye-level with your subject. It brings the viewer down to the animal’s level, creating a much more interesting perspective. It will most likely increase the distance between the subject and the background, removing distracting elements by throwing the backdrop out of focus.
2. Study Wildlife Behaviour
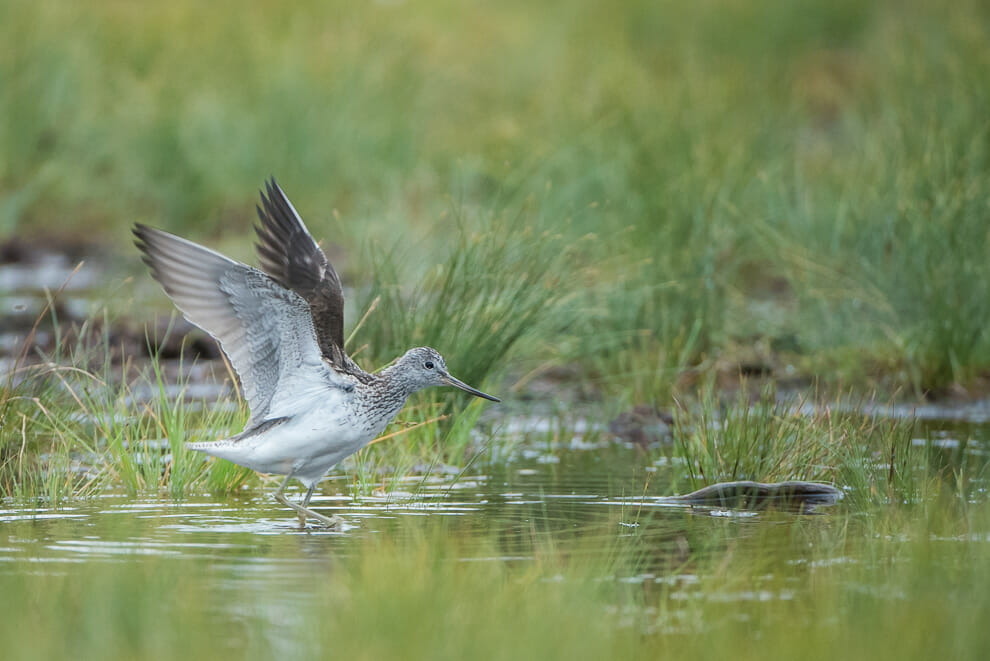
Getting to know the animal you’re photographing can be a really helpful trick. If you know about an animal’s typical behavioral traits, you’ll be able to predict movements or particular things you can focus on capturing.
Do some reading online, or in textbooks, to learn a bit of background about the animal you’re looking to photograph. In fact, you can do this quickly by watching videos on YouTube to study how different animals move, behave and act.
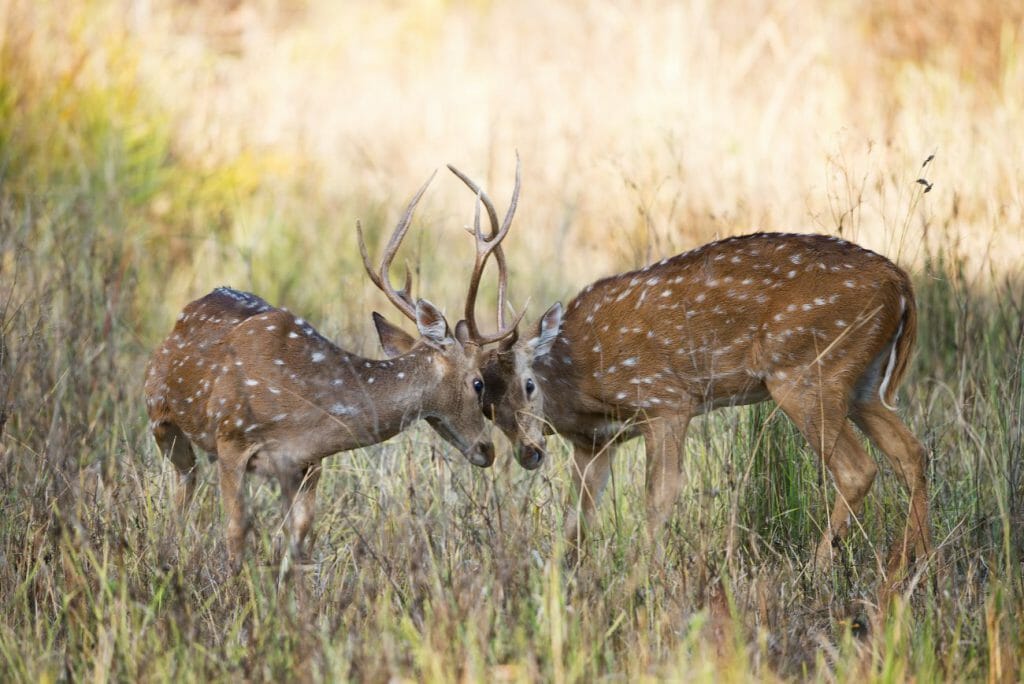
For example, some animals are very territorial at particular times of the year. You might be photographing deer stags, and you can expect males to fight during the rutting season (October time).
If you know about this beforehand, and the types of behavior that signal a fight is about to occur (in this case parallel walking, roaring, pawing the ground, etc.), you stand a better chance of capturing it on camera.
3. Use Your Lens Hood
Lots of people ignore their lens hoods, especially for shorter focal length lenses. I’m not sure why, as they really do help.
Lens hoods are great at preventing annoying lens flare, something that is pretty apparent when you’re shooting towards the sun.
They also eliminate stray light coming from the sides, improving contrast and clarity of a photo.
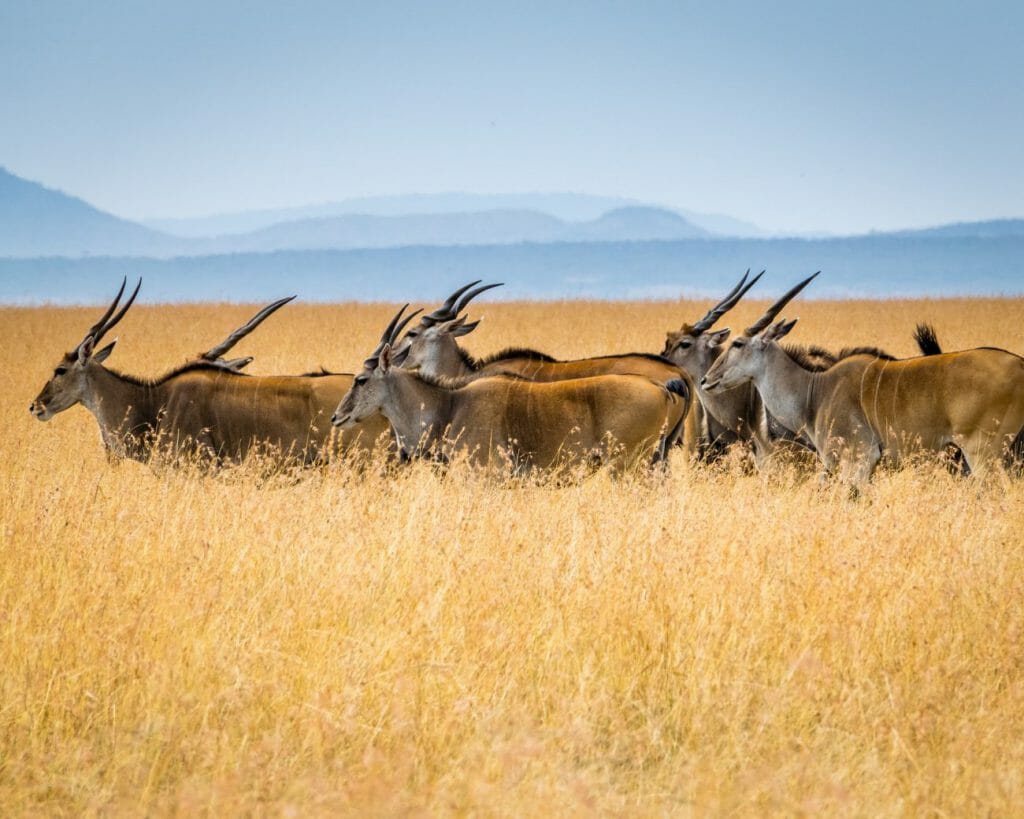
4. Experiment with Light
Light makes or breaks an image.
So you need to know how to use it to your advantage if you want to come away with something unique.
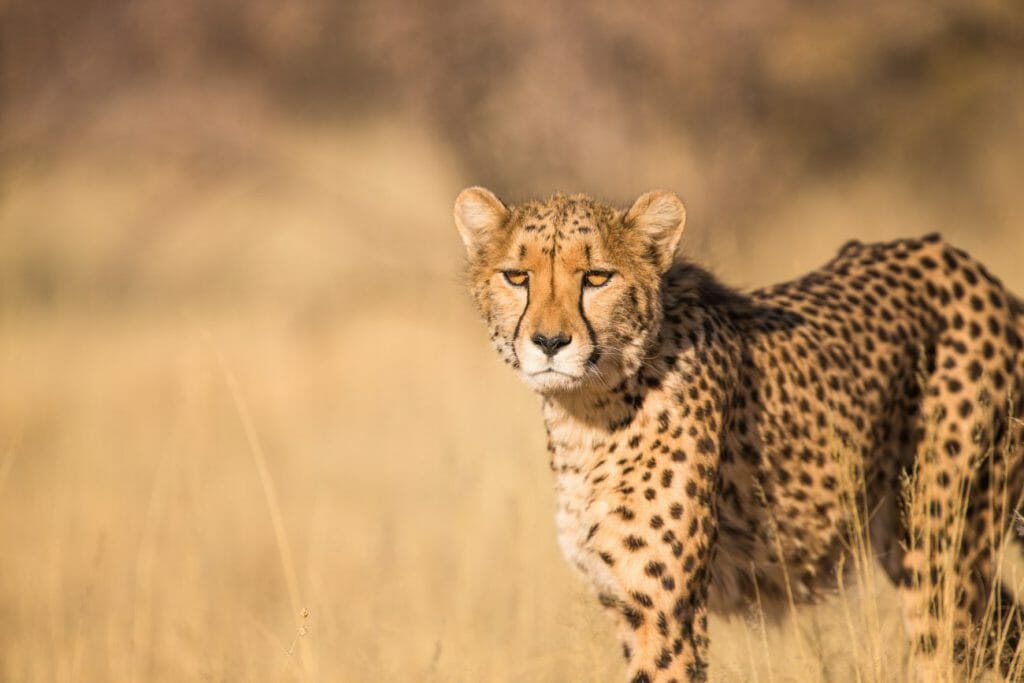
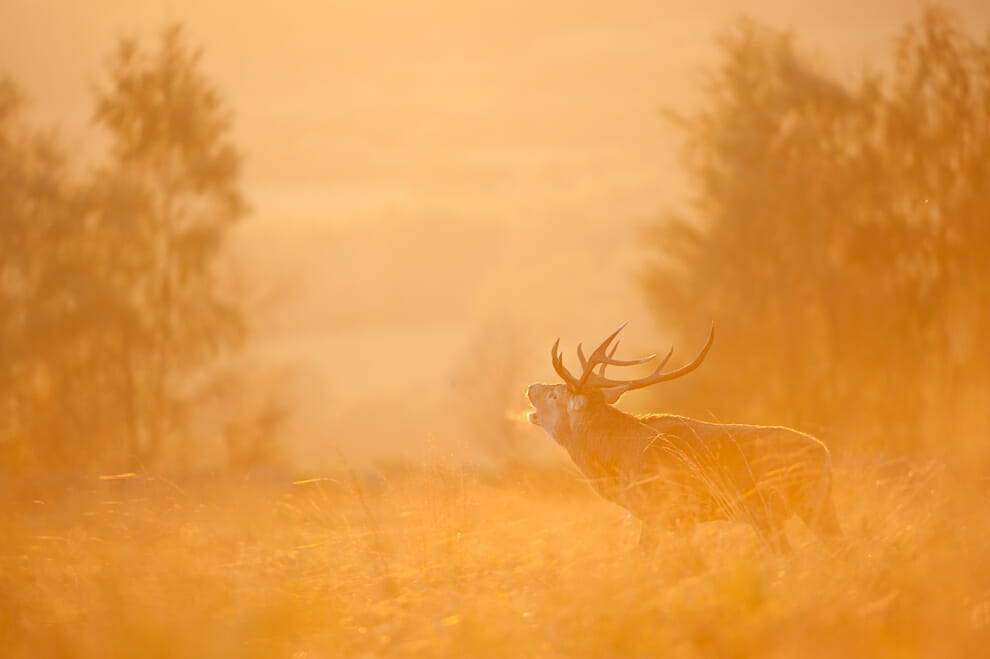
My favorite type of lighting for photographing wildlife is backlighting.
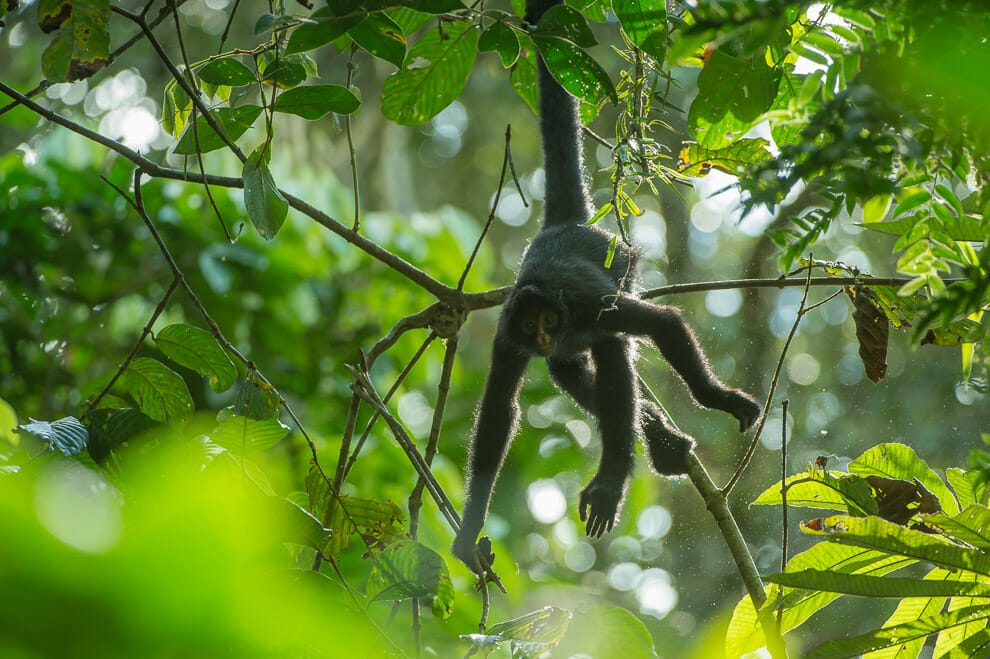
This is when the sun is positioned behind a subject, and you shoot towards it. It’s risky, as exposing the picture is difficult at times.
However, backlighting gives a nice halo to your subject, rim-lighting them and giving a very ‘magical’ feel to the scene. If the sun is particularly low, you can underexpose your photo to just reveal the golden outline of the animal.
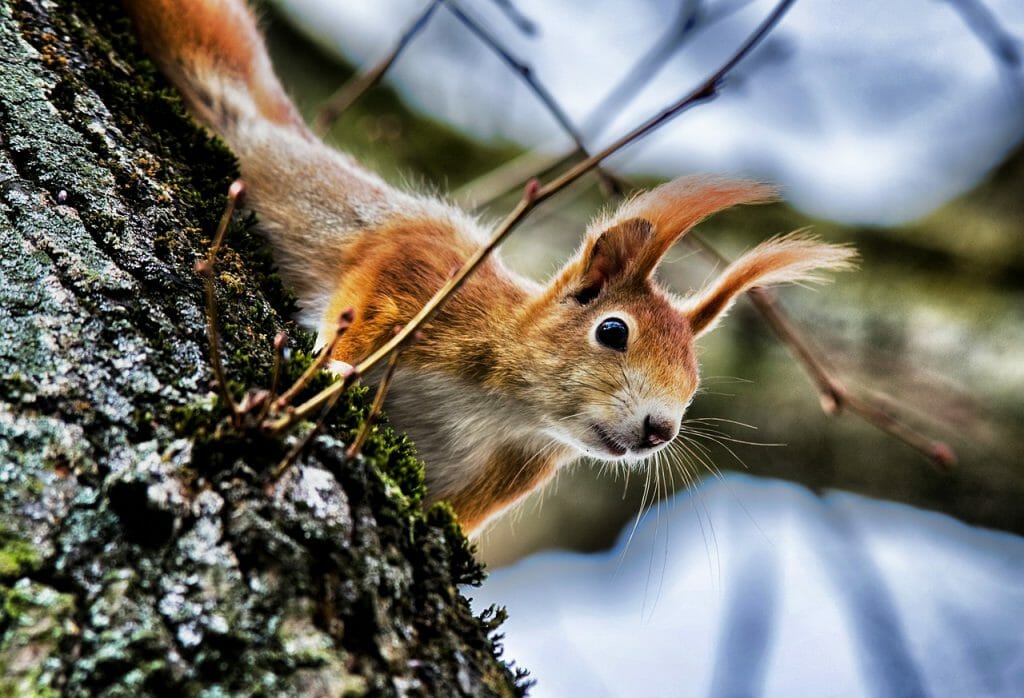
Side-lighting is a little different, where the light source comes from… you guessed it… the side. It has a different effect, pulling out contours and casting interesting shadows.
5. Experiment with the Shutter Speed
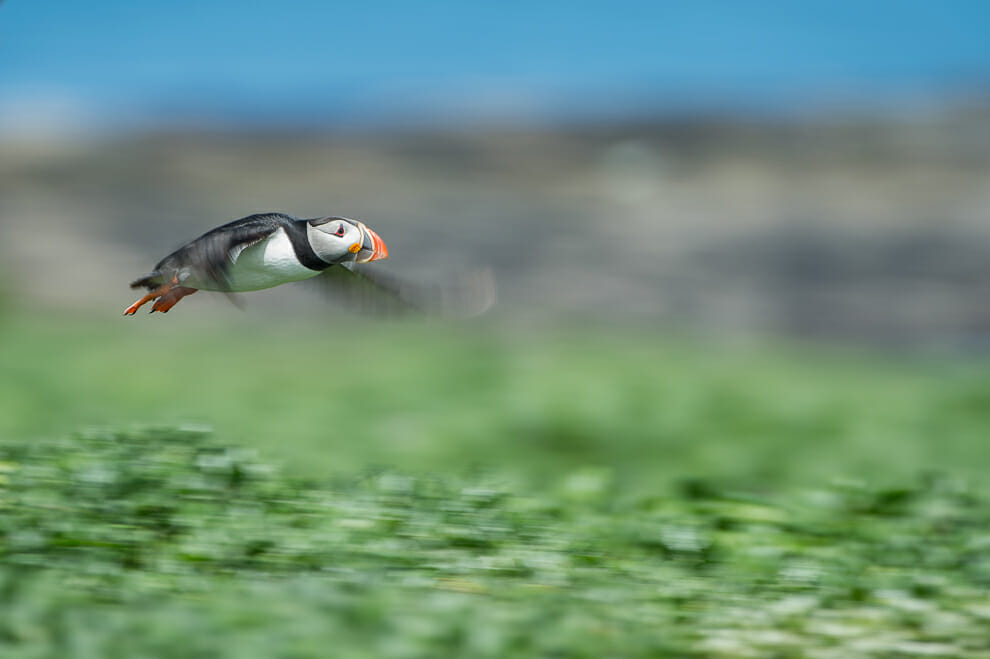
You don’t always need to freeze the action by using a fast shutter speed.
Instead, slow things down and try to introduce motion blur into your shots.
This image of a puffin in flight was taken at 1/160th second. I panned my camera along with the bird, allowing me to freeze the head and body, whilst simultaneously blurring the background and the wings.
It’s hit and miss, and you will probably need to take quite a lot of frames to get it right.
But, once it works it can really improve your photos and let you offer something unique.
6. Use burst mode
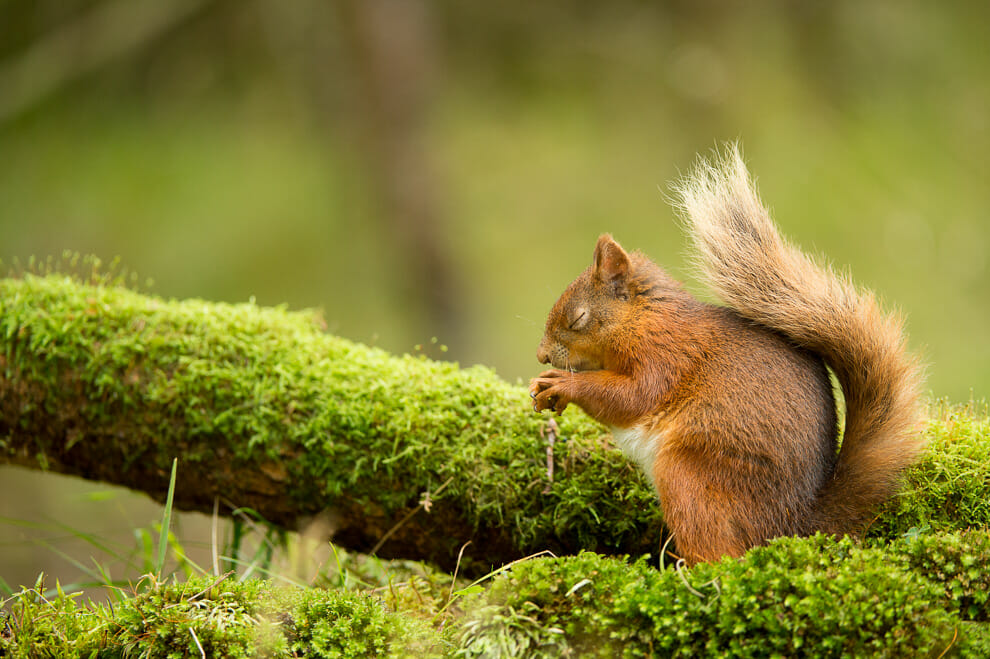
Burst mode will, theoretically, increase the number of usable shots you come away with. There are so many variables when it comes to photography that this will actually make a difference.
If you fire off just one frame, chances are it could be blurred or have an awkward look to it.
So if you have a number of frames, hopefully, one of them will be a bit better than the previous ones.
7. Increase Your ISO
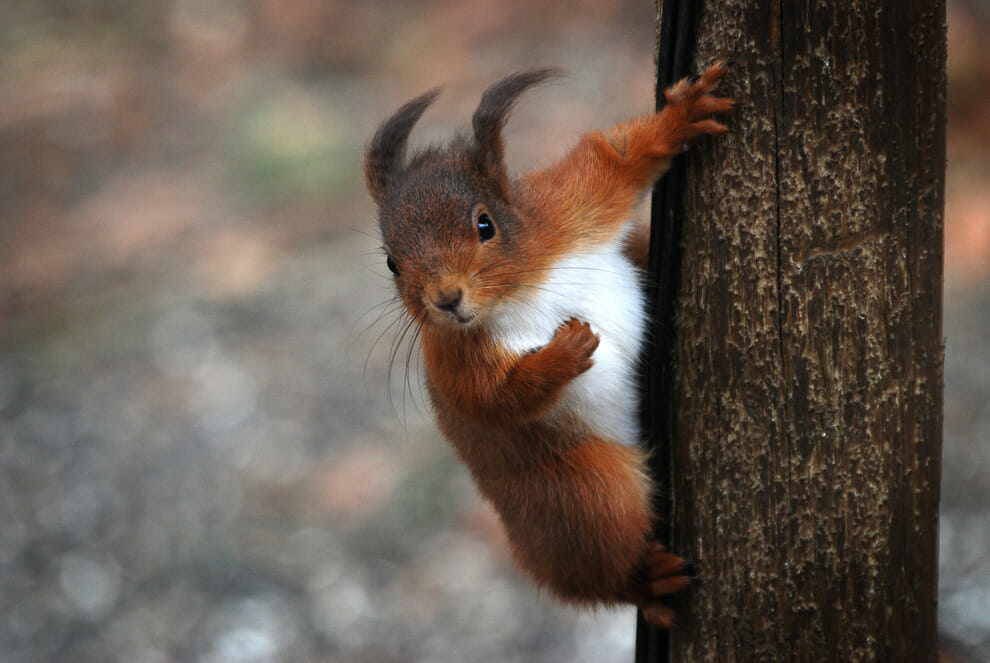
Be sure you know how your camera can really perform at higher ISOs. You will be pleasantly surprised.
I hear again and again of photographers who will absolutely refuse to put their ISO above 400.
But even the cheapest DSLR cameras are capable of going a bit higher than this and still spitting out usable shots.
It’s better to get a sharp shot than blurry one with no noise!
Even if the ISO speed brings in digital noise, you can do quite a lot of noise removal in Adobe Lightroom.
8. Tripods are essential
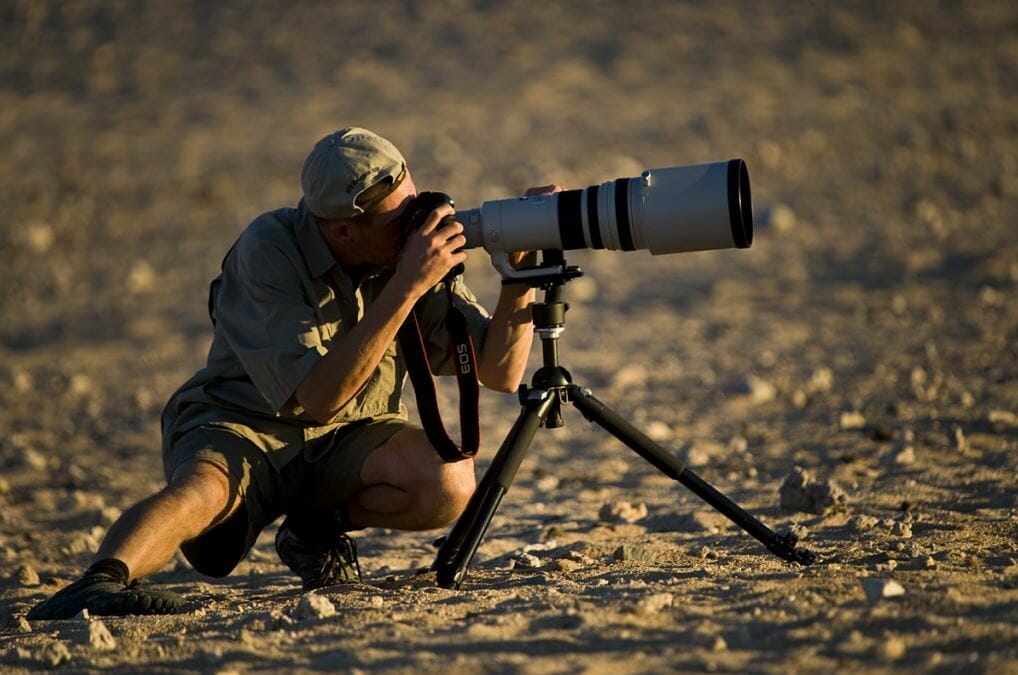
A tripod will make your life much easier.
It will almost entirely remove camera shake, which is a real killer at low light. You’ll then just have motion blur to deal with (the subject moving), but the two at the same time is a recipe for disaster.
Make sure you have a good, sturdy tripod and tripod head.
Related Article: Best Travel Tripods
9. Adjust Your White Balance
If you feel like your pictures look pretty flat with not much color, adjust your white balance–you’ll be surprised what happens when you take it out of ‘Automatic’.
If you’re shooting in JPEG format, rather than raw format, you need to get your white balance right in camera.
I find that ‘Cloudy’ is a good bet, or around 5,400 Kelvin.
10. Use the Background to Your Advantage
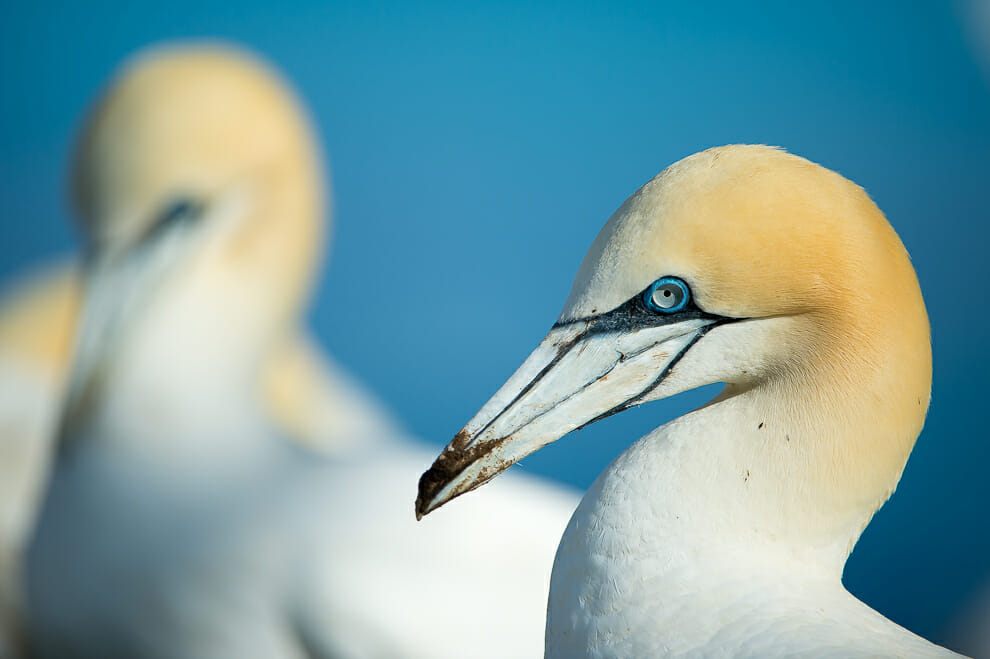
The background of your photo plays a big part in bringing together the scene.
If it’s full of distracting elements, like sticks ‘protruding’ from an animal’s head, it’ll detract from the image. Usually, you’ll want your background to be soft and out of focus, isolating the subject from its surroundings.
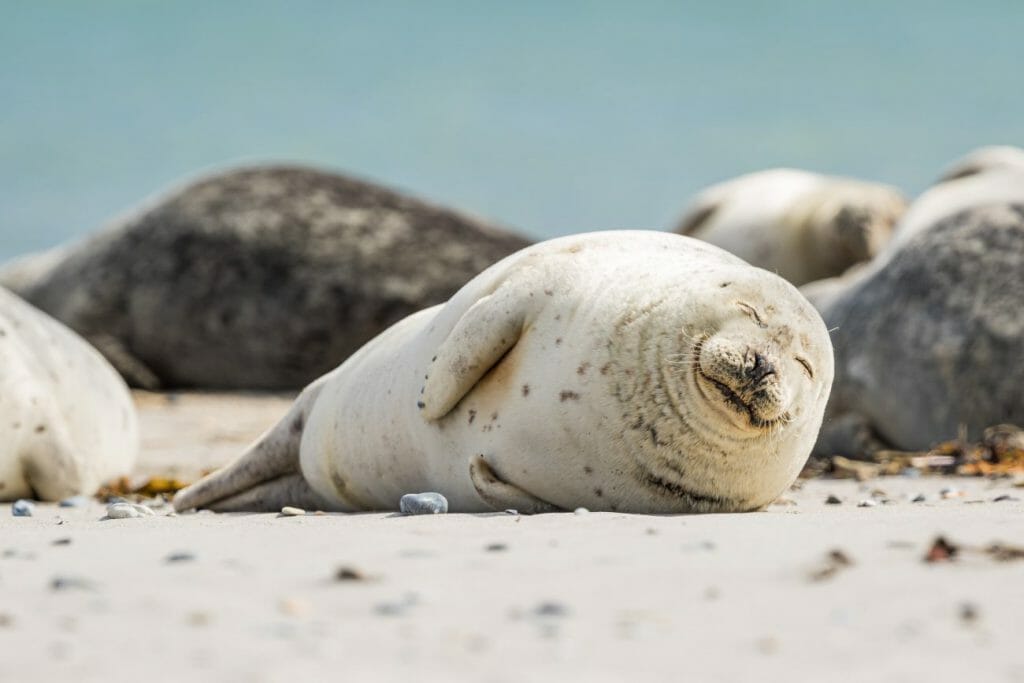
However, this is definitely a rule that can be broken.
Something I like to do is have a second animal blurred out in the background, but still distinguishable. I feel it adds depth and a 3-dimensional feel to the photo.
11. Don’t Forget About the Foreground
Often ignored, the foreground can be used to your advantage too.
Sometimes I like to create a ‘mushy’ foreground to fade the animal into the photo. In this image, I’ve used some purple heather in the foreground to create this effect. A wide aperture (low f-stop number) creates a shallow depth of field and throws the flowers out of focus.
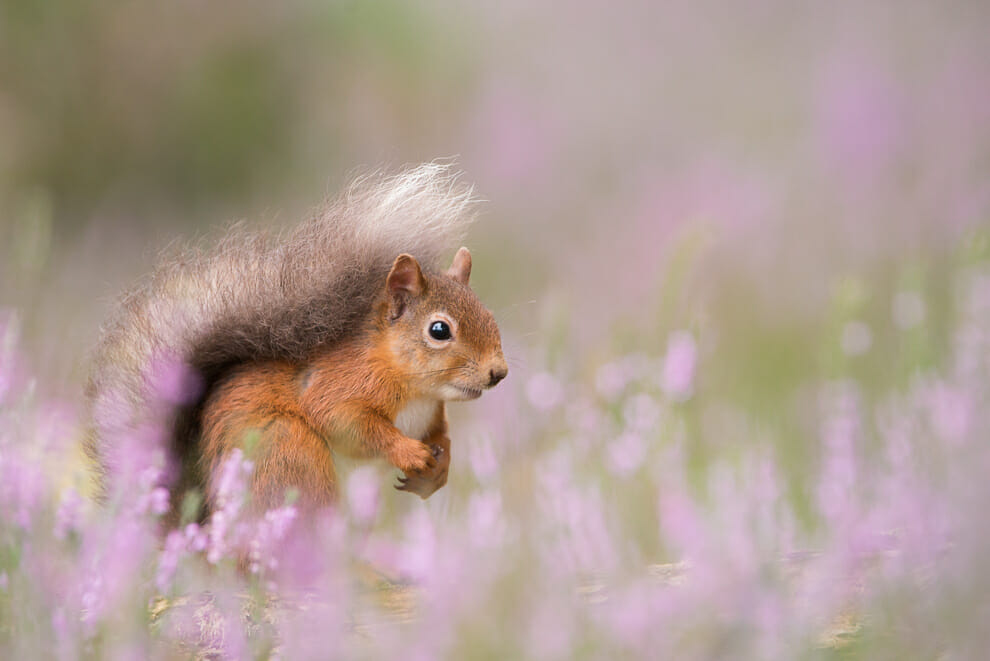
It’s also a great technique for hiding ‘ugly’ artifacts in the foreground. It makes everything look dreamy and quite arty.
12. Try Getting Eye Contact
If an animal makes eye-contact with your camera during a shot, you instantly introduce a load of impact to the image.
Take a look at this bear:
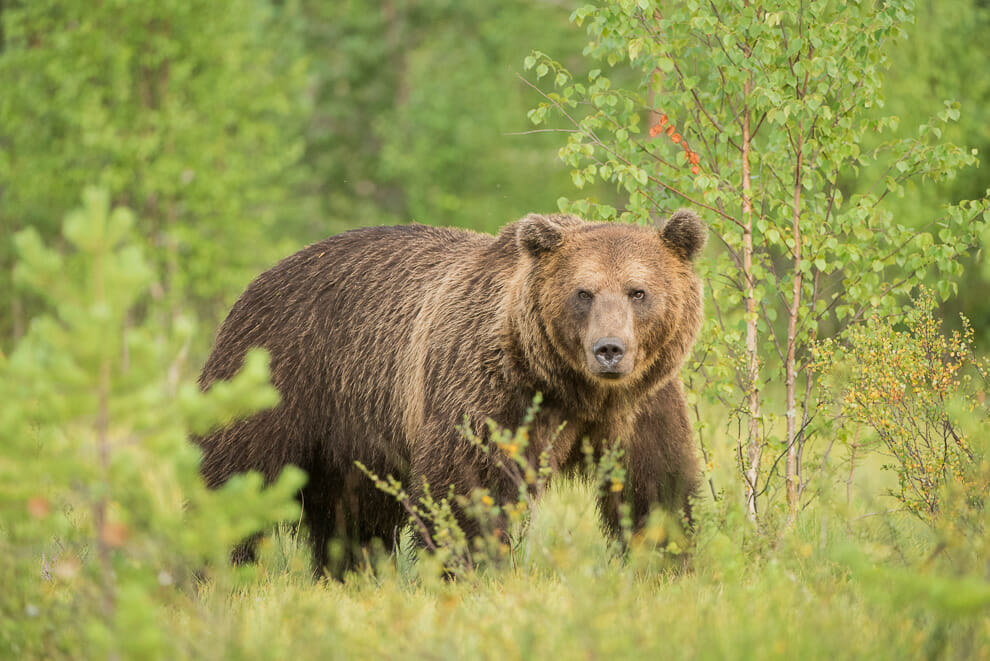
Pretty intense, huh?
Combining the eye-level perspective with eye-contact, this photo makes it feel like the bear is measuring you up for size.
An easy way to get an animal to look at you is to make a quiet squeaking noise. They’ll probably look over to see what the sound was, and then it’s your chance to hit the shutter.
13. Try a Wide-angle Lens
A popular technique nowadays is to put down your telephoto lens and try out a wide-angle.
It’s really fun and great for incorporating a habitat into a photo. Instead of aiming to blur out a distracting background, you instead introduce it into the scene and use it to tell the story of the subject.
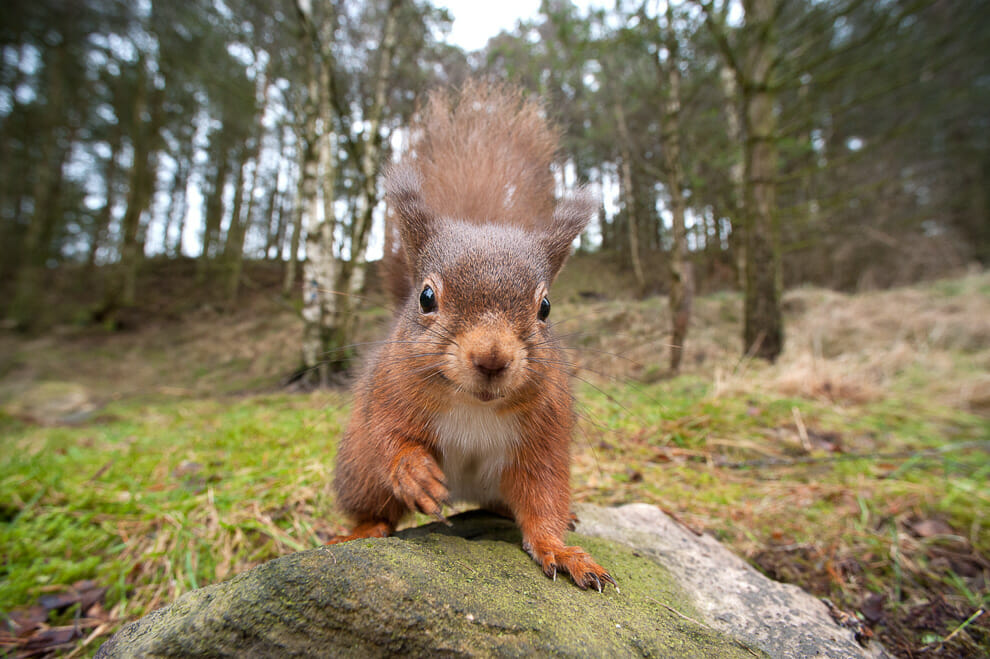
Using a YongNuo remote release, I was able to trigger the camera from my hide as the squirrel approached the lens. I had left the camera out in the woodland with a few hazelnuts in front of it. Soon the curious squirrels came down to investigate, and eventually (with some luck) I was able to capture a shot like this.
You have to manually focus, so predicting where the animal will be is the trickiest bit.
Combine all this with learning about your subject’s behavior, as mentioned earlier in the article, and you have the recipe for a great shot!
14. Be Ethical with Your Photography
Ethics in wildlife photography are really important. You should never put your photo before the welfare of an animal. If you do, you’ll be disregarded by the majority of the nature photography community–not something you want to happen if you’re serious about your photography!
Simple rules to follow are:
- Don’t live bait animals
- If anything you’re doing appears to be affecting an animal’s behavior drastically, stop and retreat.
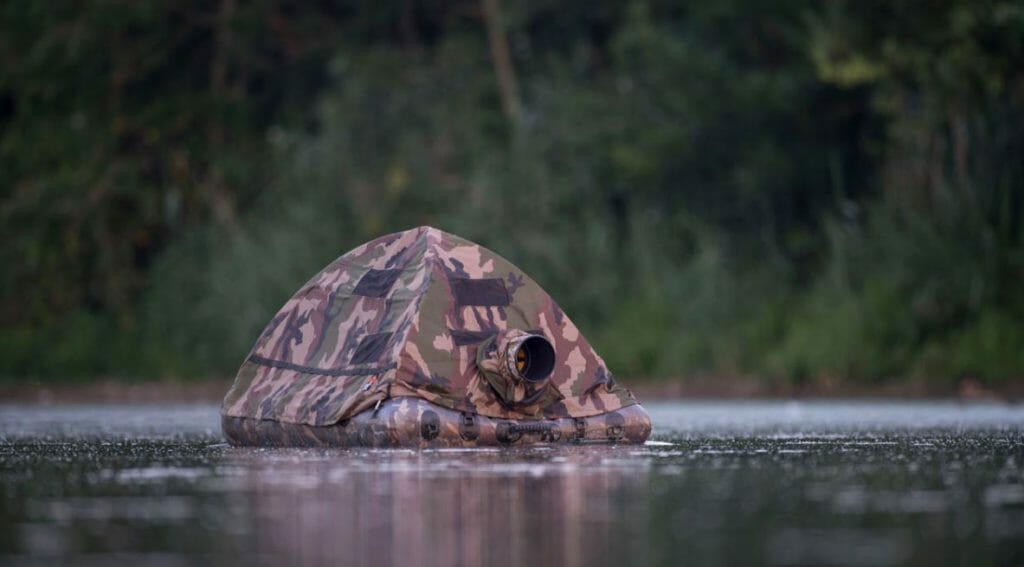
Using a wildlife blind is a good way to conceal yourself enough to get close to animals.
In Conclusion
If you’re feeling like you need to give your wildlife photography a push, try out some of the techniques I’ve laid out in this article.
These wildlife photography tips do work, but you’ll need to be persistent and give it the time required. After all, if it was easy then everybody would be doing it!
