Photography and being a photographer isn’t just about mastering the technical stuff like camera settings and exposure. It’s so much more than that.
One of the most important things is your mindset and how you approach it in the first place.
So I’ve compiled a list of five ways you can start to think more like a photographer. By practicing these things it will help elevate your work naturally.
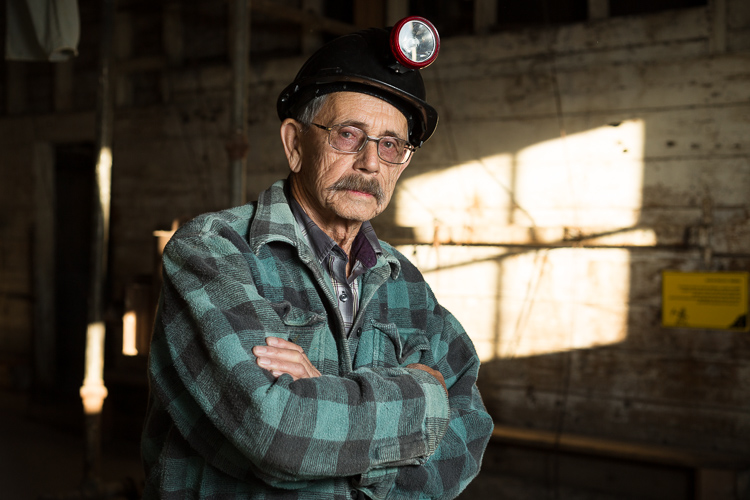
#1 – Become an observer of light
You may have already heard this statement somewhere, and I can’t stress it enough.
Light is everything in photography!
Without light, it’s literally impossible to take a photo. So that statement is true in the literal sense. But it also goes deeper than that.

How you use light in an image can make or break its success. Consider the following:
- Does the lighting highlight or spotlight the subject clearly?
- Is the lighting is appropriate for the scene and/or the subject?
- Does the lighting help create the kind of mood you intended for this image?
- Does the light enhance and add to the scene, or take away from it (distractions)?
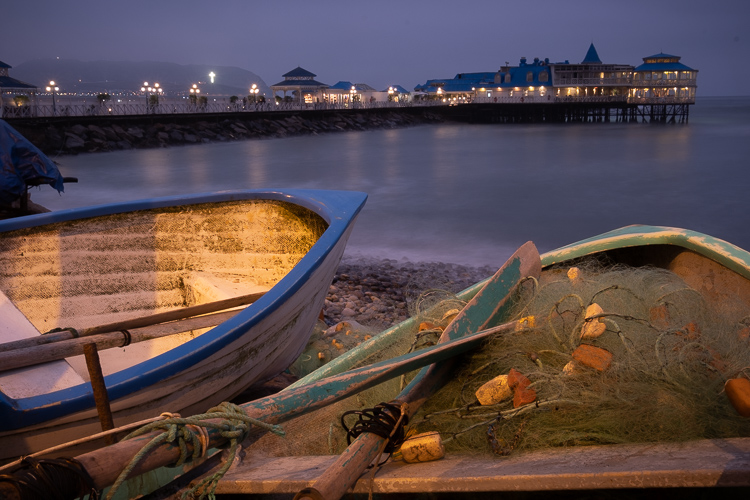
So how do you start to learn more about light? It’s elementary my dear Watson, you simply need to observe light. Everywhere, and always, regardless of whether or not you have a camera in your hands – observe the light.
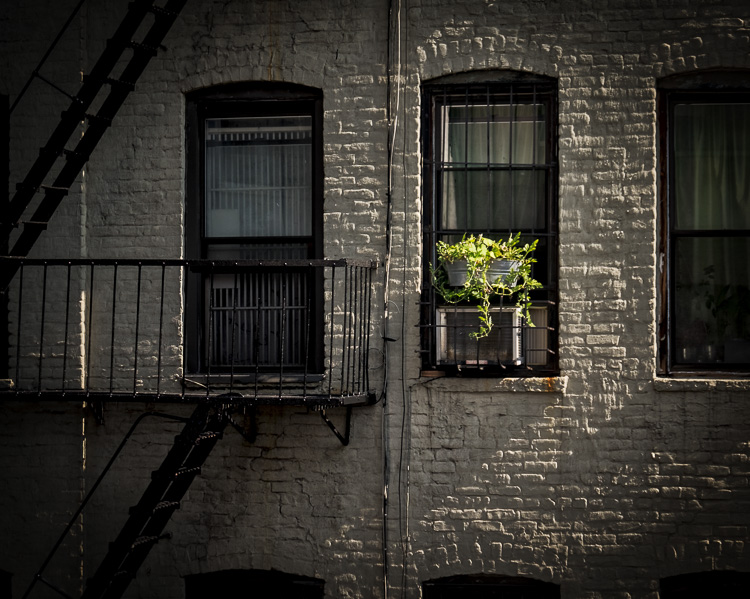
While you’re watching a movie or TV show, sitting in a cafe sipping your coffee, or taking a walk – observe the light!
- Determine if it is hard or soft light (quality of light).
- Look at the color and tone of the light and how it affects the mood and setting (color of light).
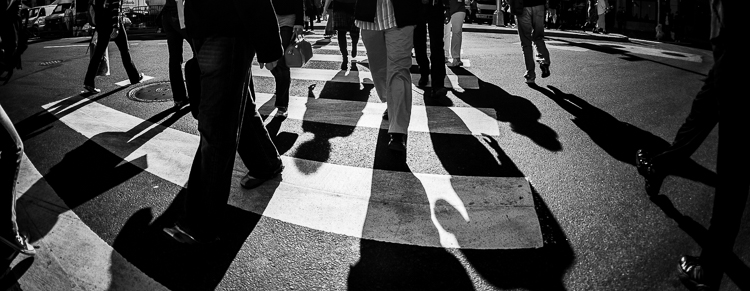
- See where the light is coming from (direction of light). Hint: if you aren’t sure, study the shadows, they give you a clue!
Movies, in particular, old black and white ones, often use light really well. They have lighting departments and directors to make sure it’s all perfect. So watch some old flicks and pay close attention to the lighting.

My favorite movie of all time is Casablanca. I love the story and the message, but more than that I love the light in this film.
If you haven’t seen it, spend the $3.99, make some popcorn, and rent it on Amazon (or buy the DVD and watch it over and over).
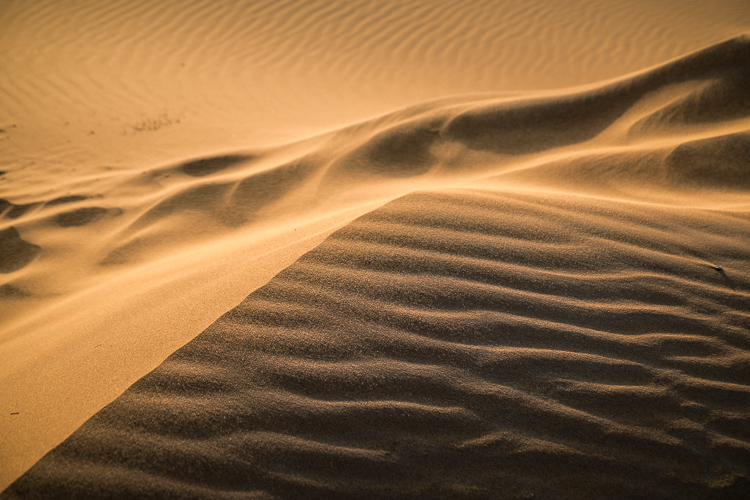
#2 – Pay closer attention to everything
The next tip for thinking more like a photographer expands on point #1 above. That is to pay closer attention to everything around you.
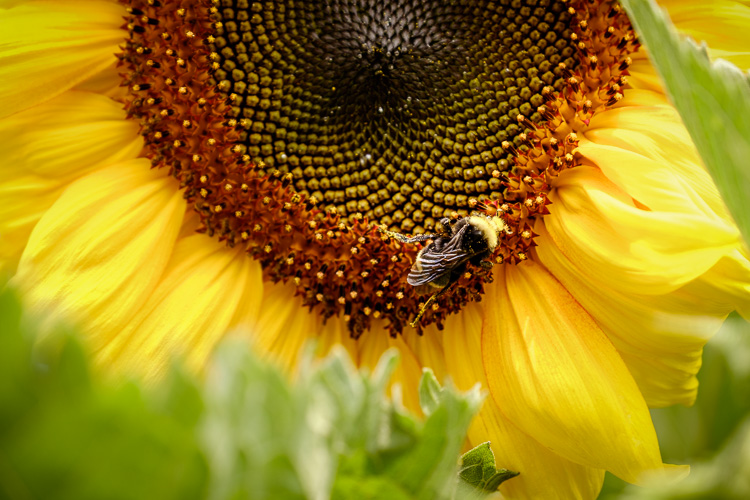
Notice things others don’t. Look at things differently. Get closer, examine things. Be curious.
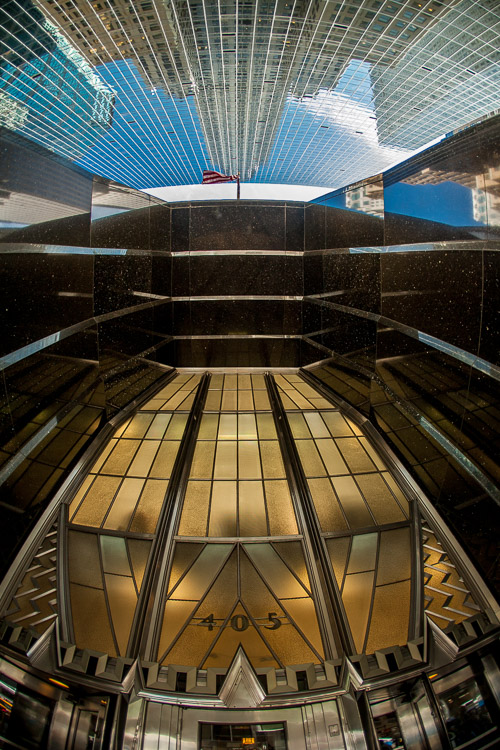
By doing those things you will start to see opportunities for photos that other people may miss. You’ll stop to examine and photograph stuff most will just walk on past.
That is what will help you make you into a better photographer. Being able to see and take images of things ordinary people don’t even notice will make you stand out from the crowd.
I remember being in Las Vegas once with my husband, his sister and her husband. We were all walking down the street on The Strip together.
I stopped to look at something I noticed – it was a key, like a house key or car key that had been dropped on the sidewalk. They all walked right over it. I found it fascinating that none of them even noticed it.
The key itself wasn’t particularly interesting or photo-worthy, but that’s what happens when you train your eye to see everything! Practice that wherever you go and see what things you suddenly start to notice. You may be surprised that even on a route you take every day, you’ll now notice things that were always there.

#3 – Chase the light
Okay, so we’re back to light again. This one is important so it will come up again and again. Mastering and using light is the key to good photography above all else.
So now that you’re a light observer, let’s take it to the next level and chase it!
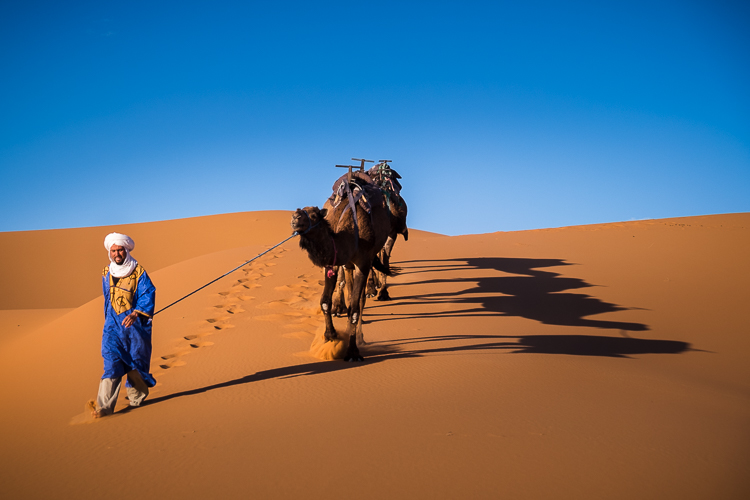
What I mean by that, is to start putting chasing the light before food or sleep sometimes. In other words, choose to shoot the sunset and have a late dinner, or get up before dawn and skip breakfast to shoot a sunrise.
That’s not to say you have to do that every single day, but make the choice to do so more often. Get out of your comfortable warm bed to shoot the sun coming up. Or stay up past your usual bedtime to shoot the night stars and city lights.
Get a little uncomfortable.
Read more on that here: In Order to Create Great Photos, You May Need to Get Uncomfortable.

Great photographers go the extra mile. The hike into the backcountry with many pounds of camera gear to get a good shot. They go to remote places to shoot unusual scenes.
While all that is great, it’s not doable for most people, likely that’s the case for you as well right? But what you can do is simply shoot at a time when you’d normally be doing something else.
On our DPM photography tours that is how we plan the schedule every day. Dinners are planned around shooting the sunset quite often. Pre-breakfast sunrise shoots are often an option as well.
We do that so our guests have the best opportunities to get good photos. You can do the same when you travel, and when you’re at home too.
A little planning and patience will help you get the shots you want.
OR if that’s too much work you can simply join one of our photography tours, sit back, and let us do all the work for you. All you have to do is show up!
#4 – Avoid this phrase “I’ll fix it in Photoshop”
I hate this phrase with a passion.
I’ll fix it later in Photoshop.
For me, that’s a cop-out. It’s pure laziness in my opinion, and back in the film days when I started my career, it wasn’t even an option.

Instead, I recommend that you think about getting it right in the camera as much as possible. True, there are some things you can’t correct at the time of shooting like flat lighting, high dynamic range, a bright background (but you can choose to shoot at a different time or location).
But you can’t fix bad lighting, bad posing (for people photos), or a poor camera angle (think tree growing out of somebody’s head) later. You can try, but those things are a lot more work to “fix” in Photoshop or any editing program than if you had corrected them when you took the shot in the first place.
So spend the extra time when you’re shooting to think about everything.
- Slow down and examine your composition. Look for better camera angles, remove any distractions.
- How is the light? Would it be better to come back later?
- Check the background for distractions (bright spots, intense color, etc.).
- Make sure you’ve nailed the exposure and focus.
- For people photos, adjust any arrant clothing, stray hairs, and fix any awkward posing.
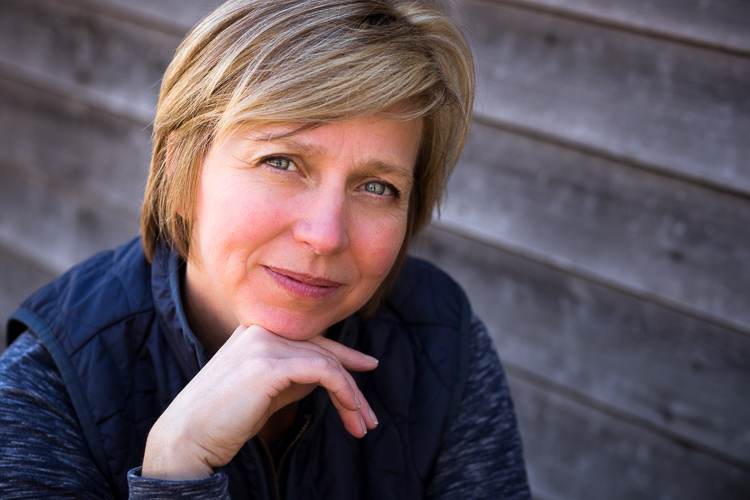
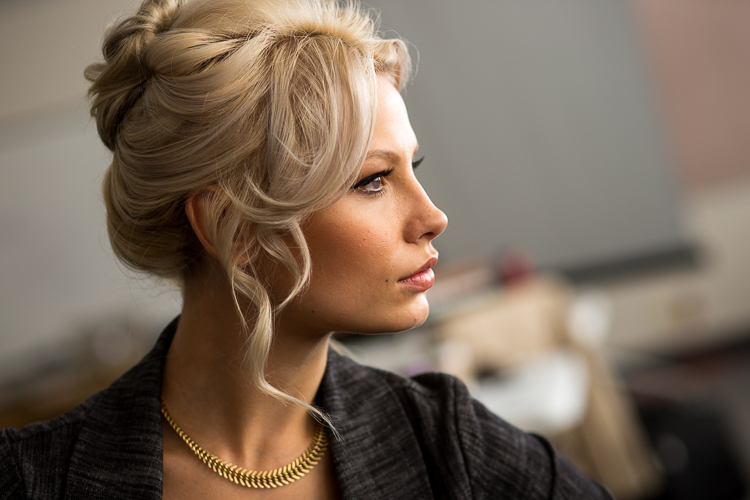
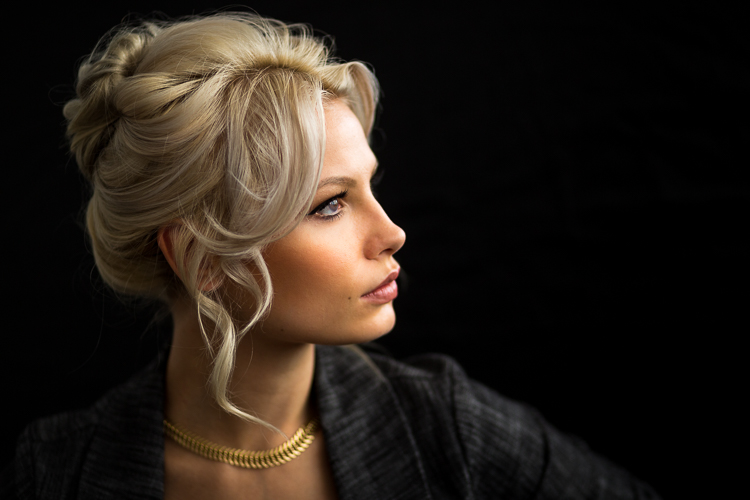
Can you see the difference in the before and after shots here? Let’s look at them side by side.
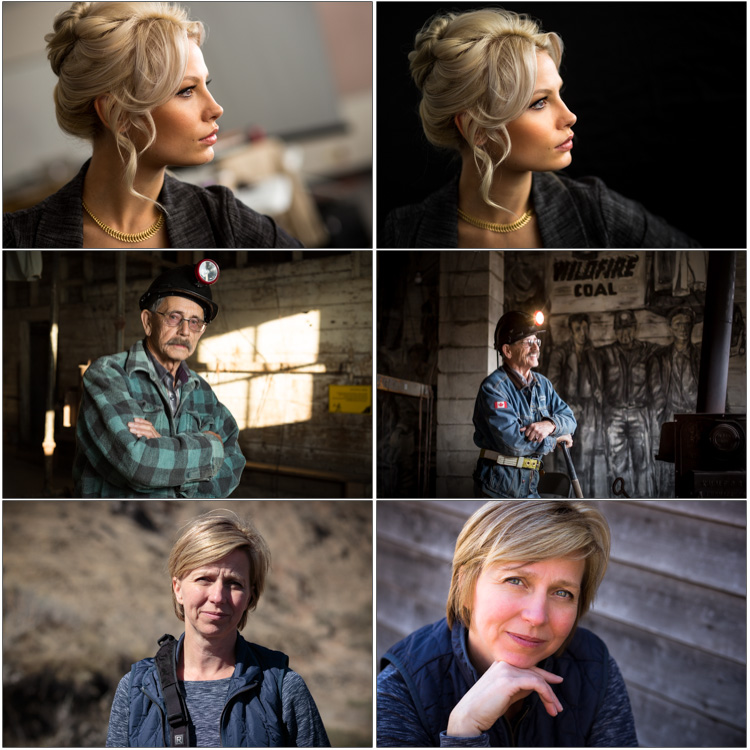
This is called:
Work smarter not harder! Getting it right in camera will make your life easier later.
#5 – Think about the WHY
Before you press the shutter button to take a photo, think about why you want to take that image. What do you want viewers of your image to get about the scene? What story do you want the image to tell?
Stopping to consider these things will help make you a better photographer.
If your gut instinct tells you “that’s an interesting scene” and you take a shot and move on – have you done the scene justice? No, not really. Instead, take one shot and then ponder it for a moment.
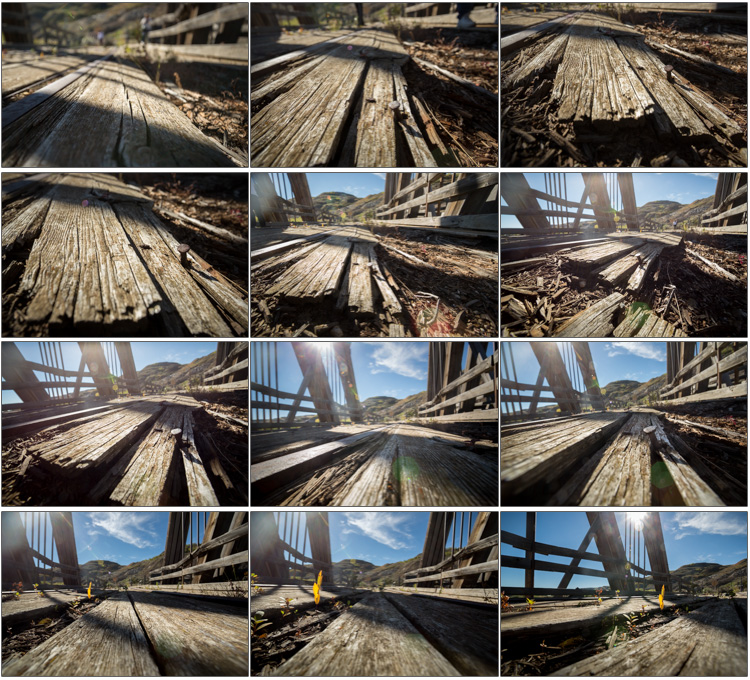
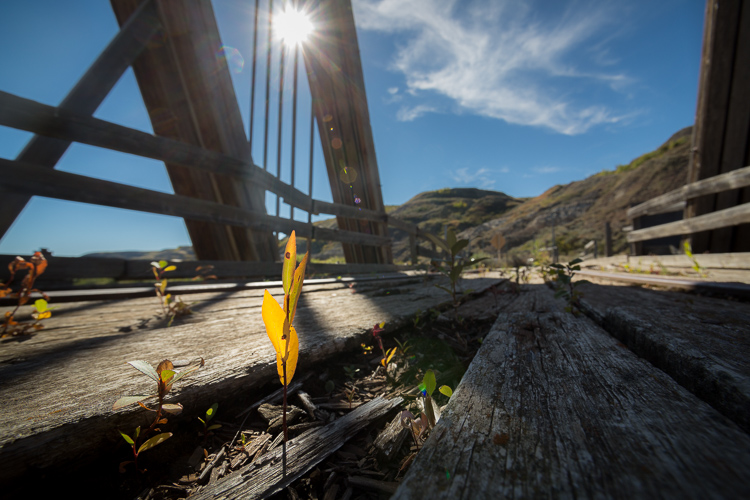
But see how many images I took of the old bridge before capturing the final one below? And that’s not even all of them. I actually shot 19 frames in total.
How could you make it better? Analyze your photo for all the things I mentioned above in #4, and then consider whether the subject is clear or not. For somebody that wasn’t there to see the scene in person, will they understand what you want them to see?
Here are some examples of what might grab your attention at first, compared to what you want to show in your image upon a bit of reflection:
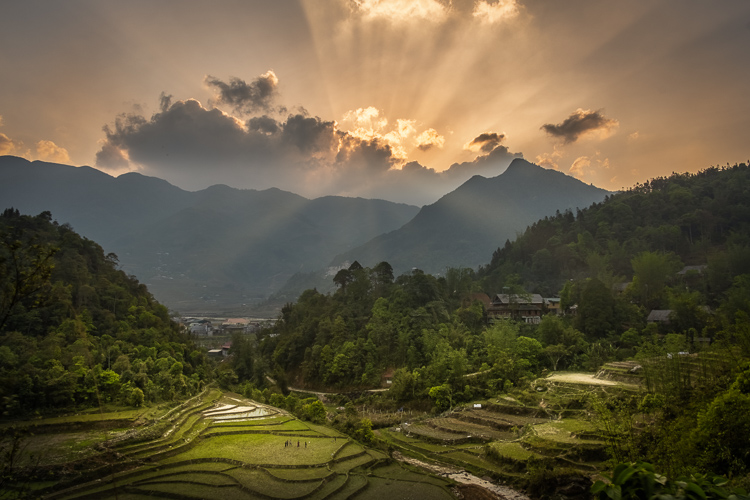
- Attention: you see a pretty landscape scene. WHY: to convey the sense of peace and calm you get when you’re in that landscape.
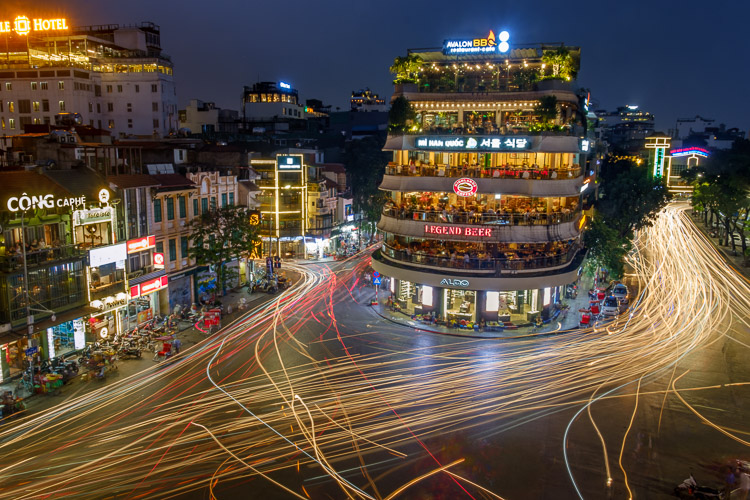
- Attention: an interesting and busy street scene in a city. WHY: you want to show how chaotic it was on that street, but yet somehow still organized.
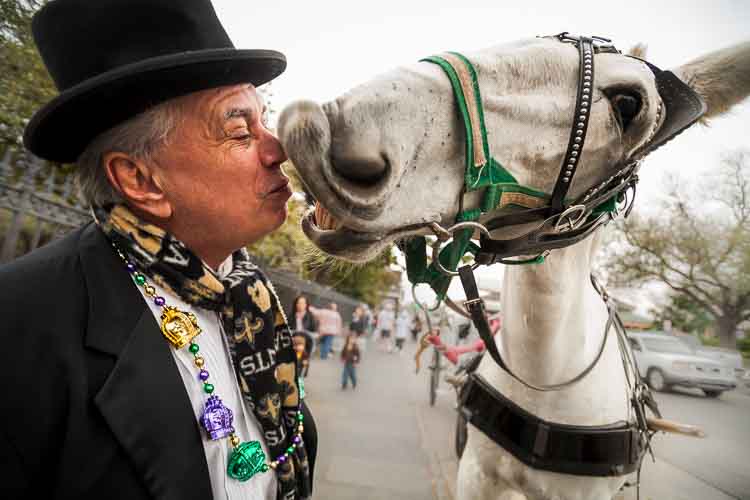
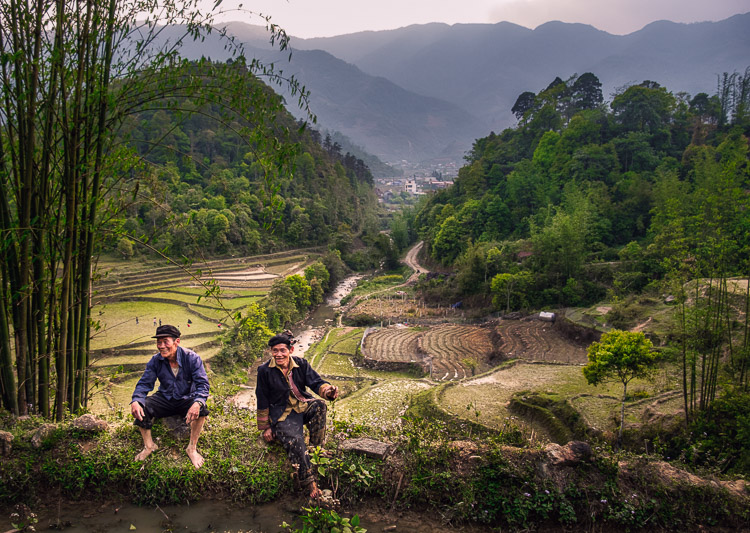
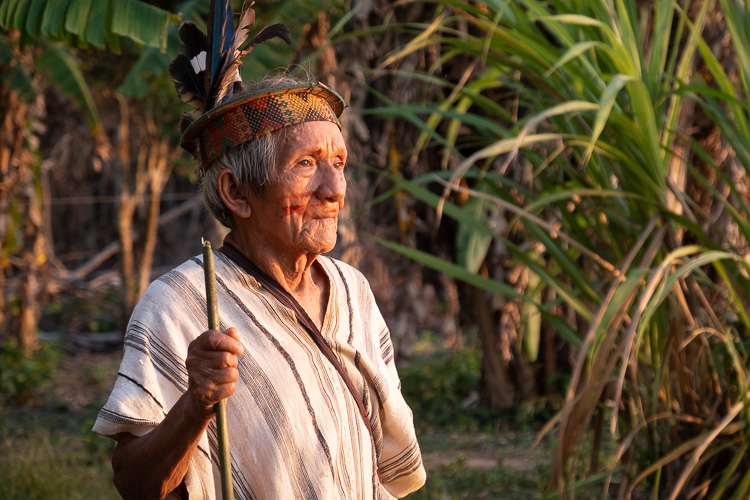
- Attention: an interesting person in a foreign country where you’re traveling. WHY: you want your photo to show a sense of the place, how people dress, what they eat, that they are friendly.
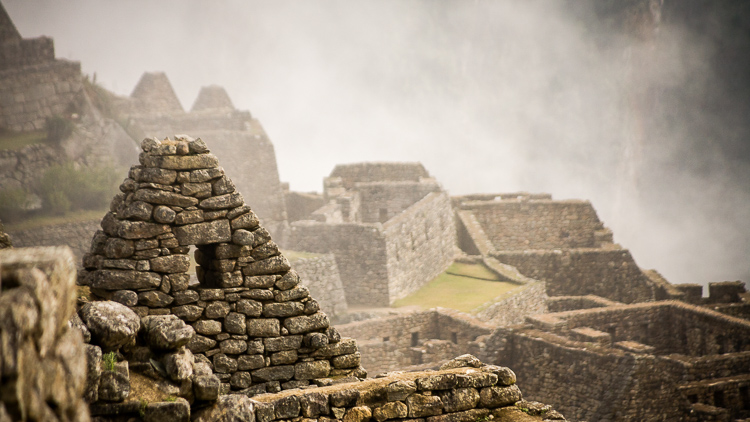
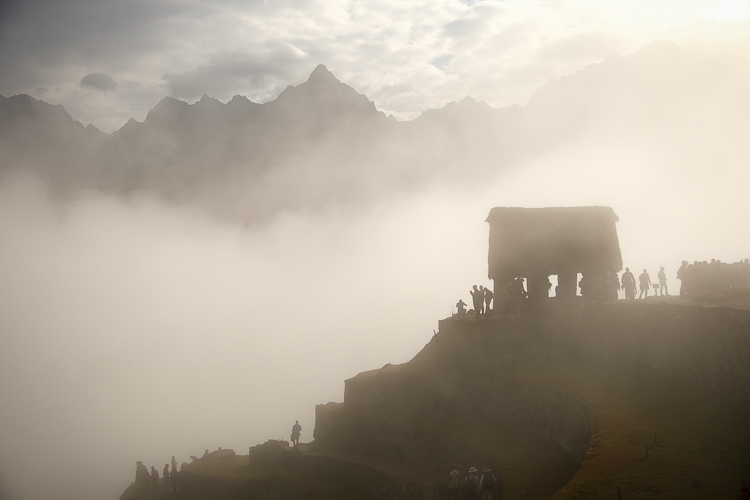
Here is another set of images as an example, these were shot at Machu Picchu, Peru. They were shot on two separate occasions, 12 years apart. But do they not all convey the same message?
This is truly the Inca City in the Clouds! Do you get that from these images?

So considering the scenarios above, do you think your second shots (after thinking about your why) would be different than your initial first photos? Would the second images be better than the first ones? Think about this when you are shooting!
One final example in another set of images from Havana Cuba. I wanted to show how different modes of transportation are there, how did I do?
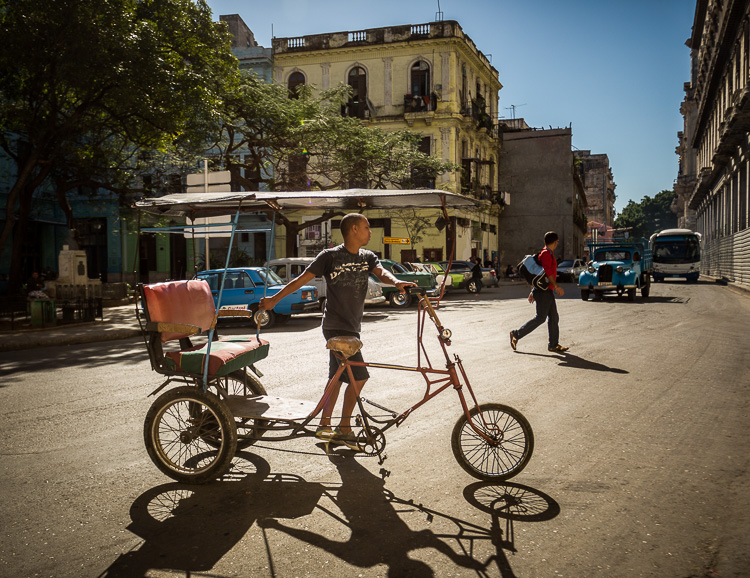
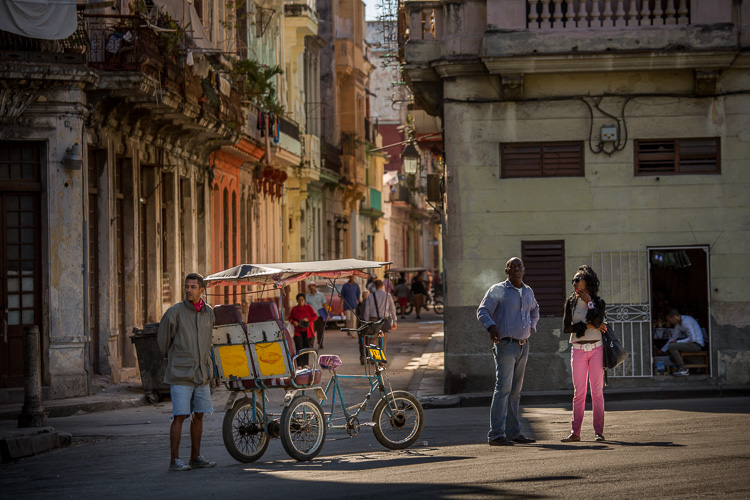
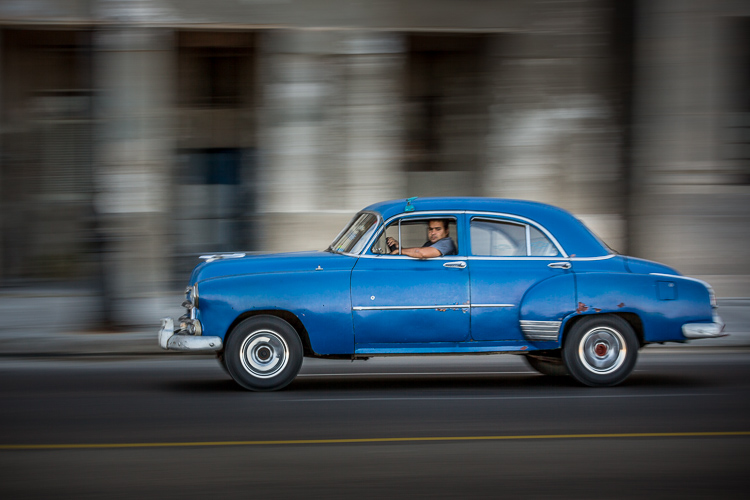
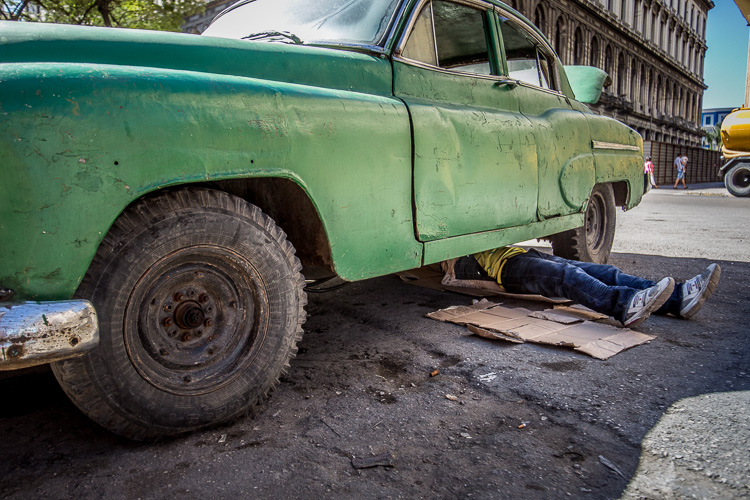
I call this “exploring the scene”. So next time something grabs your attention don’t just take one shot and move on. Go a little deeper. Consider the why, and explore that scene a little more.
I do this a lot and about 99% of the time my first image is NOT the best one of that scene. Only by spending some time on this can you really find the best photo to be had of that scene.
Ask my husband how often he is waiting for me while I stand on a street corner waiting for a bicycle to go by, or the light o be right, etc. Let me put it this way – he’s very patient!
Can you see how all these things start to come together in the images above? For that matter, in all the images in this article?
Practice practice practice
Now it’s time for you to go and practice these tips.
Start observing light in your everyday activities. Pay attention to small details and things around you.
See what you notice. Skip a meal or two to go shoot instead.
If you are REALLY committed to practicing, click here to download my 10 challenges eBook.
It’s filled with various photography challenges that will allow you to practice under various conditions. I highly recommend it.
Then tell me how it’s going in the comments below. What do you notice is happening? Are your photos improving?
Cheers,