Photo by zlyce / CC0
Neutral density filters are deceptive in their usefulness. Lowering the amount of light entering your camera seems like the exact opposite of what we want as photographers. Isn’t it always a constant struggle to get past low light levels? What about proper exposure? Well, sometimes we actually want less light. And one of the best reasons to do so is when we want to manipulate shutter speed.
Neutral Density Filters Allow for Extremely Slow Shutter Speeds
Say you decide to walk into a semi-lit or brightly lit forest and come across a meandering stream. You decide you want to set up your tripod and capture one of those photos where the water forms a soft curtain. If you’ve studied how to do so online, then you probably know you need a longer shutter speed. This allows the water to flow by over the course of time as the sensor continues to take in light. Shutter speeds of 1 to 4 seconds work best, depending on the speed of the flow of water.
So you set up your gear, tripod and remote shutter ready, shutter speed set to 4 seconds. You click…Wait for the camera to process…And you get an overexposed mess. What happened? Well, the camera took a 4-second exposure across the entire scene. You slowed the shutter speed enough to get smooth water instead of the choppiness you’d have with a faster shutter speed. But way too much light hit the sensor for the photo to be usable. So how do we get an image like the one below, where the water is smooth and the exposure is natural?
→ Related reading: An Intro to Filters for the Landscape Photographer
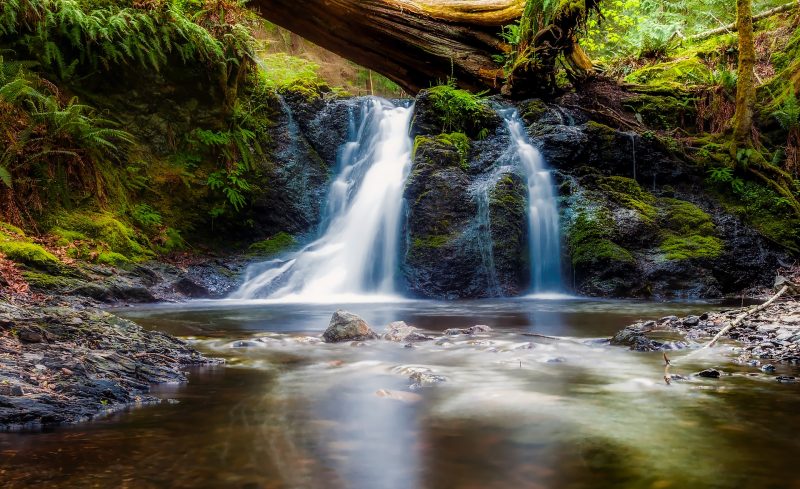
Photo by 12019 / CC0
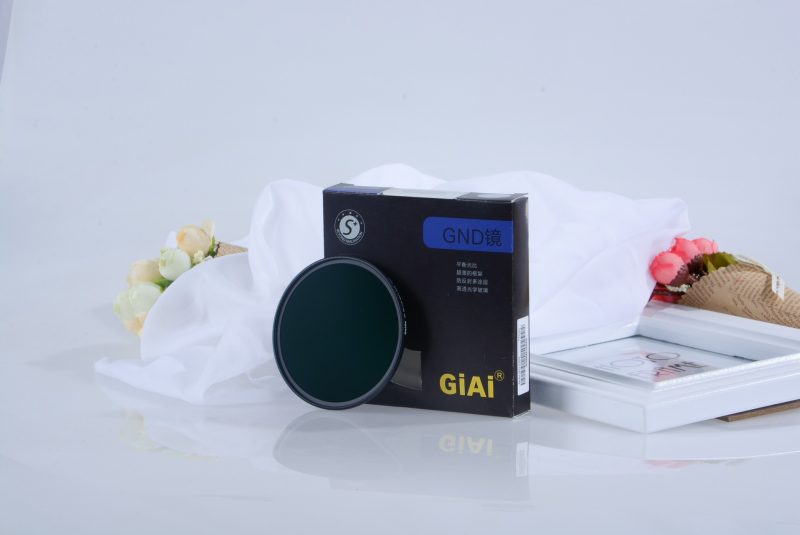
Neutral Density Filters and Light Stops
A neutral density filter is the answer here. The ND filter cuts down on the light entering the camera. That way, if we use a longer shutter speed, the overall amount of light reaching the sensor creates a normal exposure. Neutral density filters are rated by the fraction of light allowed into the camera. This can also be described in stops of light. For those who don’t know, each stop of light represents a doubling or halving of the amount of incoming light. They are a key element in figuring out exposure. Aperture, ISO, and shutter speed can all be described in stops of light as well. An ND 2 filter reduces incoming light by 1/2, which is 1 stop of light. An ND 4 reduces light by 1/4 or 2 exposure stops. And so on. If you’re interested in solar and eclipse photography, have a look at solar filters. These are heavy duty neutral density filters that start at ND 16 and go up from there. But most landscape photographers don’t have need of this level of exposure reduction.
Photo by uroburos / CC0
Neutral density filters also stack with each other as you can layer ND filters by screwing one in front of another. ND 2, and 4 filters stacked together will give you 3 stops of light reduction. Shooting a slowly trickling waterfall on a brightly lit day may require stacked ND filters to get a nice curtain of water effect. But keep in mind you’ll start to see vignetting as you stack filters. The reduction in brightness and saturation depends on the number of filters you have attached. Stacking more than 2 filters is not recommended unless you intend to crop the edges of your photo anyways. But sometimes the vignette effect can create very artistic results if that’s what you prefer. Also, remember that ND filters (all filters, really) have a specific diameter. If you buy a 52mm ND 4 filter without checking the diameter of your lens, you may be disappointed to find it does not fit.
Another handy benefit of using an ND filter is that we can use whatever aperture setting we want without unduly affecting exposure. Sometimes we don’t want to mess with ISO or shutter speed for composition reasons. Maybe we still want a wide open aperture for a very shallow depth of field. A neutral density filter lets us lower the light levels so the image isn’t as brightly exposed.
Which Scenes Should I Consider Using a Neutral Density Filter With?
Scenes with water are some of the best places to use a neutral density filter. Beaches with slowly lapping waves will create a smooth idyllic looking shoreline. Also, water crashing through rocks on the beach can create a dynamic sense of motion with a longer exposure period.
→ Related reading: 8 Situations When You Should Use Filters
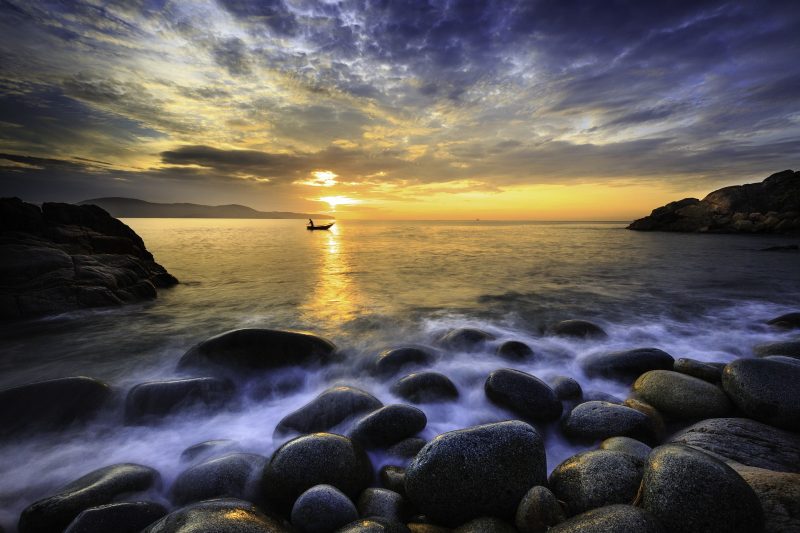
Photo by Quangpraha / CC0
What if we have a bright sky we want to reduce the exposure of? Well a regular ND filter would reduce exposure across the entire scene. Fortunately, graduated neutral density filters exist. These are a special type created just for landscape photographers. Graduated ND filters are tinted half dark and the other half clear. They’re meant to be used when half of the scene is brightly exposed and the other half normal or dark. This is almost always meant to be used with the sky. If you’re shooting a beach scene at sunrise, if your exposure is set for the sky, the sand will be too dark. And if you expose for the sand, the sky will be too bright. A graduated ND filter creates even exposure by darkening the sky and leaving the ground exposure normal. Some graduated filters have a soft edge that blurs from darkened to clear. Others have a hard divide.
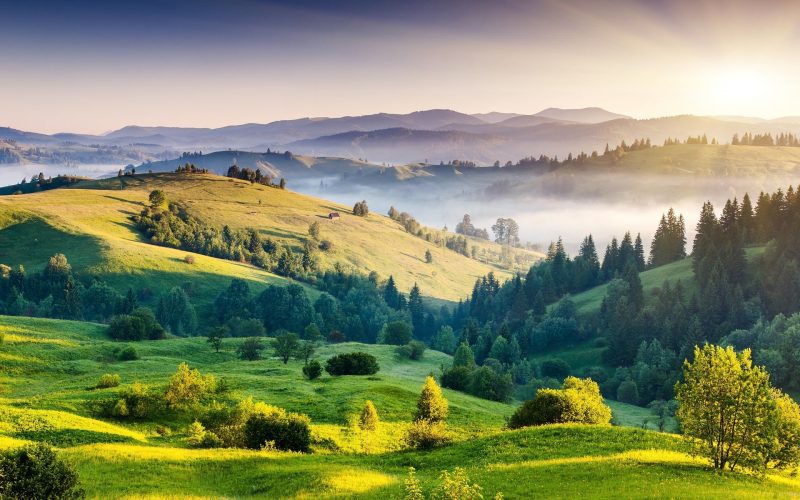
Photo by sathish_artisanz / CC0
Windy environments can also create great results using neutral density filters. Tall grass waving in the wind in a grassy field will capture the motion perfectly with the longer exposure. And clouds racing across the sky become ethereal streaks. Neutral density filters have a wide range of uses when used creatively by landscape photographers. So pick up a couple and see what magic you can whip up with a tripod!
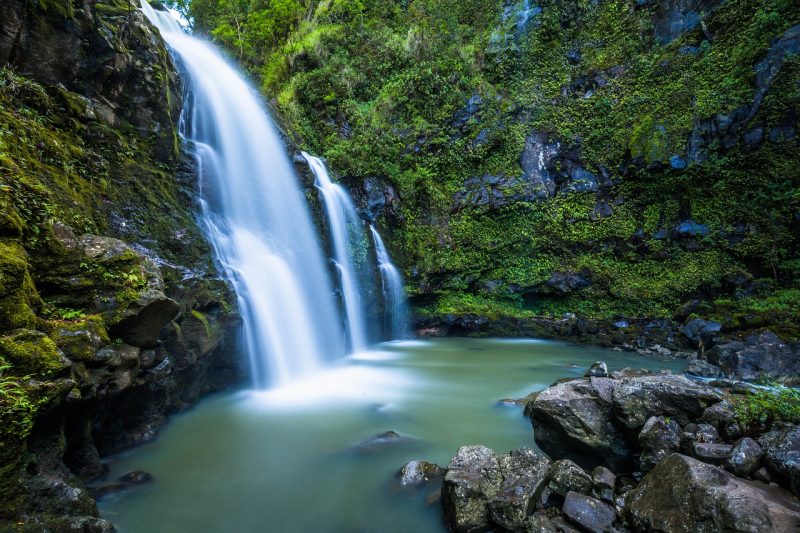
Photo by Pexels / CC0
Photo license links: CC0