There are four major factors that cause blurry photos, and all four of them are important to remember for every picture you take. Here, I will explain how to avoid each type of blur, or minimize them as much as possible, in your photography. Specifically, the four sources of blurry photos are motion (from the camera or subject), out-of-focus blur, diffraction, and lens aberrations.
Motion Blur and Camera Shake
Perhaps the single biggest cause of blurry photos is motion blur, due to your subject – or your camera – moving too much while the photo is being taken. Motion blur only appears when something in your photo moves across multiple pixels during your exposure.
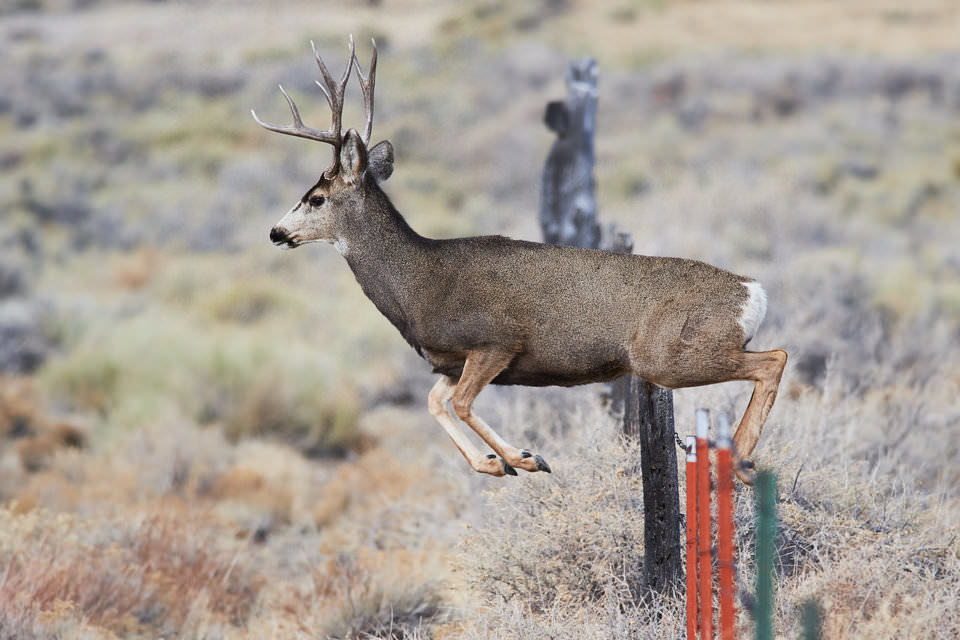
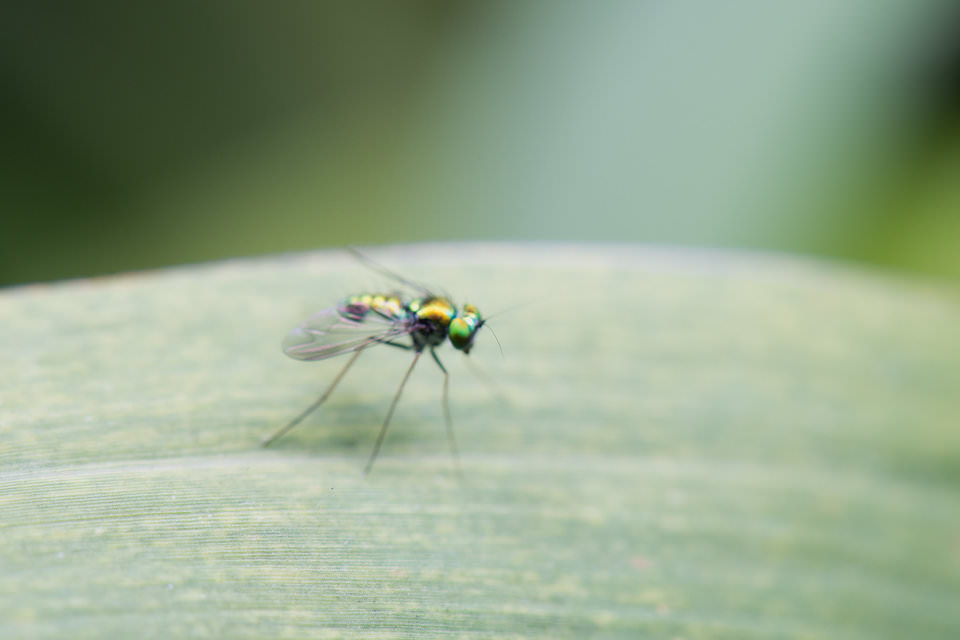
Although this type of blur is strongly related to the speed of objects in your photo, or how shaky your camera is, those aren’t the only factors that matter. Your shutter speed is also vitally important. With a fast enough exposure, you can photograph almost anything with sharp results. Even if you’re photographing a bird or animal moving quickly, just use a 1/1000 or 1/2000 second shutter speed, and you won’t get much blur at all:
This applies equally to handheld blur. No one can handhold a camera perfectly still, but the movement caused by your hands is pretty easy to deal with. Just follow the handhold rule to be sure you’re using a fast enough shutter speed. Err on the side of caution. Personally, I prefer “1/(2 × focal length)” instead of “1/(focal length)” for handholding my camera, unless I have vibration reduction turned on.
Technically, all you need to do to eliminate motion blur (whether from your subject or from camera shake) is to use a fast enough shutter speed. A 1/8000 second exposure will get rid of motion blur for almost any photo. The only issue – and it’s a big one – is that fast shutter speeds lead to darker photos, and getting a bright enough photo is one of the fundamental problems of photography. If you’re planning to use an ultra-fast shutter speed, you better have some way to compensate and get a bright photo anyway.
So, the ideal situation is to use a shutter speed that is just barely fast enough to eliminate motion blur, or capture such a small amount that it’s irrelevant. Finding the sweet spot takes some serious practice. Maybe the ideal shutter speed for a portrait photo is 1/100 second, 1/500 for a sports scene, 1/2000 for a bird in flight, and so on. The main exception is when you’re photographing a nonmoving scene from a sturdy tripod, in which case you can use pretty much any shutter speed without a problem. The same is true if you specifically want part of your photo to be blurry for effect.
However, even if you’re using a tripod and your subject isn’t moving, you still might end up with some camera shake. That’s because the camera itself has moving parts, especially the mirror on a DSLR and the shutter curtain on most cameras. At certain shutter speeds, these will cause vibrations you can see in your photos. The danger range is 1/2 second to 1/50 second, and it is more likely to be visible with telephoto lenses.
You can minimize these sources of blur by using electronic front-curtain shutter (if your camera has it) as well as mirror lockup mode (or Exposure Delay mode on Nikon cameras). You might also consider a remote shutter release. We have specific articles on shutter shock and taking sharp photos from a tripod that explain these techniques in more detail.
Lastly, there is one unrelated way to minimize motion blur in a photo: Light the image entirely with a flash. The duration of most flashes is very quick, freezing the motion even of extremely fast subjects like hummingbirds. But you can’t light every subject entirely with flash, so this is far from a perfect fix.
Out-of-Focus Blur
The other biggest cause of blur in photography is out-of-focus blur. This one comes in a couple different shapes and forms.
On one hand, the most obvious example of out-of-focus blur is simply when you miss focus. Either you focused slightly too close or too far, and the end result is that your subject isn’t perfectly sharp. In the worst cases, your subject may be wildly out of focus because your autofocus system couldn’t lock onto anything.
The key to avoiding this type of blur is to take your time in the field and make sure you’ve focused on the right subject. If you have the time, magnify live view to double check that your focus is perfect – say, on your subject’s eyes rather than their nose. If you’re photographing fast-moving subjects like sports, the key is practice above all else. Get to know exactly how your autofocus system behaves, its strengths and weaknesses, and how to lock onto your subject every time.
Another type of out-of-focus blur occurs when your depth of field just isn’t large enough. Maybe you’re photographing a group of people, and some are standing nearer than others. You can’t simultaneously focus on the near and far people. So, you need to choose one or the other, or potentially try to focus at a distance between them if there is a suitable object for your autofocus system to lock onto. But even then, you will inevitably end up with some regions of your photo that aren’t as sharp as possible.
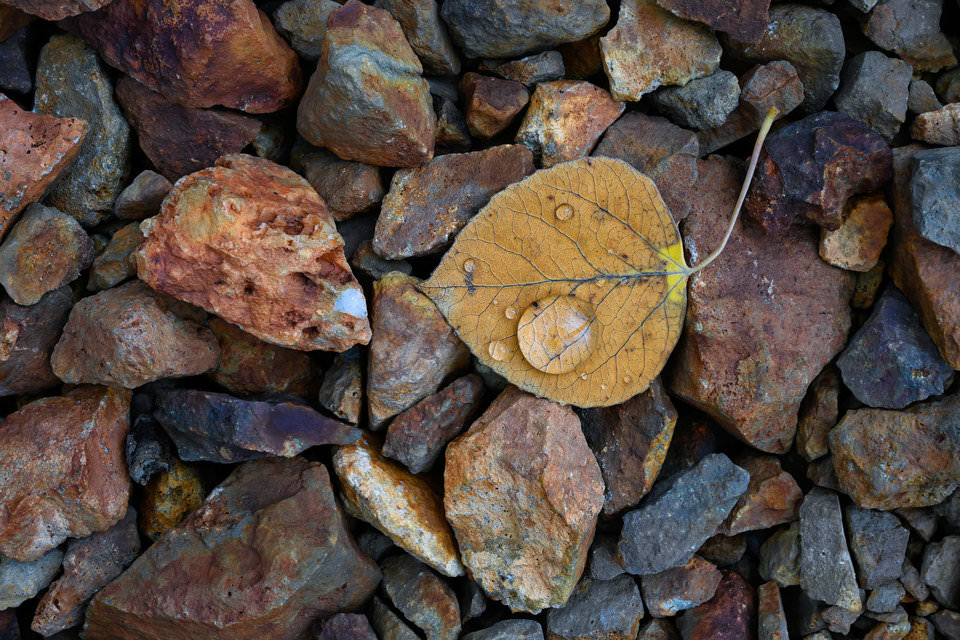
This is especially a problem in landscape and macro photography where you want the largest possible depth of field to get your entire subject sharp. In those cases, you’ll typically want to focus on the most important part of your subject and accept a bit of blur in the rest of the image. Also, it is critical that you use a smaller aperture in order to capture enough depth of field.
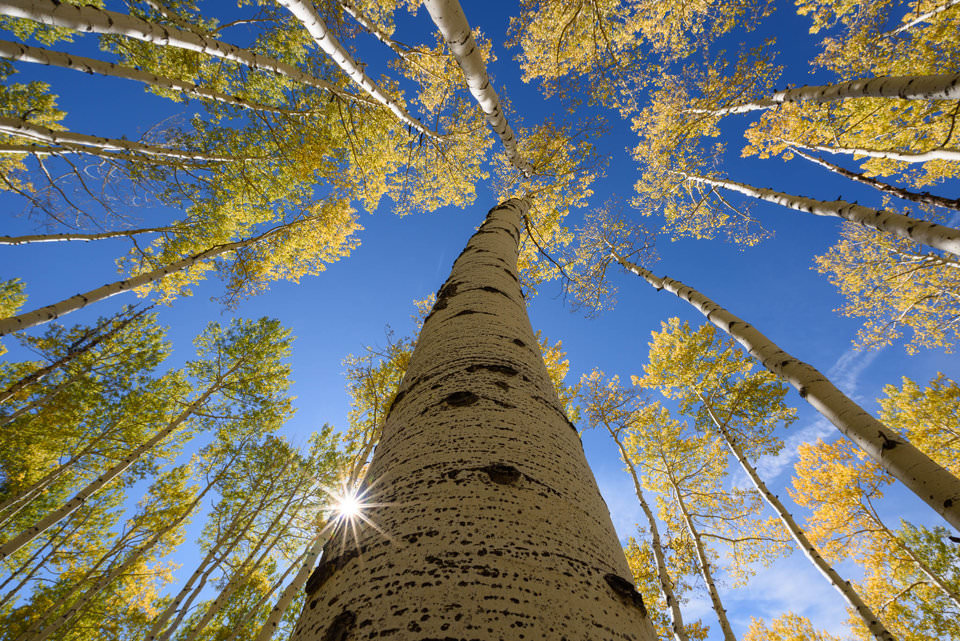
This is why landscape photographers are known for shooting at small apertures like f/8, f/11, and f/16 so frequently, and why macro photographers sometimes even shoot at f/22 or so. It’s all about getting enough depth of field.
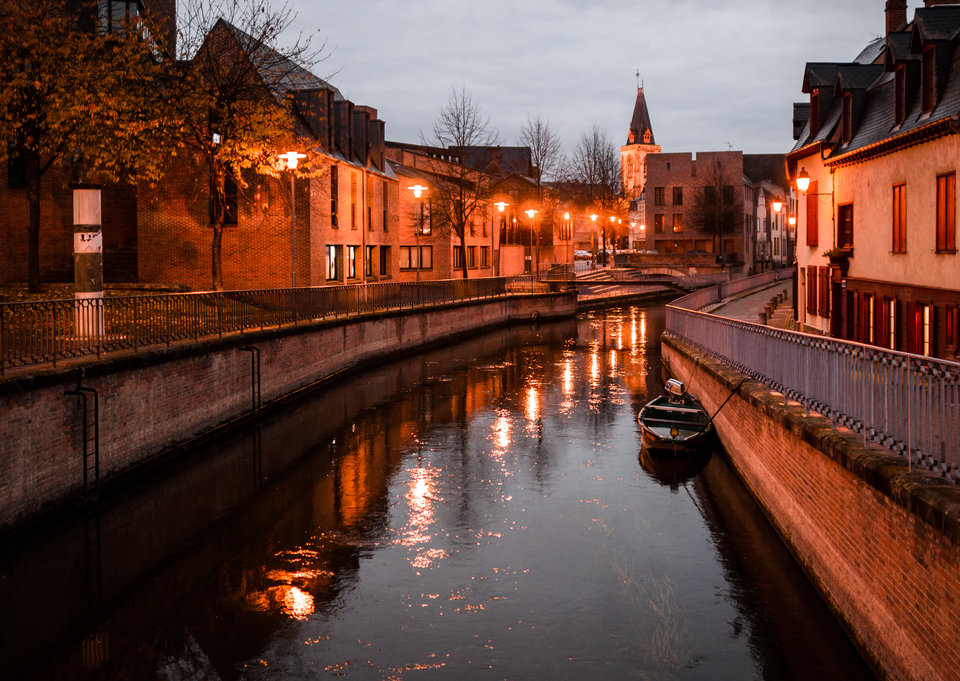
I shot this photo at f/16 to get enough depth of field, since the nearest subject is extremely close to my lens. Even then, the closest and farthest details in the image aren’t perfectly sharp – just acceptably sharp. But a web image and typical print sizes look just fine.
However, you can’t just use a super small aperture like f/22 for every photo, even if it gives you more depth of field. On one hand, apertures like this darken your photos quite a bit; they start to be impractical unless you use a tripod or a flash. But beyond that, small apertures make another type of blur progressively more visible: diffraction.
Diffraction
Blur from diffraction doesn’t get as much recognition as the prior two types, but it still plays an important role in photography. Diffraction is a fundamental property of any wave, including light. When light travels through a barrier or a hole – such as the aperture in your lens – it begins interfering with itself. This interference spreads out its signal, so a pinpoint of light becomes blurred. And that blur shows up directly in a photo.
The physics of diffraction are beyond this article, but we do have a separate article dedicated to that subject. The important thing to know is just the basic information – smaller apertures have greater blur from diffraction, and there’s no way around it.
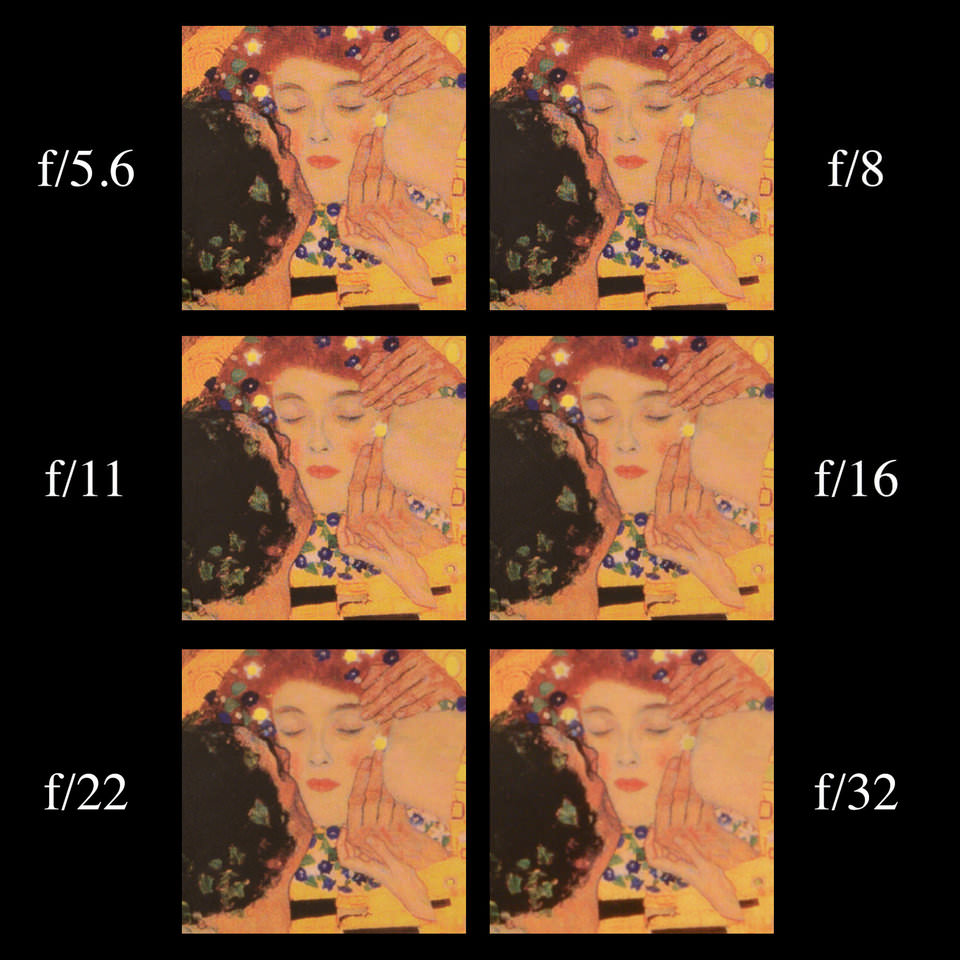
Technically, diffraction is present any time light goes through an aperture, no matter how large. But the diffraction blur doesn’t matter much unless it spreads over multiple pixels. On today’s high-resolution DSLRs and mirrorless cameras, it’s tricky to see diffraction at apertures wider than about f/5.6 (though it still exists). The impact is minimal until at least f/8, if not f/11. And it’s only when you get to especially small apertures beyond f/16 that diffraction becomes a significant image quality problem. Take a look at the following comparison of 100% crops to see the effects of diffraction:
For the record, I still routinely shoot at f/11 and f/16, despite the blur from diffraction. They’re two of my most-used landscape photography apertures, since the benefit in depth of field is often worth the diffraction tradeoff. But diffraction blur is visible at those apertures, so I prefer to shoot around f/8 when possible.
We have an advanced article that shows you the aperture which mathematically balances diffraction and depth of field for any photo. However, if you don’t want to go into it, the following guideline should be enough:
- At apertures wider than f/5.6, don’t worry about diffraction
- At apertures from f/6.3 to f/10, diffraction is visible when you zoom in, though not horrible
- At apertures from f/11 to f/16, diffraction is clearly visible, but it won’t ruin a photo
- Don’t use apertures from f/22 or beyond unless you have a very specific reason, like certain macro photography
Note that these values assume a full-frame camera sensor. Divide by your crop factor to find the equivalent range on your specific camera. There’s a reason why large format 4×5 or 8×10 photographers shoot at “insane” apertures like f/64!
Finally, what if you end up needing an aperture like f/22 or even smaller in order to get enough depth of field? Is it worth dealing with the high levels of diffraction? Although that might be necessary in some cases, see if you can focus stack instead. In other words, use a sharper aperture like f/8, and then take a series of photos focused from front to back, overlapping each image’s depth of field. Merge the photos in post-processing to get the sharpest possible image. This only works when your subject isn’t moving.
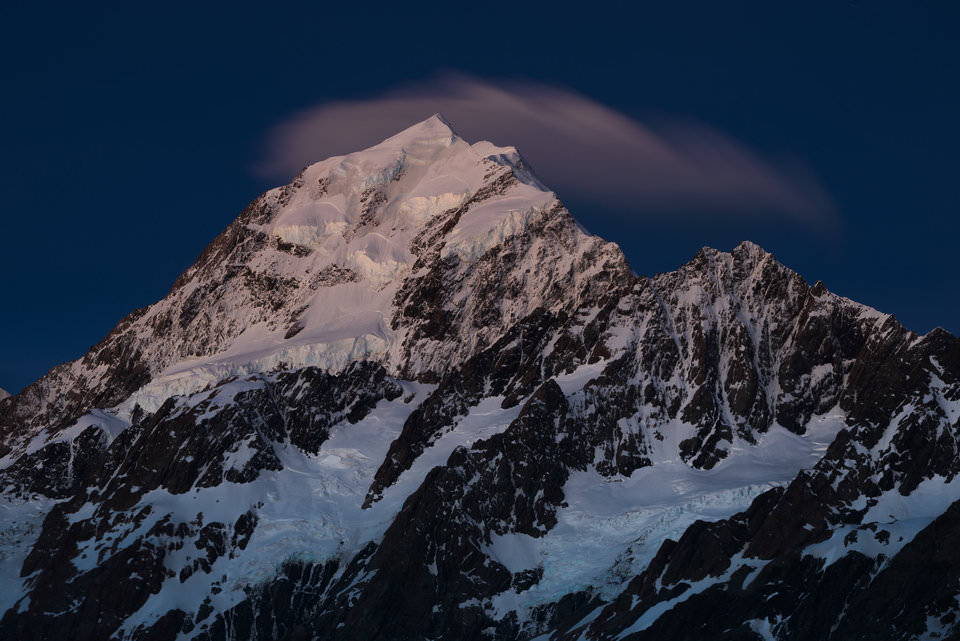
NIKON Z 7 + NIKKOR Z 24-70mm f/4 S @ 70mm, ISO 64, 1/8, f/11.0
Lens Aberrations
Last on this list are lens aberrations, or blur simply because your lens isn’t sharp.
This one gets a lot of attention in the photography world, largely because it is the only source of blur that you can easily improve by buying different equipment. However, it is rarely the biggest cause of a blurry photo. A lot of times, people think that their lens is blurry, when the real culprit is out-of-focus blur. For example, the foreground corners in a landscape photo are often blurrier than the rest of the image, but that’s usually because they are out of focus.
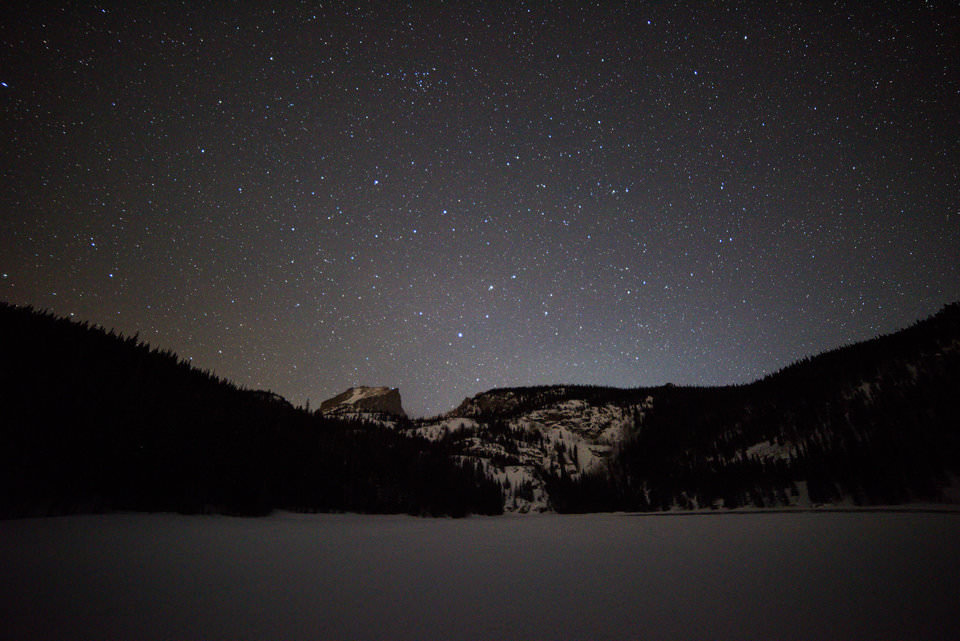
However, lens aberrations still do exist, and they can matter when you use certain lenses rather than others. They are more visible at large apertures like f/1.4 to f/2.8, especially in the corners of the image. If you are shooting a particularly demanding subject like Milky Way photography, where you’re at a large aperture but you want your corners to be sharp, lens aberrations (not just those affecting sharpness, but also things like vignetting) start to become quite visible. Or, if you have a particularly blurry lens, you might notice significant aberrations even at more standard apertures like f/5.6 and f/8, again with more issues in the corners than the center.
For example, take a look at the two images below. The first image is from the Samyang 14mm f/2.8, a popular lens for astrophotography, but one which has moderate lens aberrations. The second is from the Nikon 14-24mm f/2.8, which has a smaller degree of aberration, resulting in sharper stars that are closer to pinpoints. Click to see larger:

The good news is that because lens aberrations are entirely due to camera equipment, you can find plenty of data online comparing lenses in this regard. Don’t go too far down the rabbit hole here; a lens with low aberrations only does so much to improve a photo’s overall sharpness. Unless you crop significantly, the differences won’t be visible in anything but extreme cases like the example above.
Still, it should make sense now why the sharpest f-stop on most lenses is usually in the range of f/4 to f/8. Those apertures balance lens aberrations (worse at wide apertures) with diffraction (worse at small apertures). Of course, there are good reasons to shoot outside that range in order to get the depth of field you need. But if you’re doing some ever-popular brick wall photography, these are the apertures to use.
Other Causes of Blurry Photos
Although the four factors above are the most important causes of blurry photos, there are a handful of others worth pointing out.
First, a low-resolution photo naturally has less detail than one with a lot of pixels, assuming you do everything else right. That isn’t exactly “blurry” – more like “blocky” – but it can start to look like blur when you upsample the image to a larger size. With modern high-resolution cameras, this really is not a big deal most of the time. The main solution is not to crop your photos too much, or they could lose a lot of their resolution. And, similarly, don’t pick JPEG as your file type (rather than RAW), especially compressed JPEG, since it eliminates data in a photo, including low-level details.
Along with that, your ISO value plays a role in image detail. When you take pictures in dark environments at a high ISO, you’ll end up with a lot of visible noise, especially in the shadows. This obscures details quite a bit – not exactly the same as blur, but definitely graininess. And subsequent noise reduction in post-processing can lead to a result that looks blurry or plasticky.
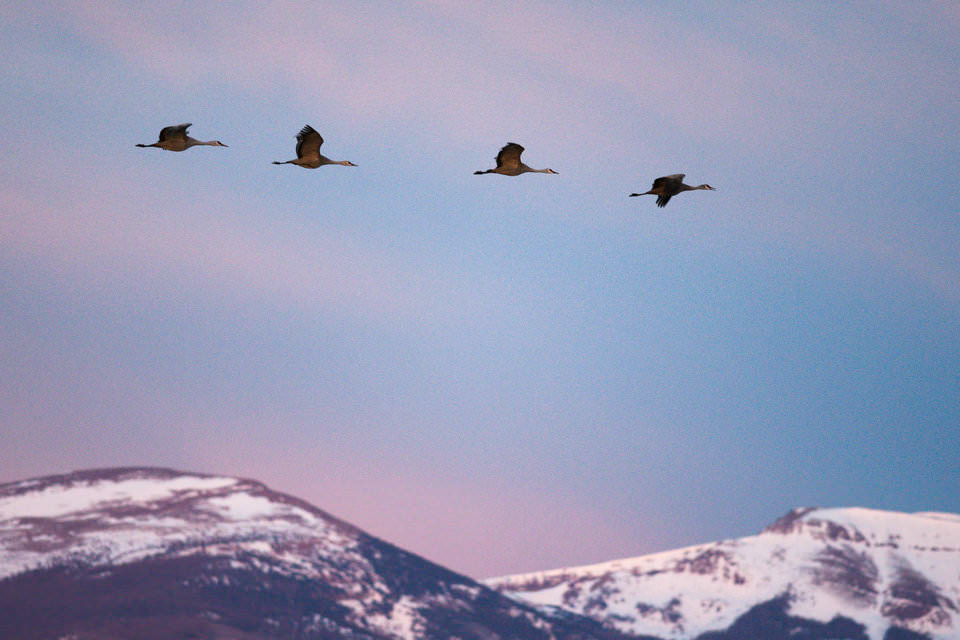
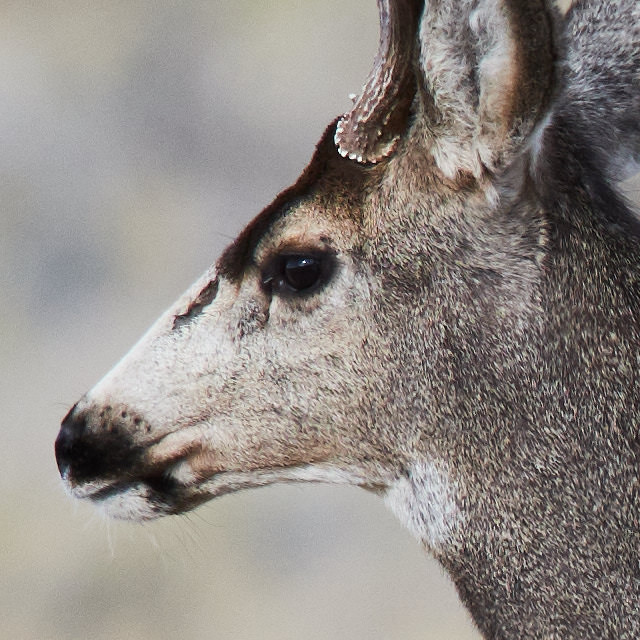
NIKON D7500 + 300mm f/4 @ 300mm, ISO 1400, 1/800, f/4.0
Also, photography with supertelephotos sometimes experiences blur from atmospheric distortion, especially when focusing farther away. This is especially applicable to deep-sky astrophotography and some distant wildlife photography. It’s also one of the most difficult types of blur to fix. The best solution is to wait until the atmospheric distortion decreases, or to take several photos in a row in hopes of getting one that is sharper.
Lastly, there are more basic methods of capturing blurry photos, like shooting with a dirty front lens element or stacking several low-quality filters on top of one another. The same is true of decentered lenses or soft-focus lenses that intentionally give you a blurry result. Although these examples arguably still fall under the category of lens aberrations, they’re distinct enough to deserve a separate mention.
Conclusion
As you can see, there are many ways to end up with blurry photos. Nothing’s stopping you from adding blur artificially in Photoshop if that floats your boat, or breathing on your lens to fog it over. However, if you are trying to avoid blurry photos, there are really four crucial sources of blur for most photographers to consider: motion blur, missed focus, diffraction, and lens aberrations.
It’s not possible to eliminate all of these sources of blur completely, or even to a level that you consider “acceptably sharp” in every case. Often, improving one source of blur irreparably makes another worse. This gets harder and harder as you move to more technically demanding types of photography – astrophotography or macro photography, for example – and you’ll get to the point where even blending images isn’t enough to save the day.
That just makes it all the more important that you understand how to avoid these sources of blur and capture the most detailed possible images. In almost every situation, there is something you can do to take sharper pictures. It all starts with knowing the underlying causes of blur in the first place and understanding how to minimize each one.