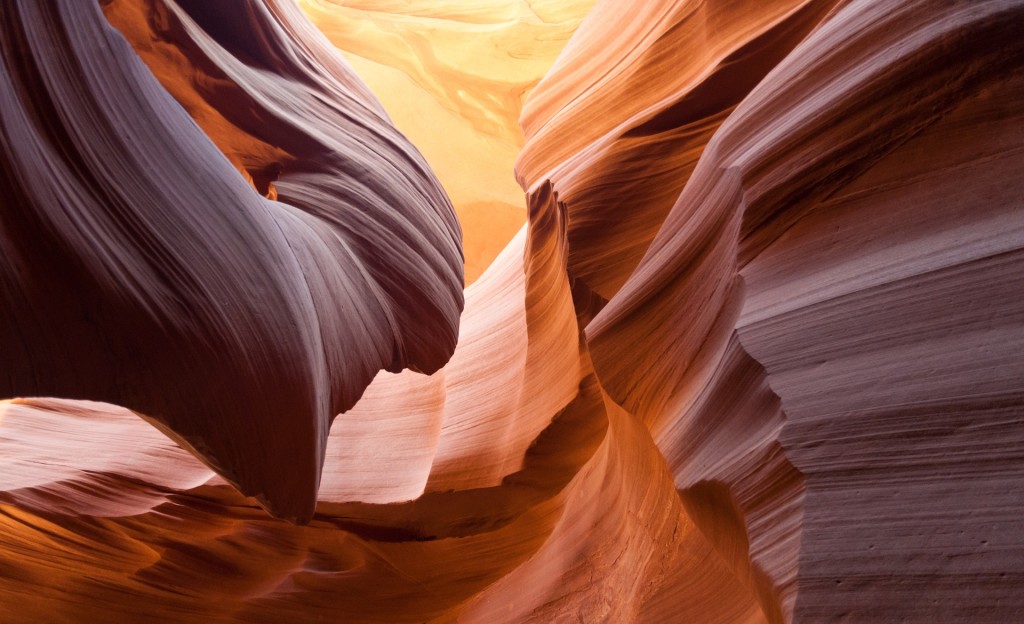
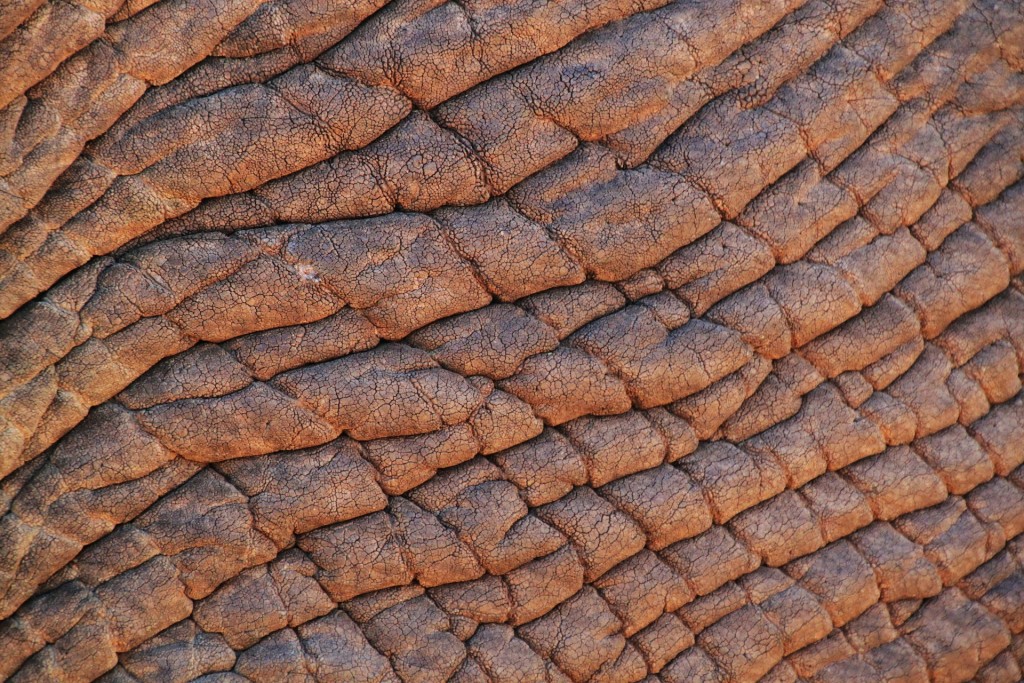
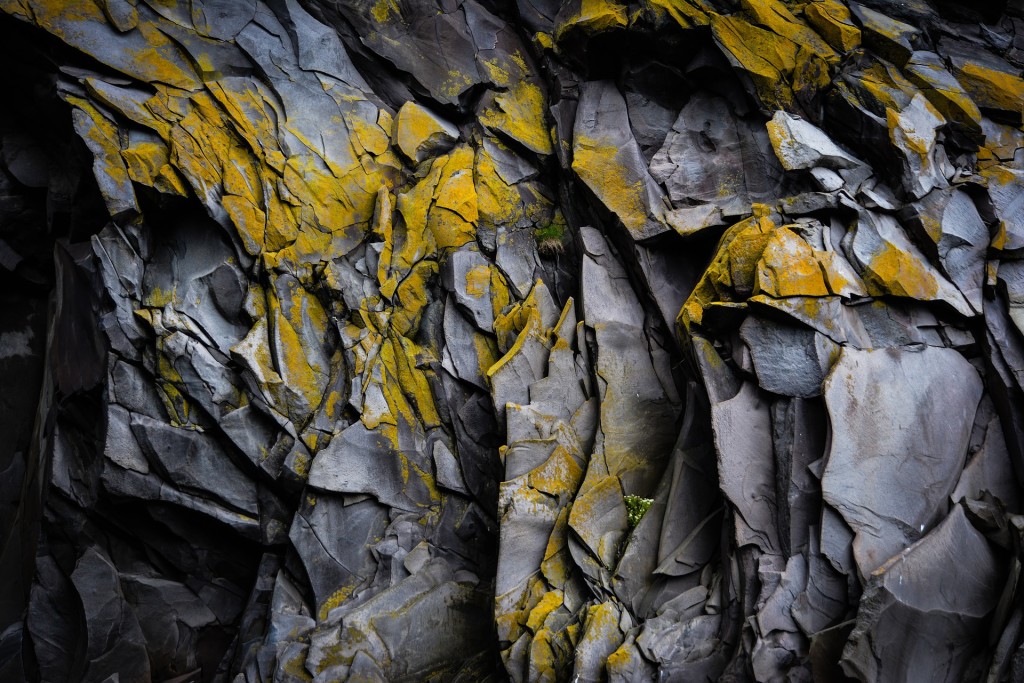
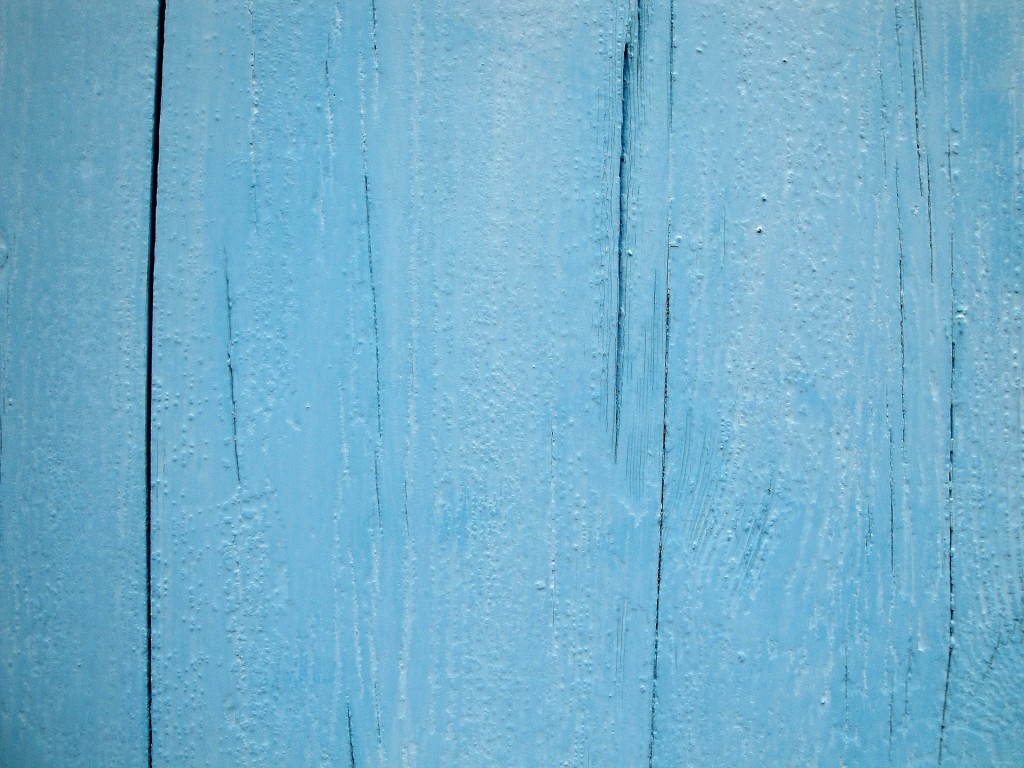
Texture photos can make for beautiful fine art. As photographers in training, we should really take the time to explore the importance of texture and how to effectively use it in our photography. Why? That’s simple. Because photos with interesting textures are innately eye-catching. Why wouldn’t we want to be able to harness that power and use it to improve our compositions? Plus, a huge print of a beautifully photographed texture can make for some very impactful fine art.
Texture Photos and How to Identify Some that are Interesting
They are everywhere. Textures can be found on plants, skin, clothing, animals, food, paper, rusty pipes, wood — just about everything has a texture. It’s your job to find the most interesting ones. Some things that can spice up a texture include complementary colors, patterns, contrast, and dimension. 
Look at different textures you spot throughout the day and think about how you would compose them in a texture photograph. Pay attention to which textures look more photogenic and which are a little bland. Try to learn what sets the two apart.
Use Lighting To Your Advantage in Texture Photos
Contrast and shadows make a texture pop off the screen and make a viewer want to reach out and run their fingers across it. So how do you create contrast in texture photographs? You guessed it: light! The bright midday sun may be horrible to shoot portraits in, but it can be just right for photographing textures.
Remember, you want shadows–just make sure they are enhancing the texture and not covering it up. Bring in some artificial lighting or modifiers to help you really fine-tune the lighting.

Stop Down The Aperture for Strong Texture Photos
Shooting with a shallow depth of field is ever popular these days, but when you’re shooting textures, it’s best to move over to the other end of the spectrum. Stop down your aperture to at least f11 to ensure your depth of field extends from the front of the texture, clear to the back of it.

What Lens To Use when Capturing a Texture Photo
If you have the luxury of owning multiple lenses, one of the best ones to use for photographing textures are prime lenses in the 35mm, 50 mm, or 85mm range. The reason for this is twofold. First, prime lenses are well known for their sharpness. When textures are concerned, sharpness is essential!
Secondly, a lens in the 5omm range will not cause as much distortion as a wide angle of long zoom lens will. This is important because distortion can affect the appearance of the texture and pattern in a negative way.
More Importantly, Use A Tripod when Capturing Texture Photos
One last thing that warrants mentioning. As I stated above, sharpness should be of paramount concern when you’re photographing textures. With that in mind, use a tripod whenever possible. A sturdy tripod will help prevent any camera shake, resulting in blurry out of focus images. Even if you have to go out of your way to set it up, use the tripod–you’ll be thankful in the long run.