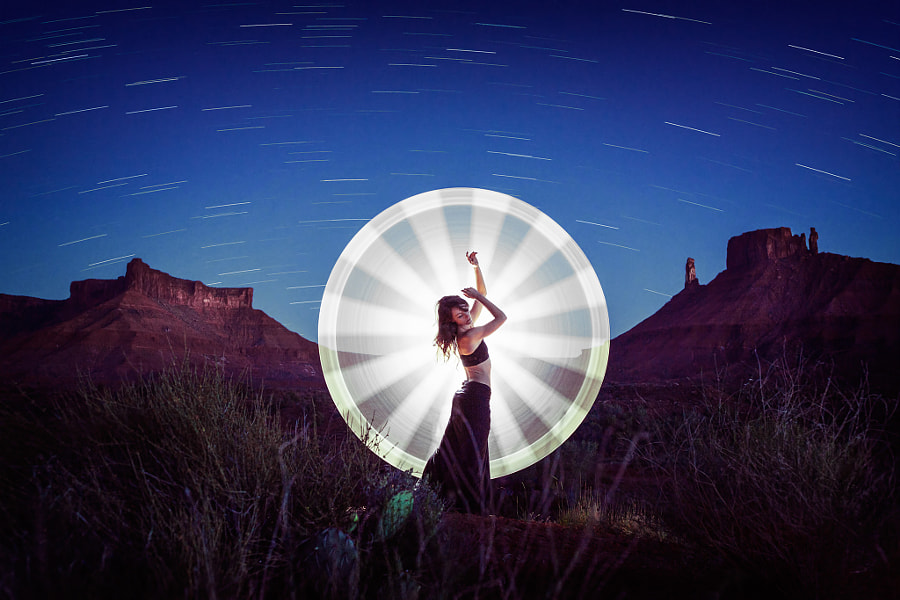
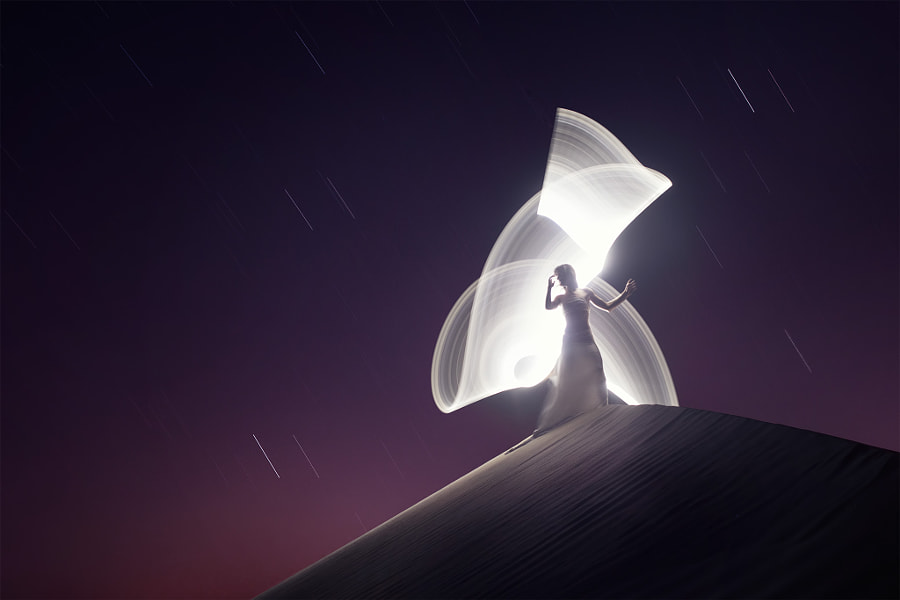
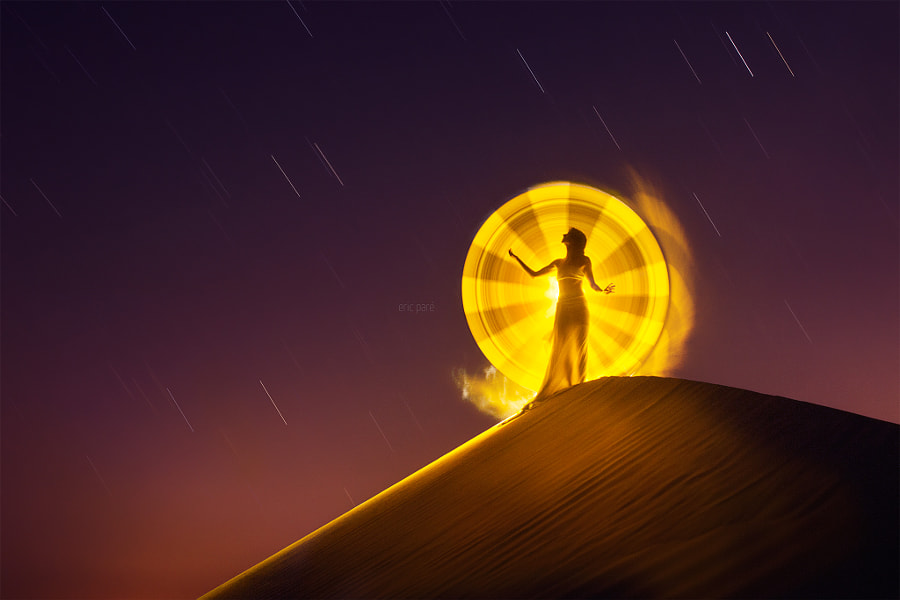
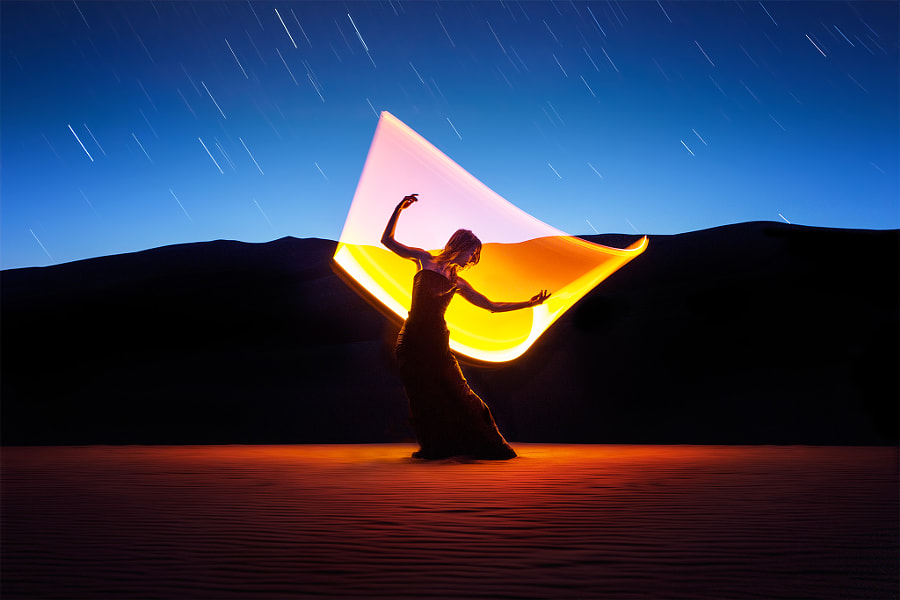
Eric Paré is 360 degree bullet-time expert and light-painting/stop-motion photographer who consistently captures some of the most breathtaking images we have ever seen at 500px. In this handy tutorial, he walks you through how to combine your light-painting portraits with star trails to create show-stopping shots.
Here’s a cool trick that my friend Amr Tahtawi showed me a while ago that I keep using for my light-painting pictures.
As usual, I do a series of quick light-painting pictures with Kim Henry at blue hour (to get the nice background). Most of them are lit in one second. These are created using tubeguards. Make sure your composition is perfect before starting the shoot, and never move your tripod or camera angle. It’s very important to keep the same position the whole time to keep your pictures aligned. Settings on the camera for light-painting are usually f5.6, iso800, bulb mode. I shoot with two full frame cameras and lenses at 14mm and 35mm.
When you’re done with light-painting, wait a little bit until the horizon becomes totally dark. Then, you’re ready to create the star trail shot. Change your settings on your camera (normally f11, iso200), re-focus to infinity, and take an exposure of about 15 minutes using the bulb mode (you’ll need a remote trigger to avoid camera shaking)
To do the final edit, open the two pictures on your favorite editing software on two different layers (star trails on top). Use blending mode “lighten” on the top layer, and mask out unwanted details on the model and background (you’ll usually see dead pixels and weird things here and there).
It would be technically possible to get everything in one shot using the lens capping technique. That would mean doing one light-painting picture, putting the lens cap on, waiting until it’s dark enough, then putting the lens cap off, and doing the star trail shot. But I’m not willing to risk wasting a whole night when I have to drive three hours to get to the location.
As the temperature can fall rapidly at night in the desert, you’ll want to make sure your body is warm before it gets dark. What we usually do is a series of yoga poses. That also helps for Kim to keep still in the poses, and for me to have a better flow in my light-painting shapes.
Also, when we do this kind of night shooting when we’re traveling, we come back too late to the hotel and all the restaurants are closed, especially when we’re in small villages. So we always make sure to buy wine and cheese before leaving the room, and that’s our biggest motivation on our way back after shooting. Yoga -> light-painting -> star trails -> wine/cheese is the best routine ever. Have fun!
Scroll down to see more of my new work, and my latest film, Signs of Light.


Get more tips and tricks about my one-second light-painting technique on my learning group, and follow our journey on 500px, instagram – Kim, instagram – Eric, and Facebook.