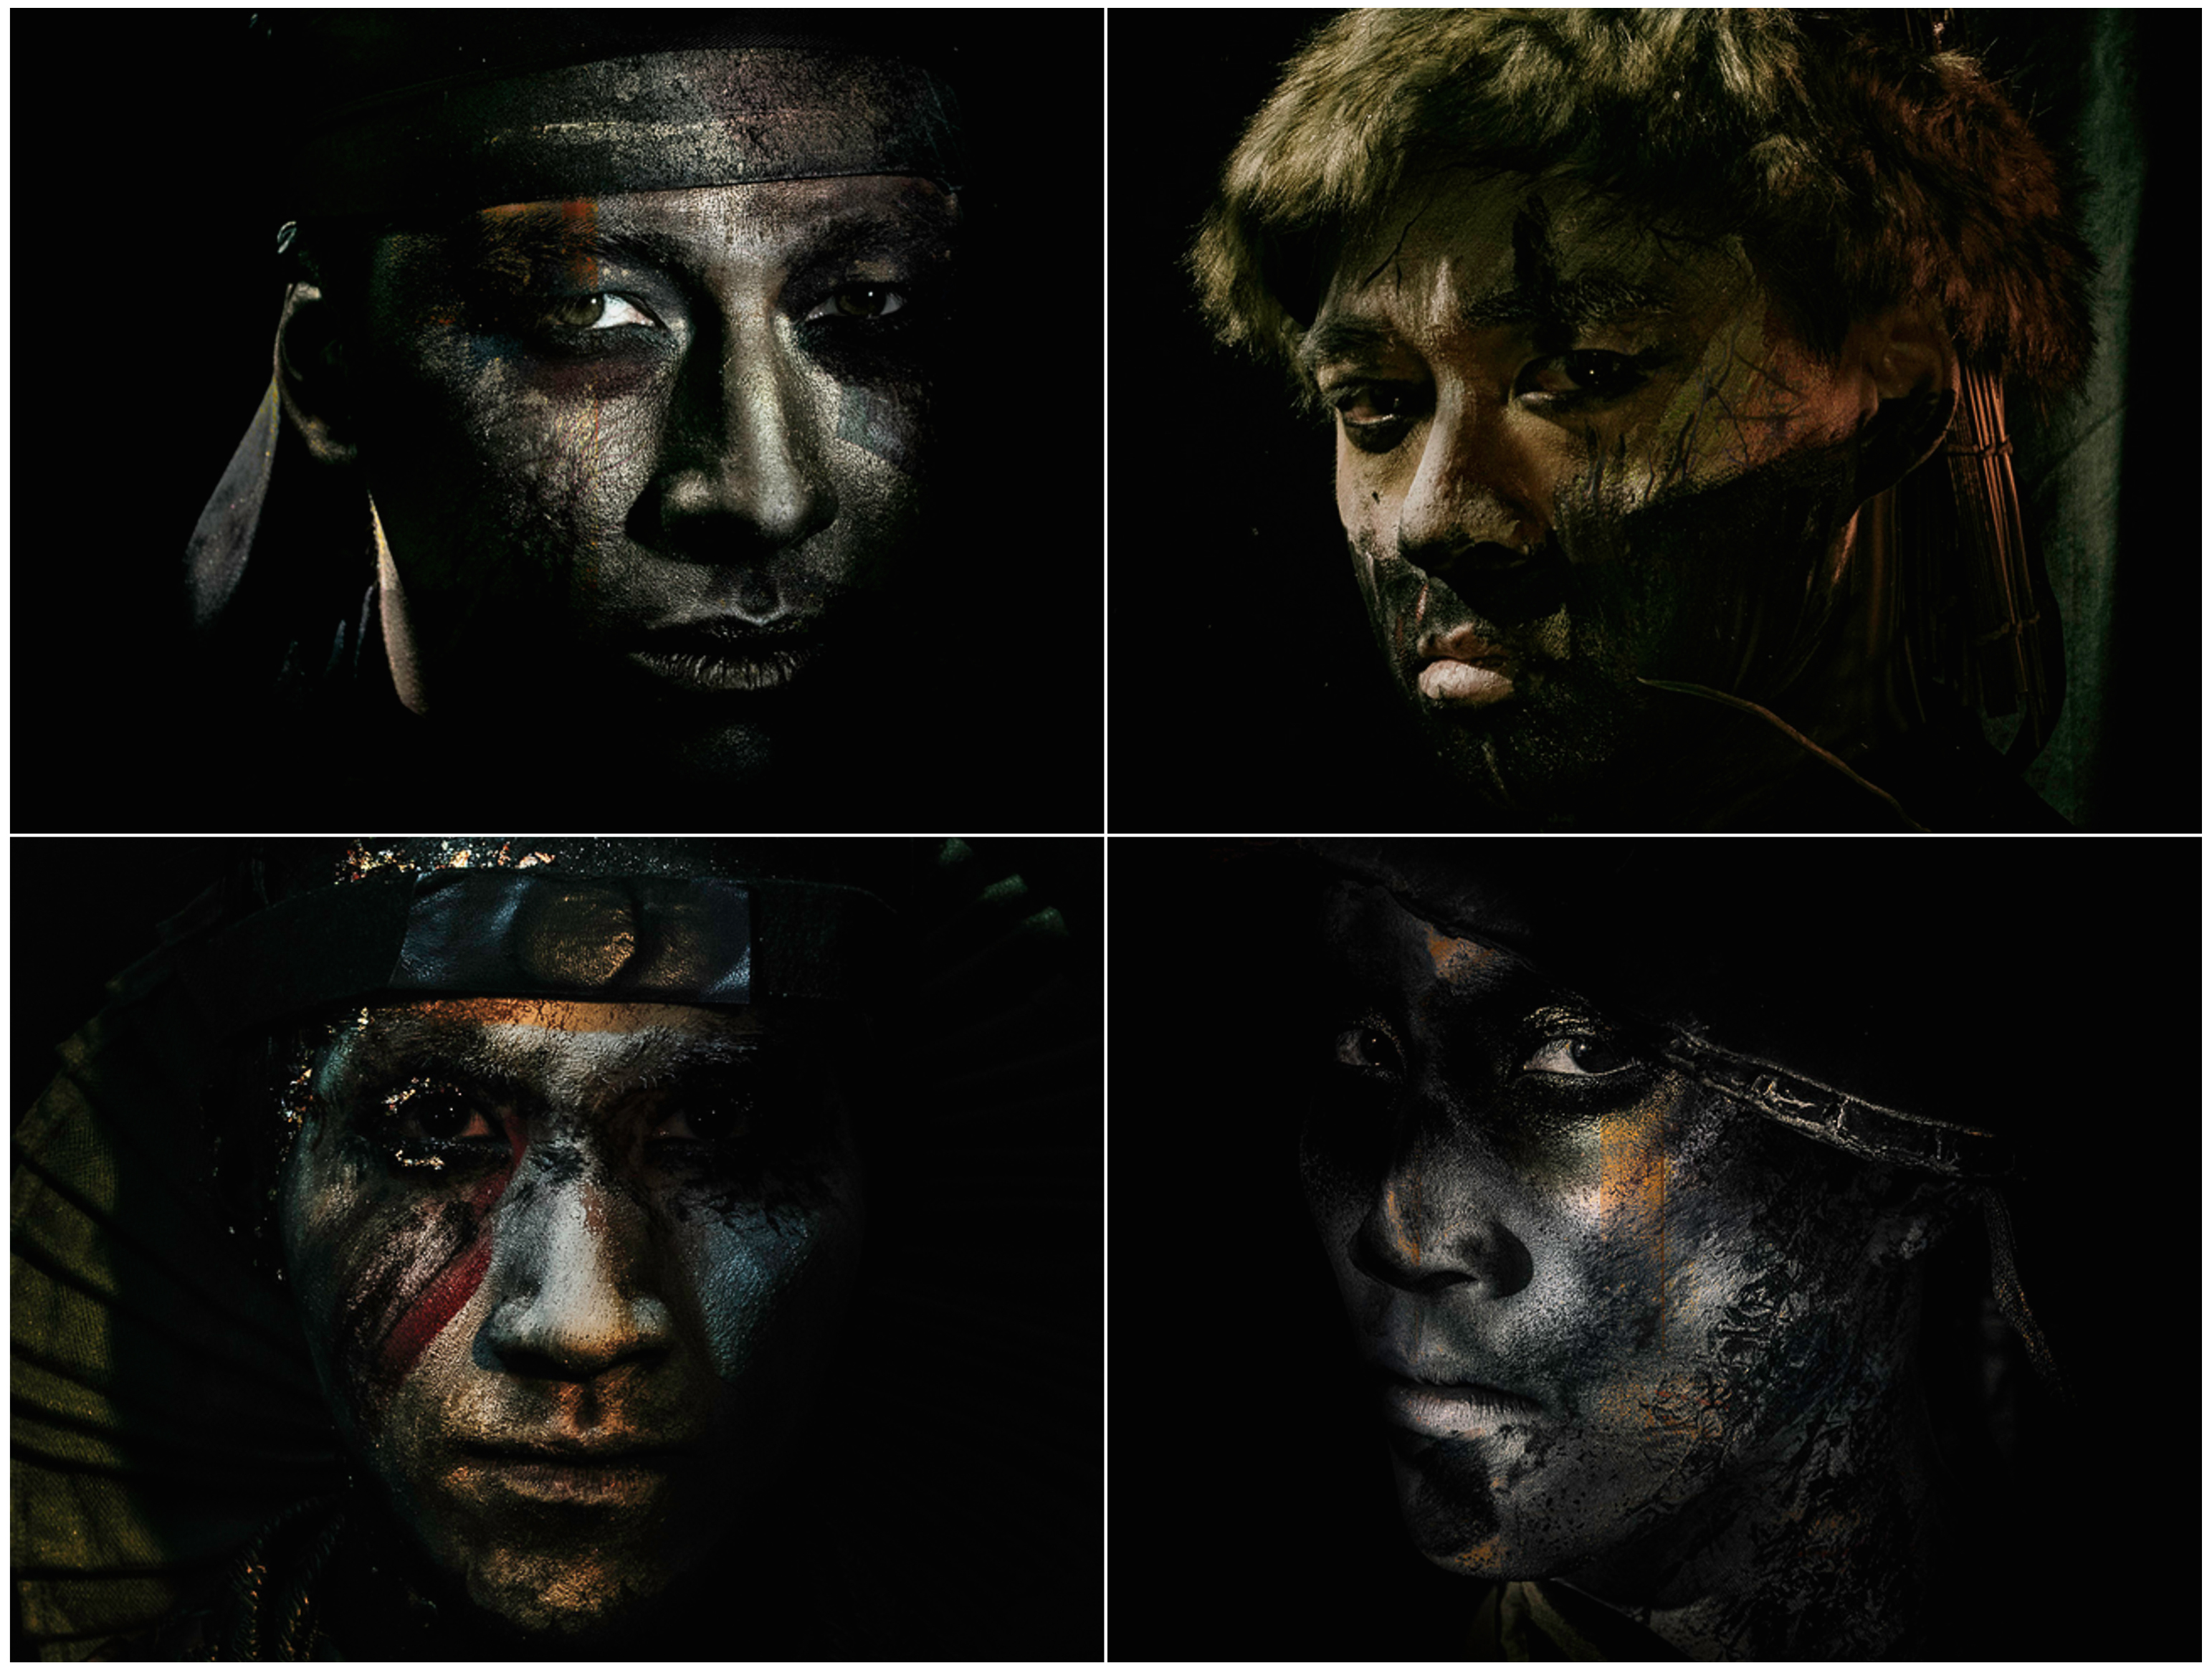
Need a creative idea for your next photo shoot? Get inspired with this exclusive portrait tutorial by Alexandria Huff of BorrowLenses.com! Learn how to create gritty Warrior-themed closeups that look just like paintings — using Alexandria’s chiaroscuro portraiture technique. Her technique uses low-key lighting to emphasize nearly-hidden details, like the flow of a scarf or sweep of hair.
In this tutorial, you’ll learn how to use Fiilex LED continuous lighting, gels, barndoors, and makeup to create a dark and moody look for your portraits. You’ll also learn some post-processing tricks — how to use multiple heavy filters with Analog Efex Pro, and then tame their strength using Layer Masks in Photoshop.
Read on, and try this out with your friends and clients!
How To Create Warrior Portraits
Using LEDs and Analog Efex Pro
by Alexandria Huff
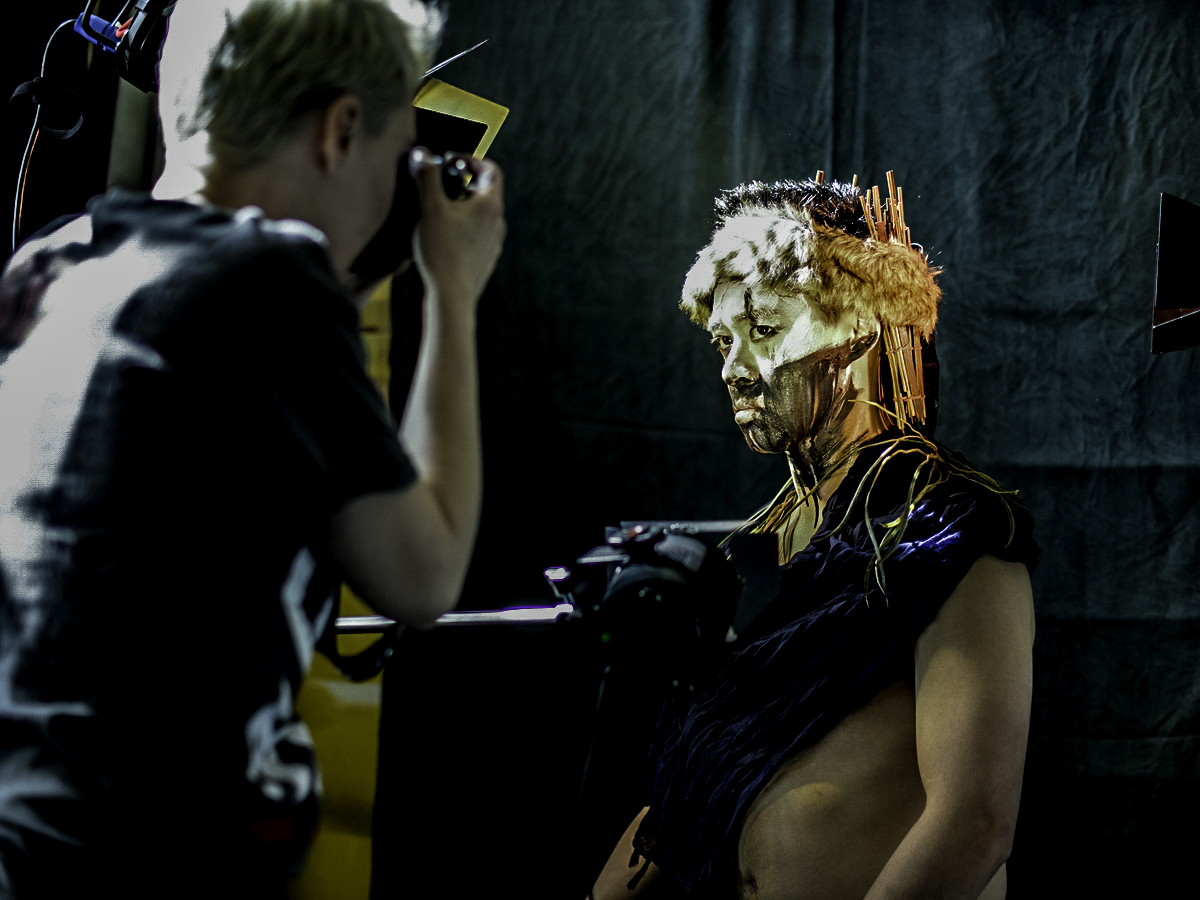 Above: Johnny La poses in makeup by Tonie Pateepsut and costume/styling by Katherine Nowacki
I created a small cast of warrior closeups in collaboration with other people, so that I could practice communicating my vision to other people who may have a different idea for my subject.
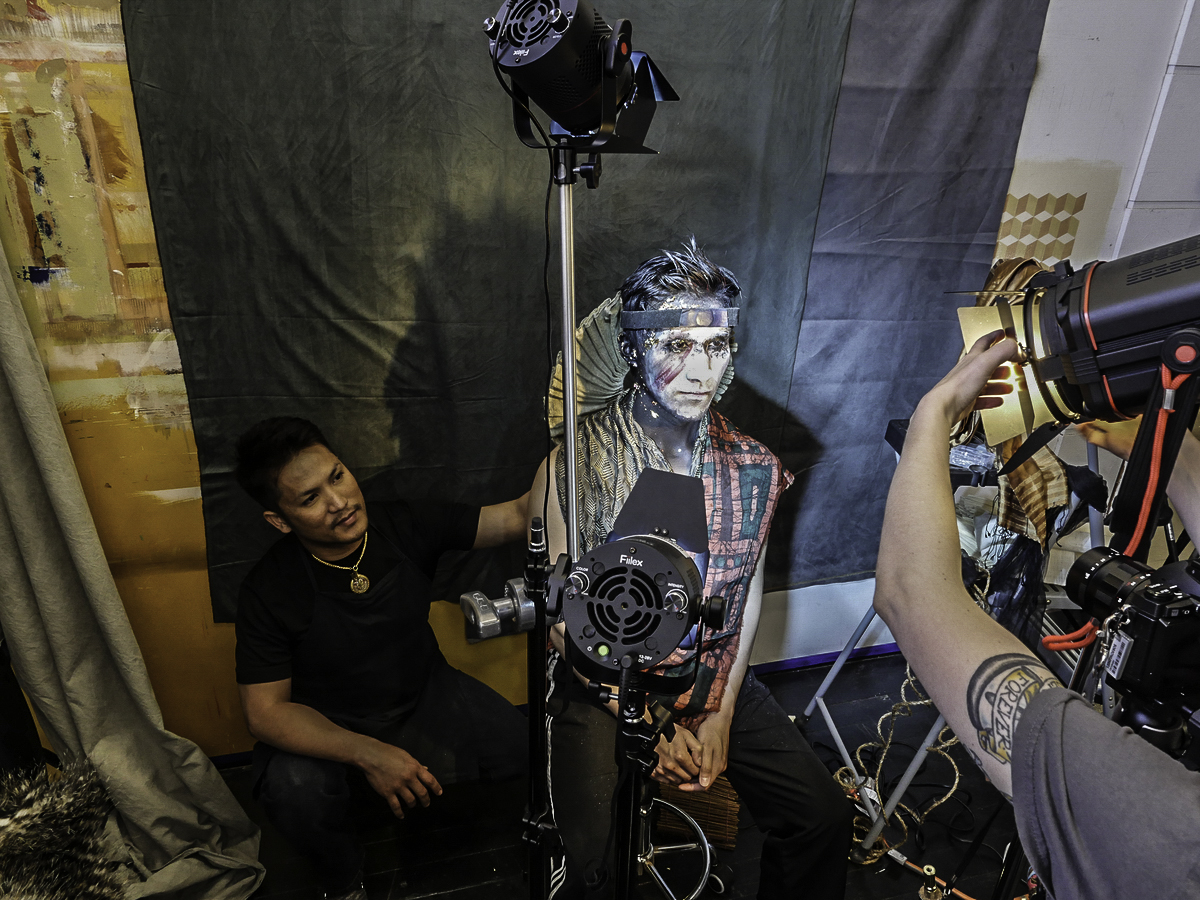 Above: Tonie Pateepsut assists while Chris Lee models. Barndoors, gels, and a fresnel lens help control the light.
EQUIPMENT
I use flashes or strobes for most of my work. But sometimes, as with my Great Gatsby shoot, I prefer to work with continuous lighting. Using continuous lighting helps remove some of the guess work; what you see is, largely, what you’re going to get. One of the downsides to continuous lighting, especially LED lighting, is the lack of strength which forces the shooter to use higher ISOs or lower shutter speeds. Fortunately, LED lighting is getting brighter and more versatile, making it a great tool for both photographers and behind-the-scenes videographers.
Here are the equipment and tools I used for the shoot:
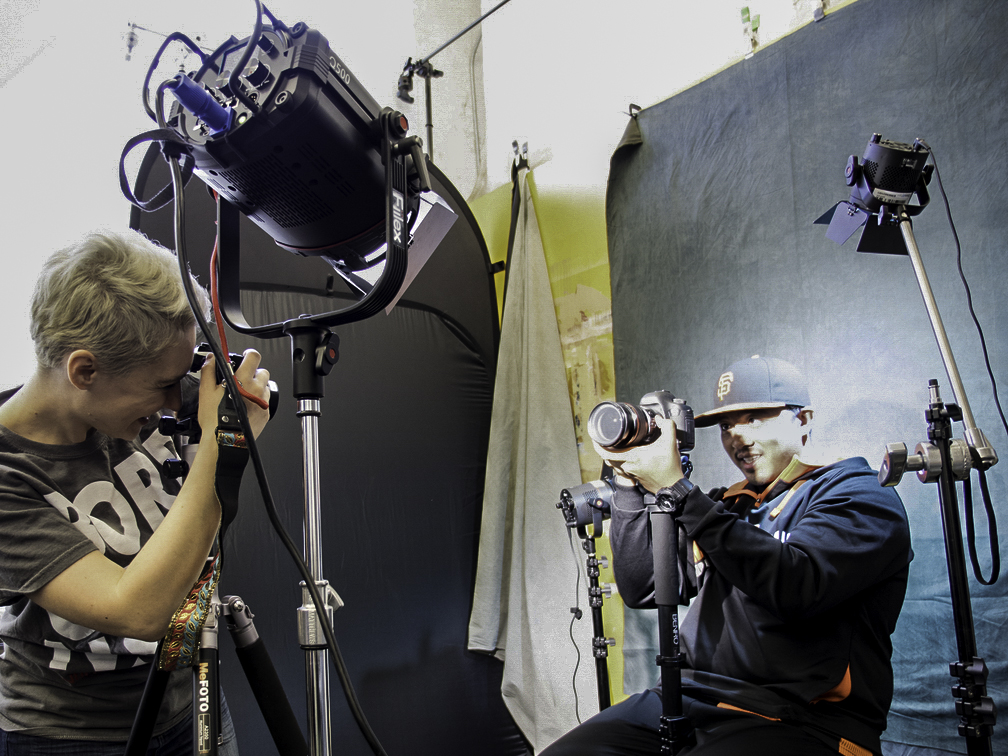 Above: Fiilex’s Q500 and their smaller P360 during some test shots with Matthew Maniego, who shot some of the behind-the-scenes footage. Fiilex lights are suitable for both photographers and filmmakers.
Fiilex Q500 – With a 750W equivalent, I was able to use this as my key source with a sturdy fresnel lens and barndoors to focus my light. Hue control and temperature adjustments allowed me to make subtle changes to how my subject’s makeup looked on film. I am typically forced to shoot at ISO 800 when using continuous lighting. The Q500 is powerful enough that I was able to drop that down to 400. If I had lowered my shutter speed (which I had plenty of exposure runway to do), I could have dropped that ISO even further. LEDs have come a long way thanks to Fiilex.
Fiilex 301 LED Kit – While less powerful than the Q500, this kit gave me three small lights to work with. They, too, feature temperature control and gels can be held against the light easily with a magnetic ring. These lights are cool to the touch and didn’t overheat my models.
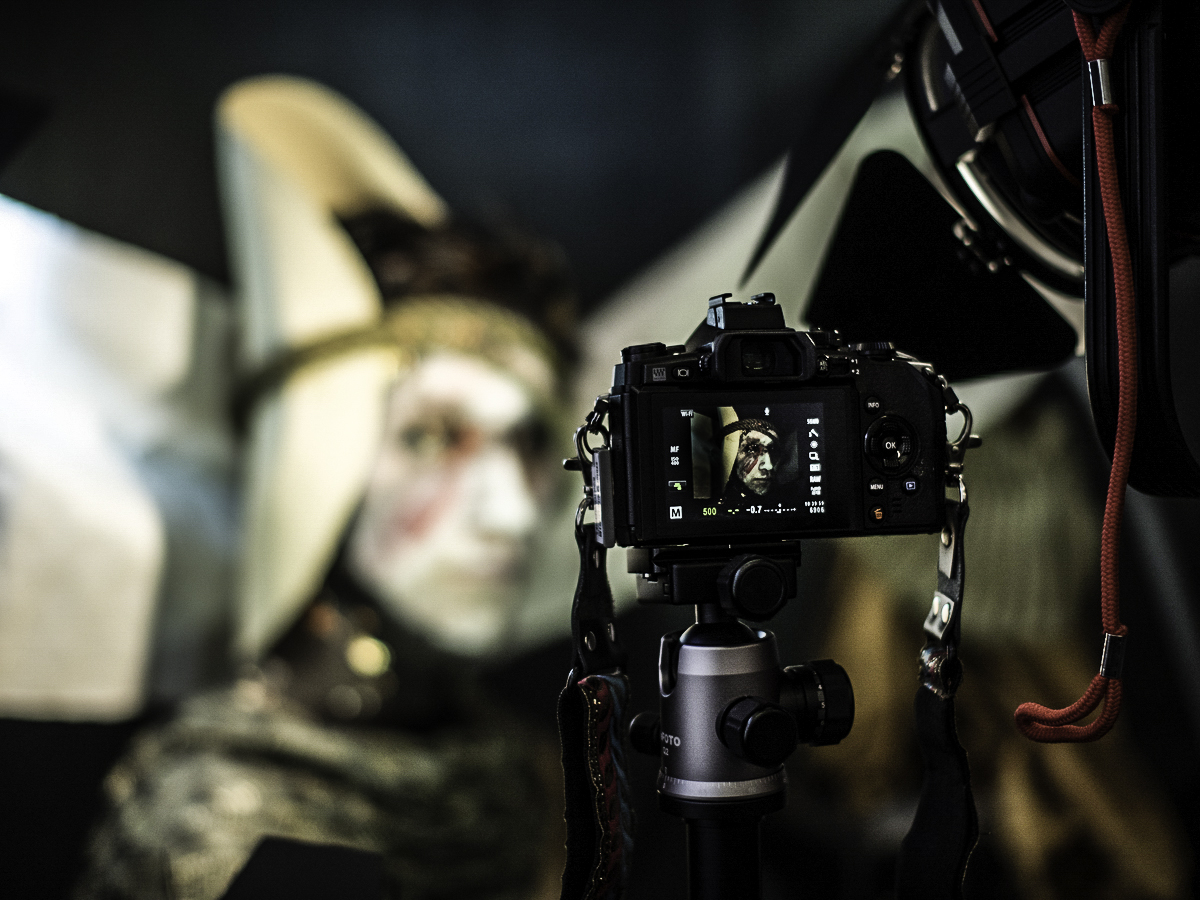 Above: I enjoy the small form factor of mirrorless cameras. I can much more easily shoot while seeing and interacting with my model.
Olympus OM-D E-M1 with a Voigtlander Nokton 25mm f/.95 lens – Using Micro Four Thirds gives me the chance to use Voigtlander’s ultra-fast lenses. Though I didn’t need the .95 for this shoot, it is nice to have the option, especially when using lower-powered lighting or if you just want to squeeze a little more bokeh out of Olympus’ small sensor. The electronic viewfinder on the OM-D is bright, fast, and gives me a preview of my image as I shoot, saving me from having to chimp.
Gels – I used cheap gels, since I didn’t have to worry about them melting on these lights. I cut them into small circles and attached them to my accent lights. I used mostly blue and a little red.
SETUP
Collaboration is hard because it means you sometimes have to make concessions on your vision. One tip? Arrive on set with an open mind. For this shoot, I worked with makeup artist Tonie Pateepsup and costumer Katherine Nowacki.
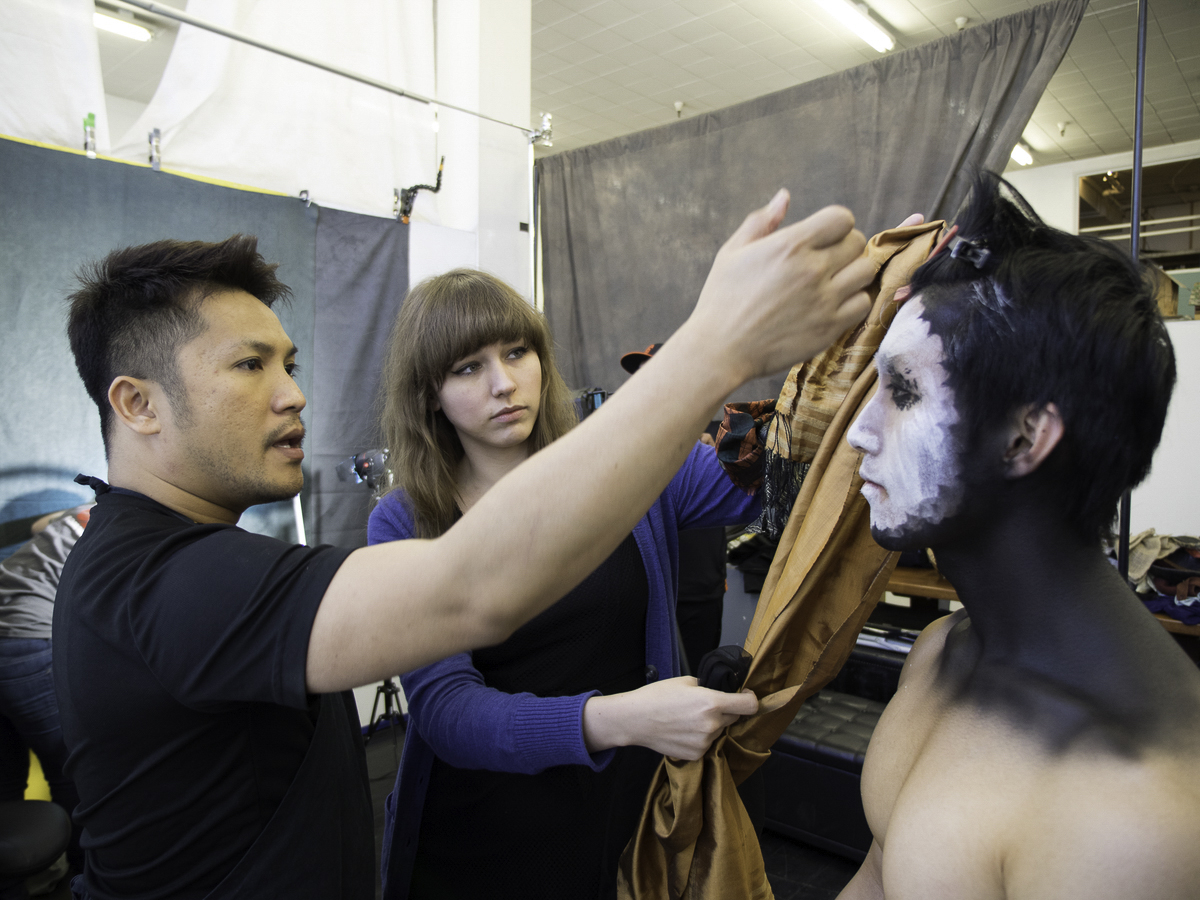
I tried to maintain a hands-off approach while others on set worked. I made adjustments with my model only after I started shooting, which is advised only if your model has the time to spare.
Pateepsup does beauty work for celebrities and models. Nowacki does full body work for the theater. This project was a departure in style for both of them, especially since I primarily only shoot the face and in such low-key lighting. Inventing restrictions for your project can be a good creative exercise.
Most of my lighting setup consisted of a key light for the face and an accent light to illuminate a small detail in the costuming.
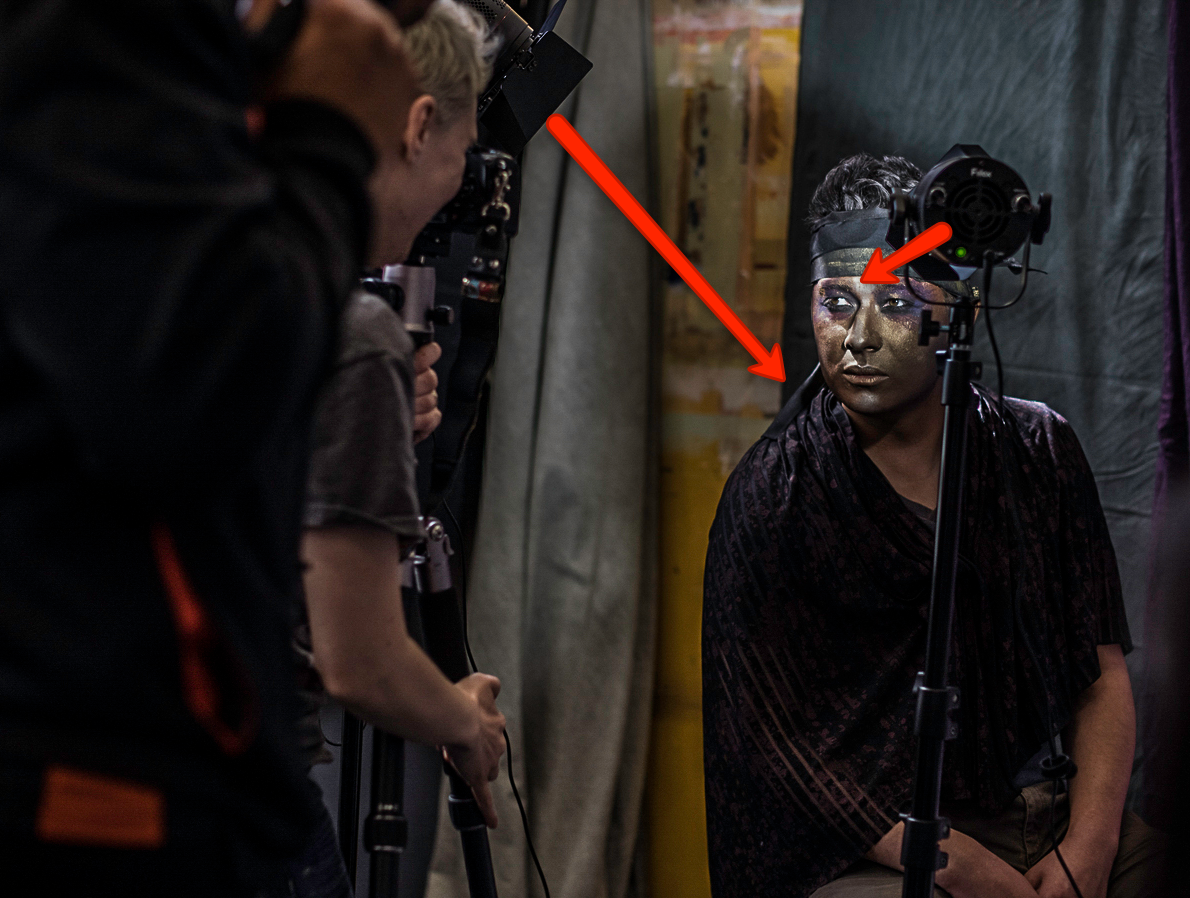
Though I had 5 lights at my disposal, most of my final shots ended up only using two – typically the key light and then a gelled accent.
Everyone on set worked from a mood board. If you have no other reason to use Pinterest, then using it simply for collaboration can be handy because so many people are already on it. Meditating on the art of others (especially in another medium) can truly inspire you. For my Great Gatsby shoot, I used magazine cutouts to create my mood board.
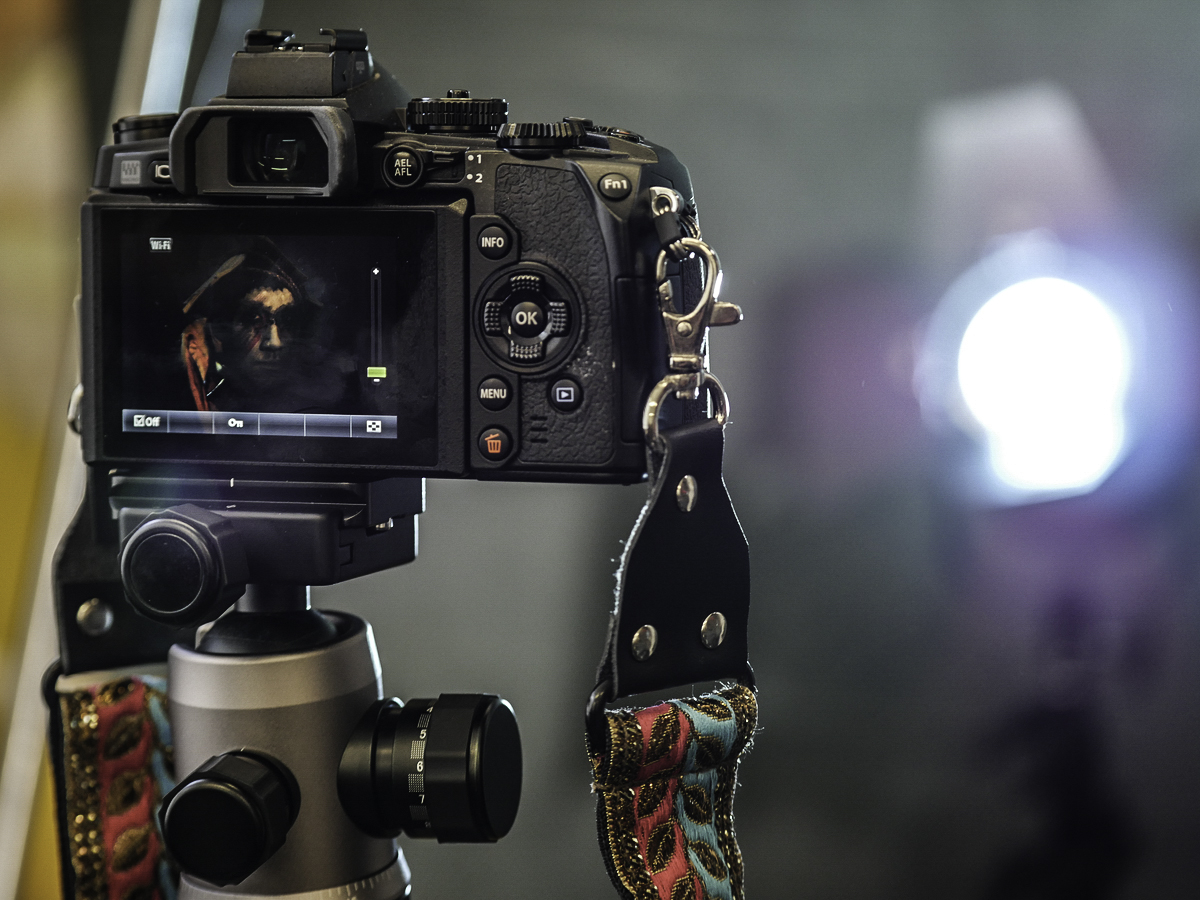 Above: The magnifying touch screen LCD on the OM-D E-M1 is great for spot-checking focus and other small details.
POST-PROCESSING
Adobe Photoshop and Nik Software are among the editing programs I use. Nik’s Analog Efex Pro produces lovely vintage film filters, but most of them are too strong for my taste. Unlike Nik’s Color Efex Pro, where you can stack filters and use Control Points to edit only parts of your scene, Analog Efex Pro doesn’t allow for spot adjustments and layering from within the plugin.
Here is how you can apply a filter to only parts of your image:
1. Open your image in Analog Efex Pro, as a plugin from within Photoshop.
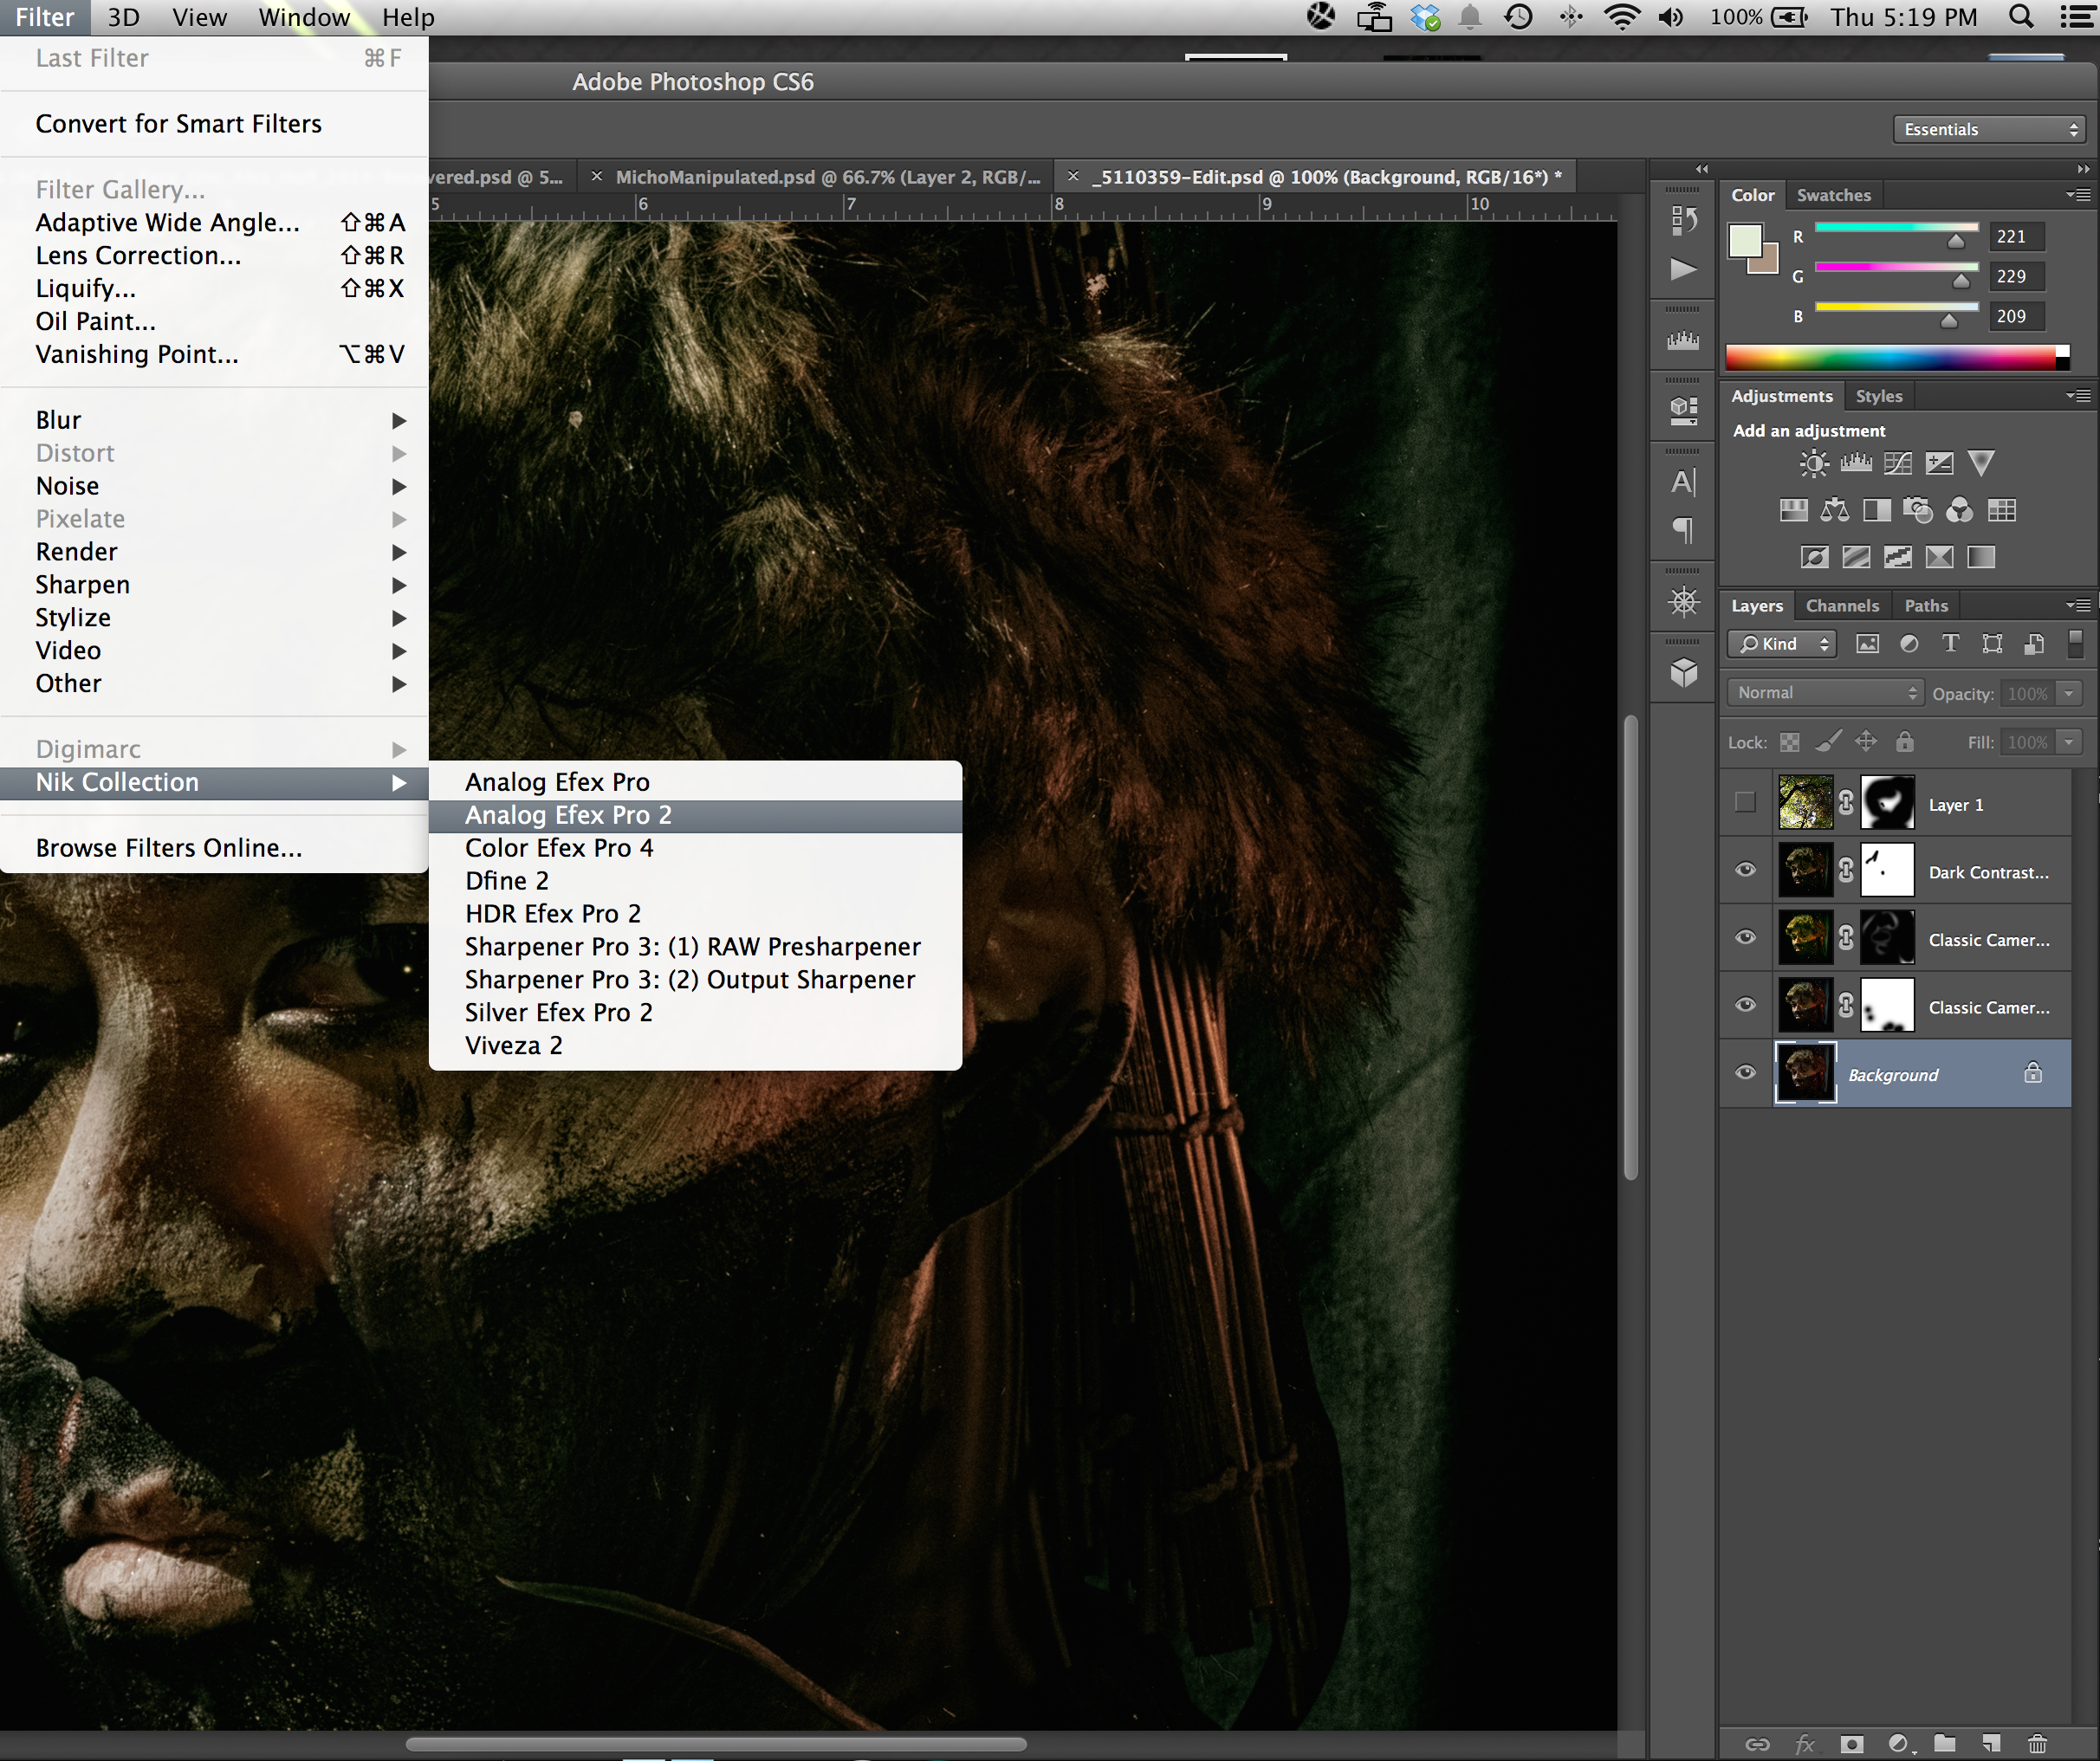
As you can see from above, I have already used a couple of different filters, blocking out the bits I don’t like nondestructively with Layer Masks. The top layer is a photo of a tree I took and played around with adding pieces of it to the image using a Layer Masks
2. Apply your desired filter. You will probably be applying it with only 1 part of the image in mind and knowing that it looks terrible everywhere else.
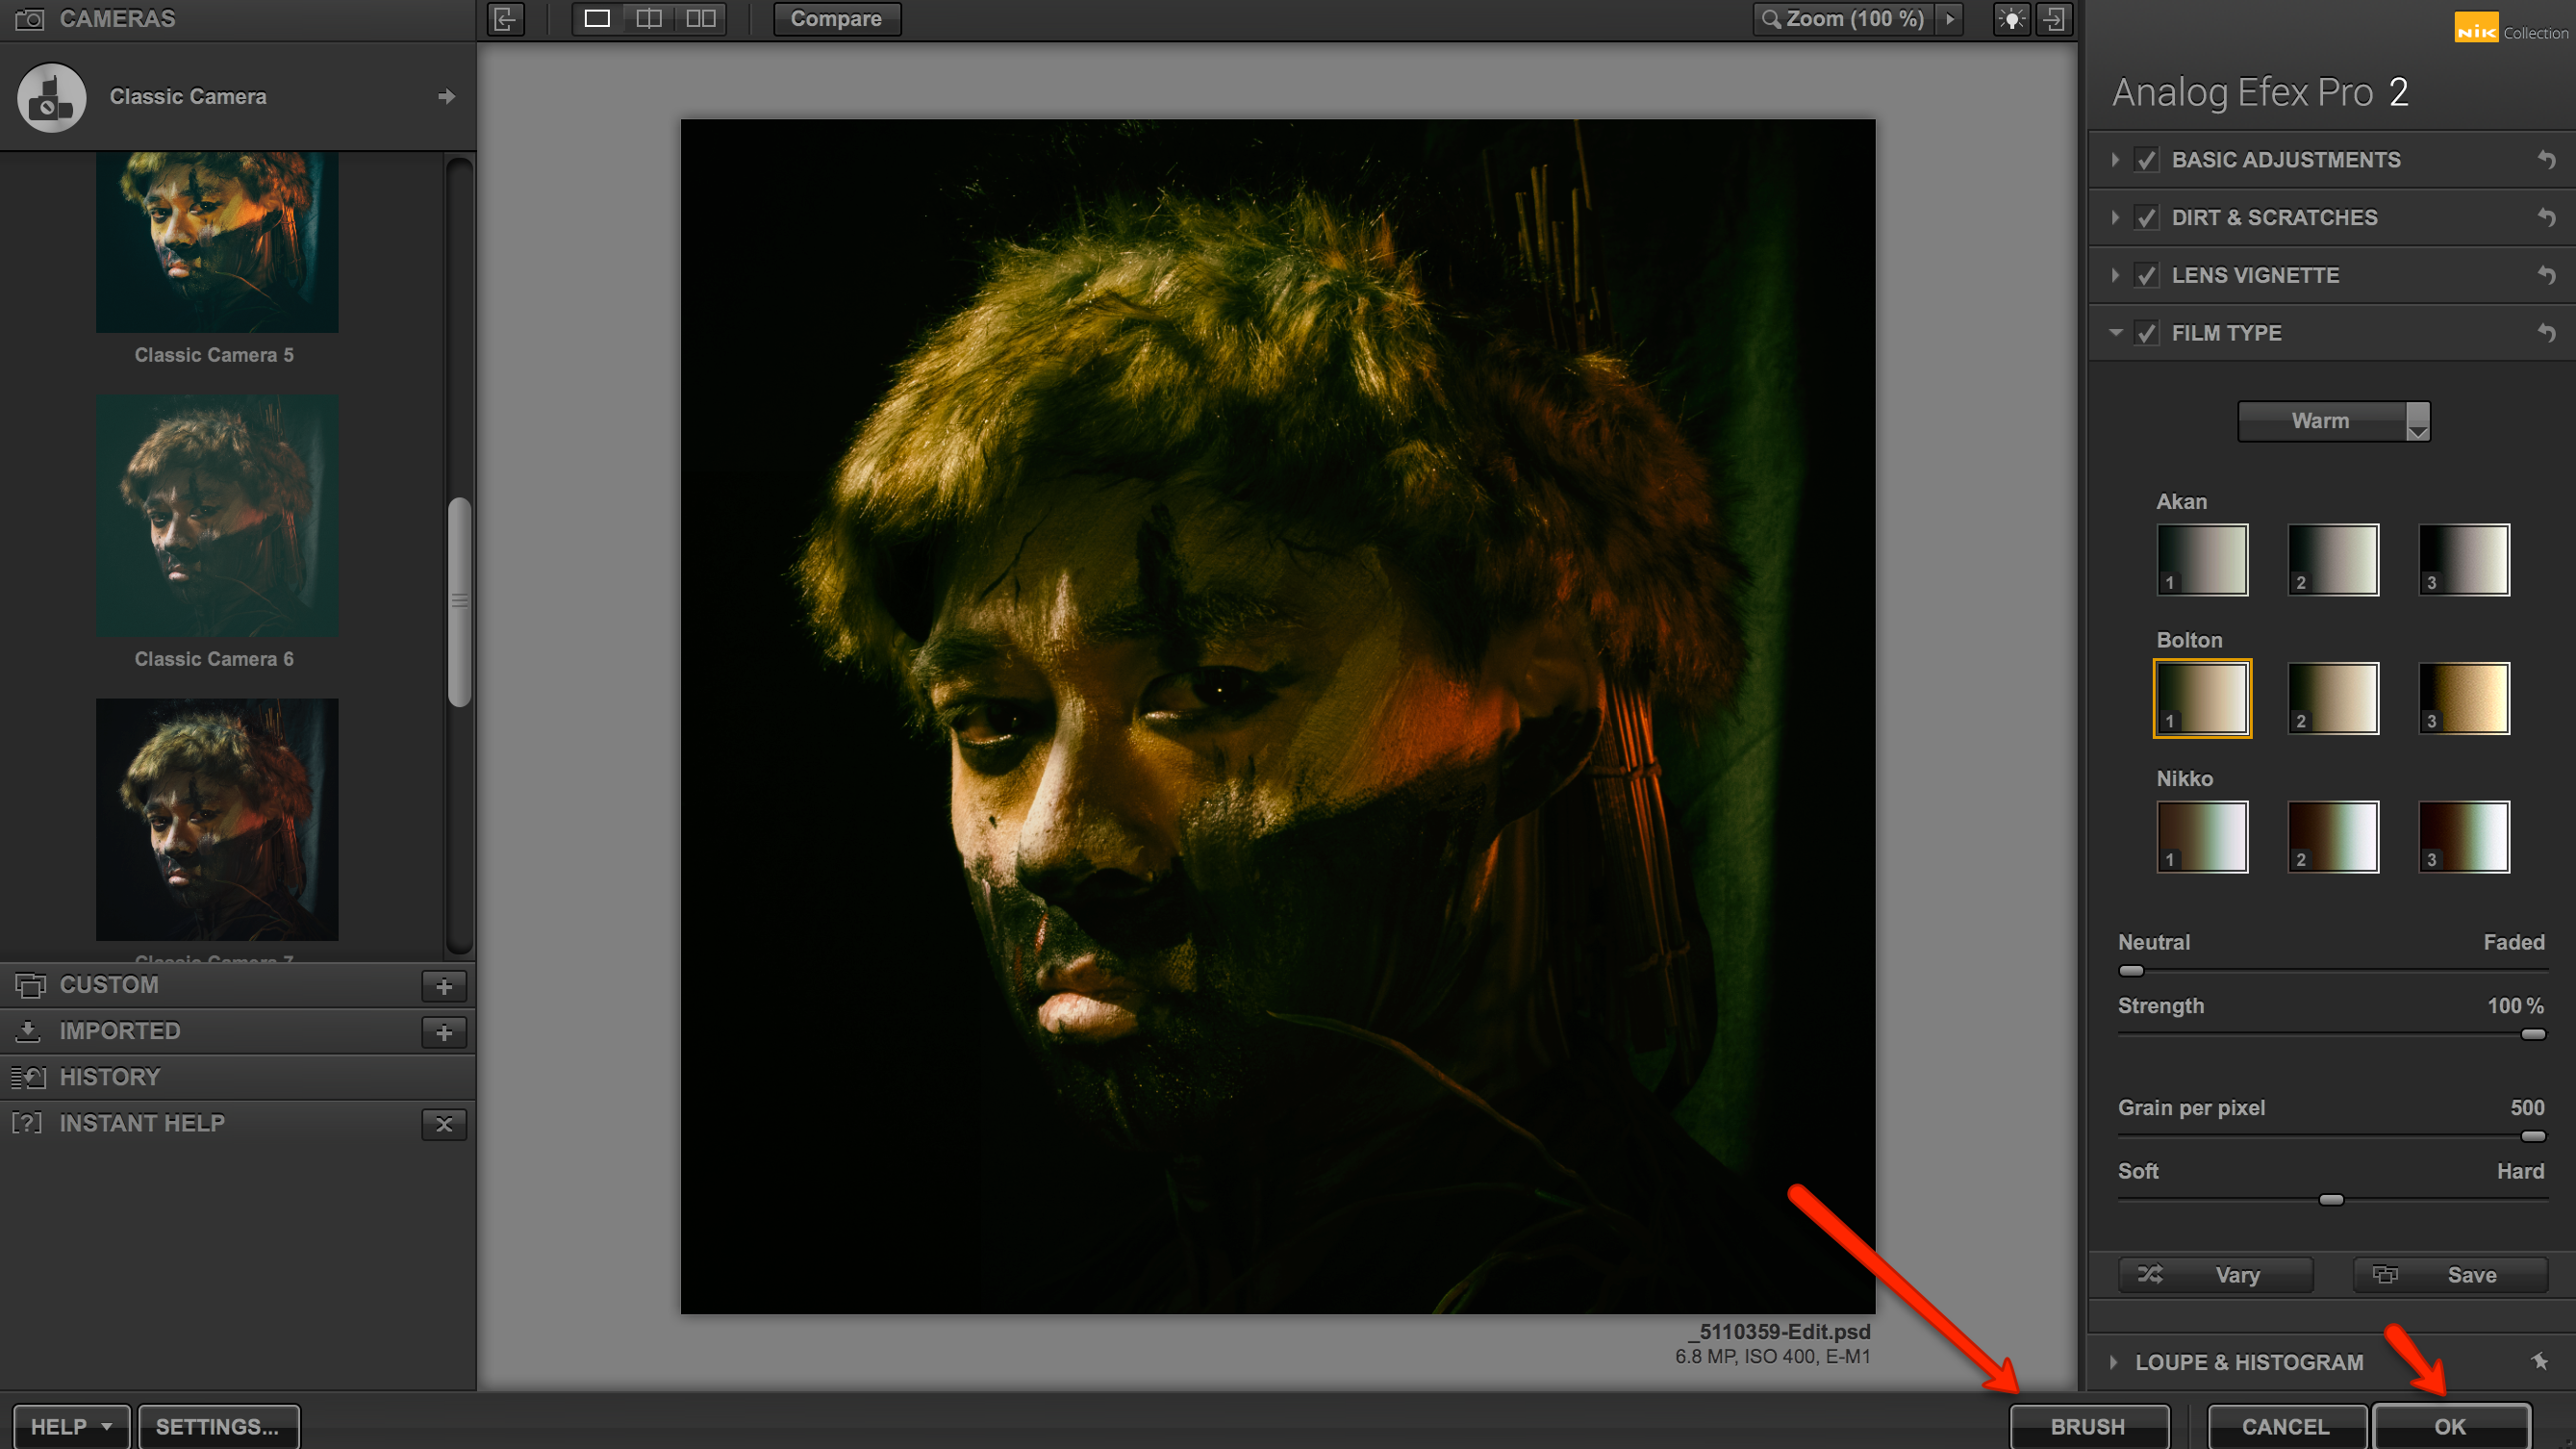
I like how this filter emphasizes the red parts, but I hate the rest of it. I can keep just the red part using Layer Masks in Photoshop. I can do this endlessly using Nik filters for every little detail of my photo if I wanted to and non-destructively to boot!
3. Open the image in Photoshop by either hitting Brush or OK.
4. Your filtered image is now open in Photoshop with a white layer mask attached to it. If you don’t see a layer mask attached, add one by clicking the “Add a Mask” button at the bottom of your layers panel. A white mask will reveal the entirety of your Nik filter. Use the paintbrush tool and black paint to “wipe away” what you don’t want. Conversely, a black mask hides your filter completely. Use a paintbrush and white paint to reveal the filter in areas you like.
5. Let’s say, for some weird reason, I want to use this very heavy yellow vintage filter from Analog Efex Pro but only on my model’s nose. After I apply the filter to the entire image, I can add a Layer Mask to it, make it black (cmd/ctrl + i to toggle between black and white), and then paint in white to add the filter to just the nose. If you painted too much, just toggle to black paint and paint back over it to “undo” it.
6. Do this over and over again with as many filters as you want. Some layers may only have a sliver of the filter showing through in your final image, while others make up the bulk of your final look.
7. Experiment! This works for any of the Nik plugins but many of them have spot adjusting built right into them if you don’t want to work with Layer Masks, however working with Layers Masks gives you nearly endless flexibility and a lot of room to recover from mistakes.
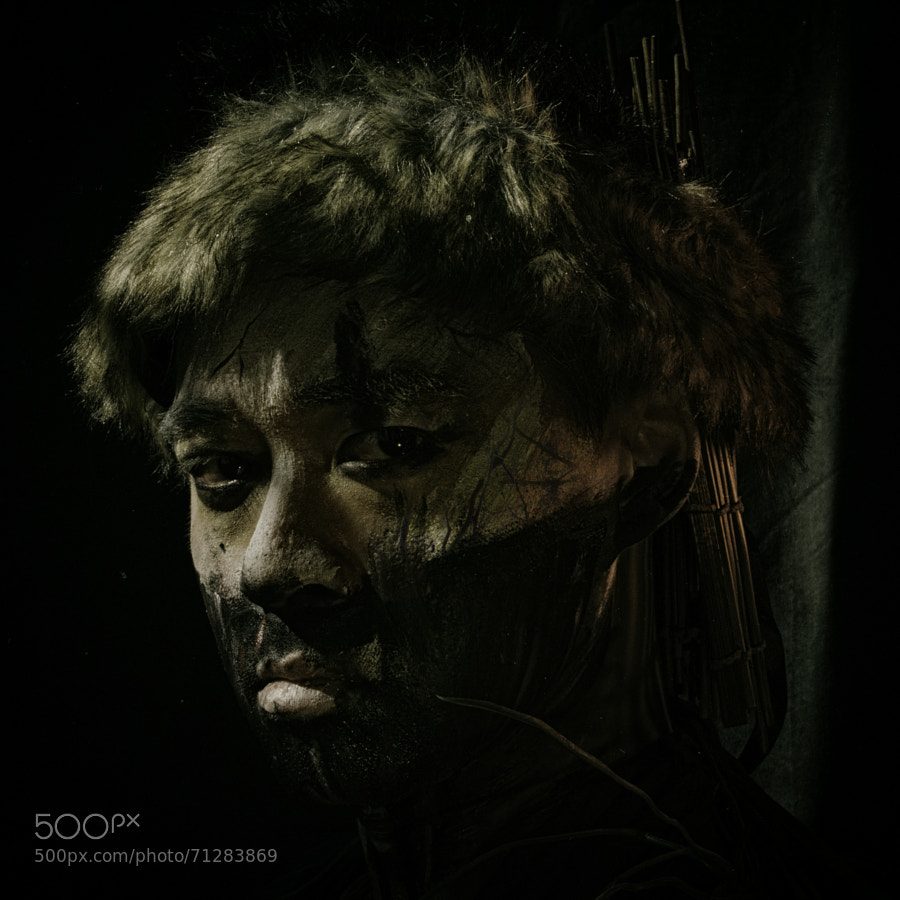
Special thanks go out to my models: Chris Lee, Michio Fukuda, and Johnny La. Many makeup-removing wipes were harmed during the making of this project. And thanks to Sohail Mamdani for shooting all the behind-the-scenes images.
Additional note: Control points have been added in the most recent version of Analog Efex Pro; however, layers masks still stand as the best non destructive editing option.
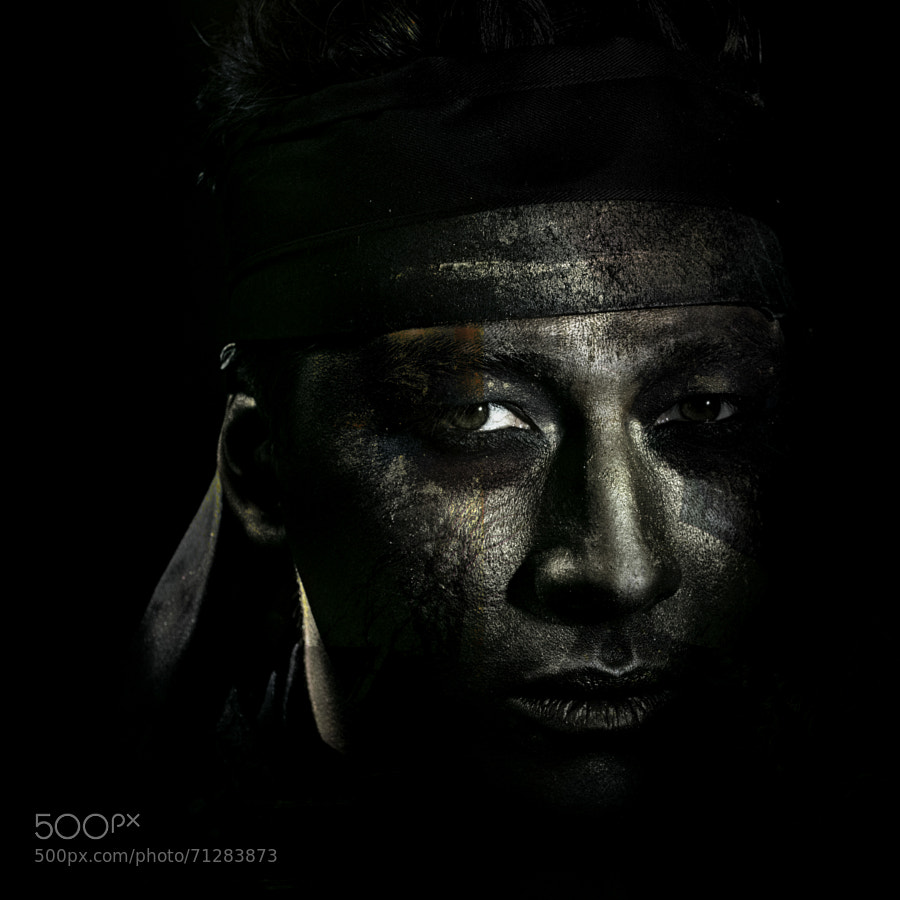
We hope this tutorial will help you get creative and improve your portraiture techniques!
Browse Warriors portrait set.
Follow Alexandria Huff on 500px to see more of her work.
Got a question for Alexandria on her gear, setup, and workflow? Ask away in the comments below!