This post is the second in a three-part series dedicated to teaching sports photography at all levels of competency. In part one I covered the basics for photographers who are just getting started. This article will focus on intermediate amateurs who have mastered the basics, and want to gain additional competency to bring their images to the next level. The final part will be geared towards advanced amateurs looking to build a portfolio.
1) The Formula
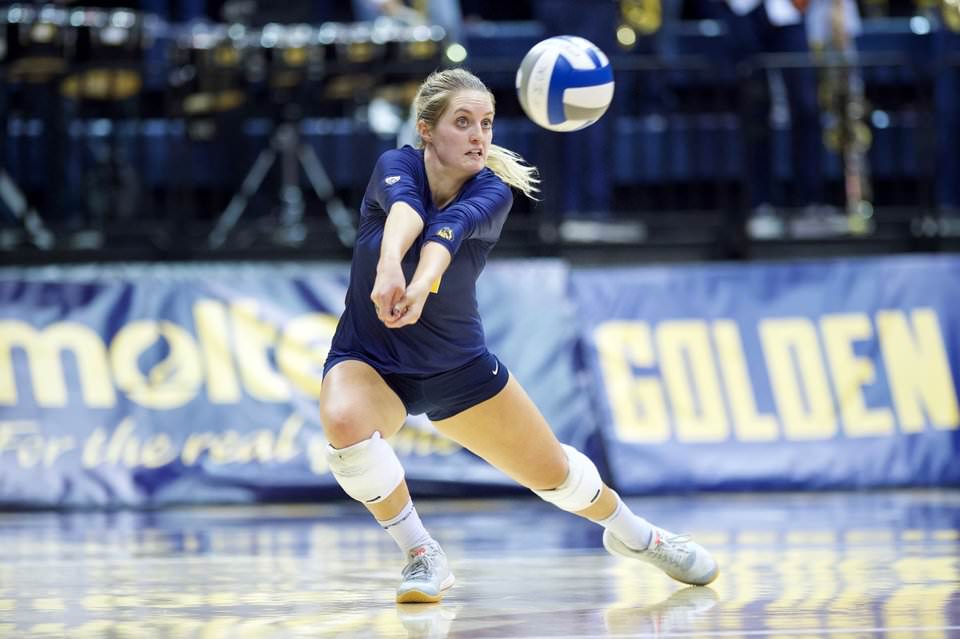
The goal of a sports photographer is to record the events unfolding at an athletic competition. Photography, even in the context of sports, is a creative pursuit, meaning that no “rule” or “formula” can definitively establish whether or not an image is satisfactory. However, I have a few guidelines that will help you understand why some sports images succeed while others fail.
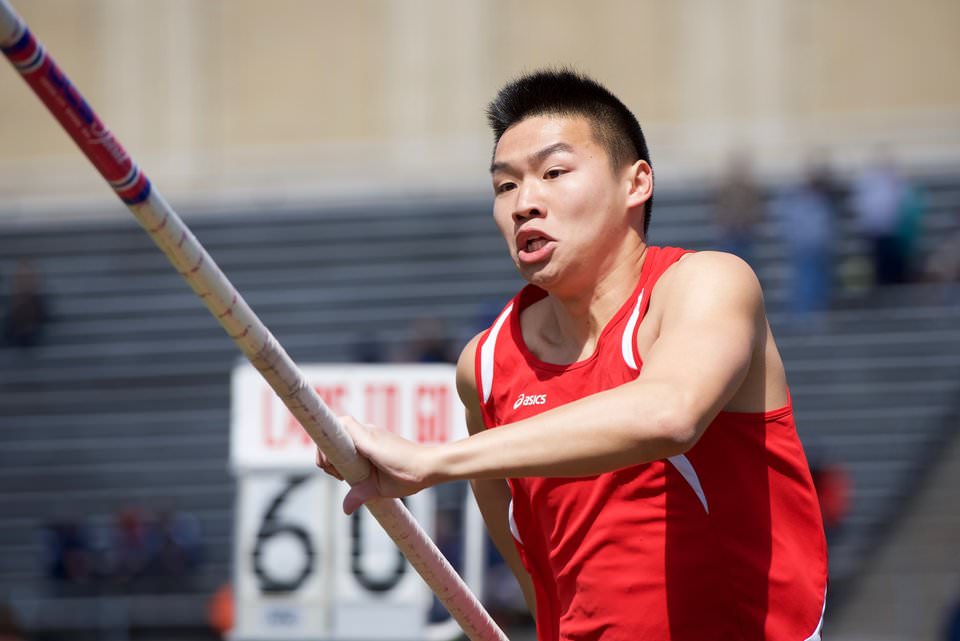
- Focus. The subject must be sharply in focus, especially the face. If the subject is even slightly out of focus, you should throw out the image.
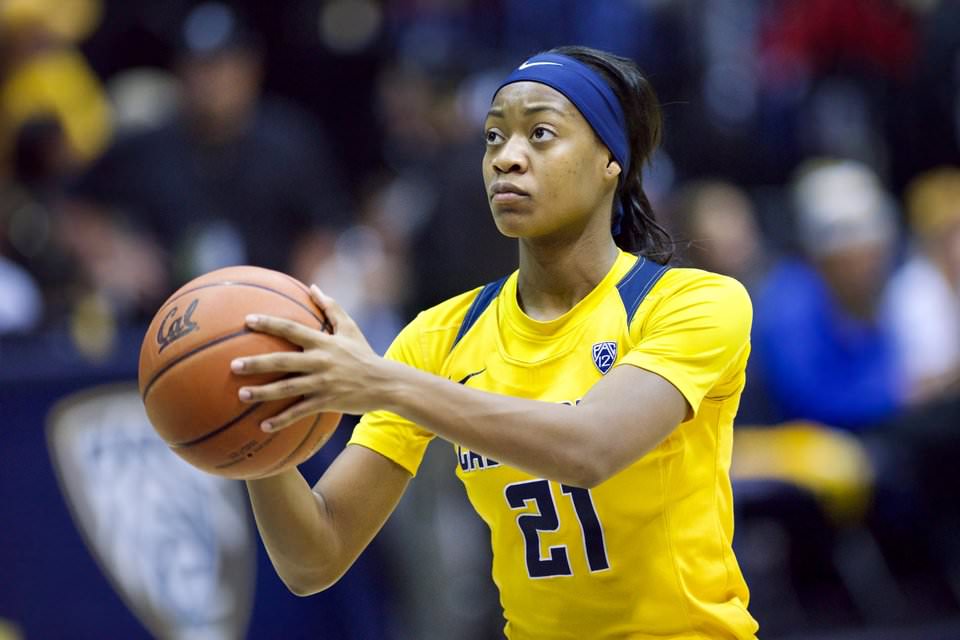
- Face. Humans connect with others when we see a face, especially eyes. Shooting an athlete’s back simply does not work.
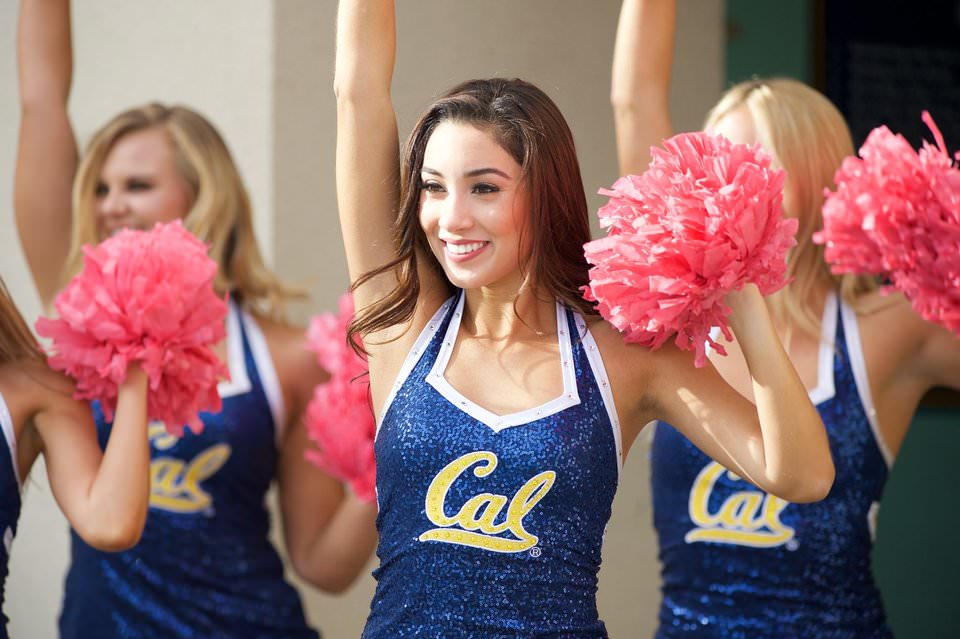
- Action/emotion. Athleticism or an emotional outburst is the core of a sports photo; the more intense, the better.
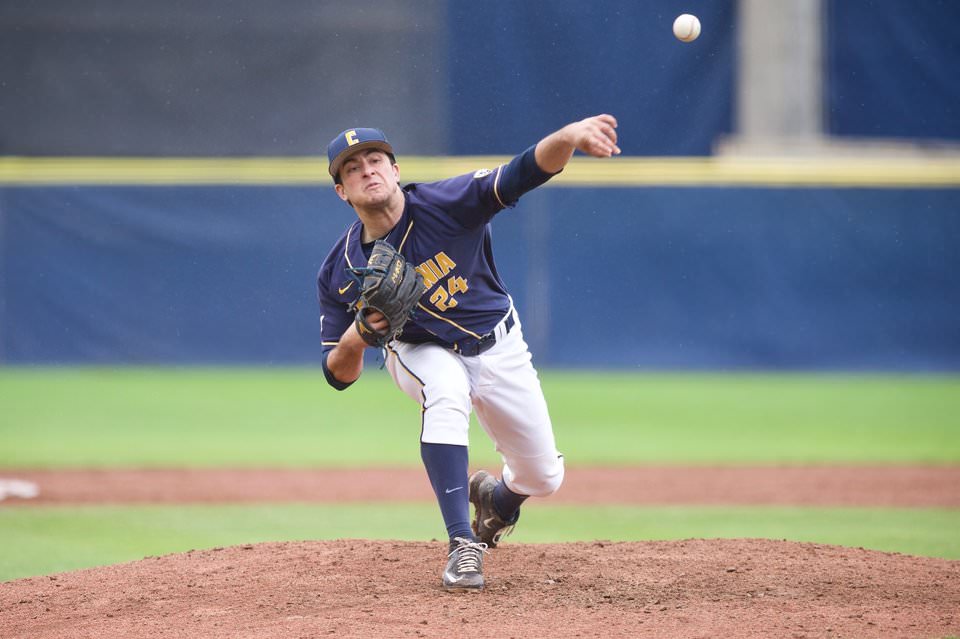
- Equipment. If the sport you are shooting uses a ball, bat, racket, or any other form of equipment it is good to show it being used in your photo.
2) Equipment
Good sports photos are often taken with good camera equipment, but good camera equipment does not necessarily make good sports photos. This is an important distinction because many photographers believe that simply by buying expensive gear they will improve their images. Actually, the opposite is sometimes true because big lenses and pro bodies can be more difficult to use than your entry-level kit.
I began photographing sports in 2015 with a Nikon D3300 and a Nikon 55-200mm f/4-5.6 lens. At the time, it was all trial and error. Pretty quickly I picked up a Nikon D700 (roughly eight-year-old body) and a Nikon 70-200mm f/4G. Later, it was a Nikon D750 and 70-200mm f/2.8G VR II. Now I have a Nikon D4S and a Nikon 300mm f/2.8G VR II as my primary sports kit. Progressing through this gear taught me some important lessons that I hope to share with you.
- Buy used. I saved $1500 alone by purchasing a used 300mm instead of new, and the difference in quality is indistinguishable. Be careful of sales that do not include actual product images or are “too good to be true.”
- Buy what you need plus a little extra. Do not compromise to save a few bucks; this will cause buyer’s remorse.
- Buy practical gear. Extra does not mean extravagant. Evaluate your use cases and buy accordingly.
- Buy lenses over bodies. Camera bodies date quickly; lenses are nearly timeless.
- Master what you have before buying more. Figure out what is holding you back (it is probably your skills, not your gear).
Every photographer is different, but here are a few equipment recommendations that will help to guide those who have learned the basics and want to take their images further. These are items that I consider to be essential for any serious sports photographer.
- Get a good 70-200mm f/2.8. With this lens you can photograph just about any sport and get good results. First-party brands are the way to go; I have met many photographers who complain about the quality of their off-brand lenses.
- Go full-frame unless all you do is daytime field sports. Full-frame has twice the image quality of APS-C except when long telephoto reach in daylight is your objective.
- Consider teleconverters before buying a new lens. For example, if you have a 70-200/2.8 and need more reach, consider a 1.4, 1.7, or even 2.0 TC before jumping on 300mm or 400mm lens.
3) Camera Settings
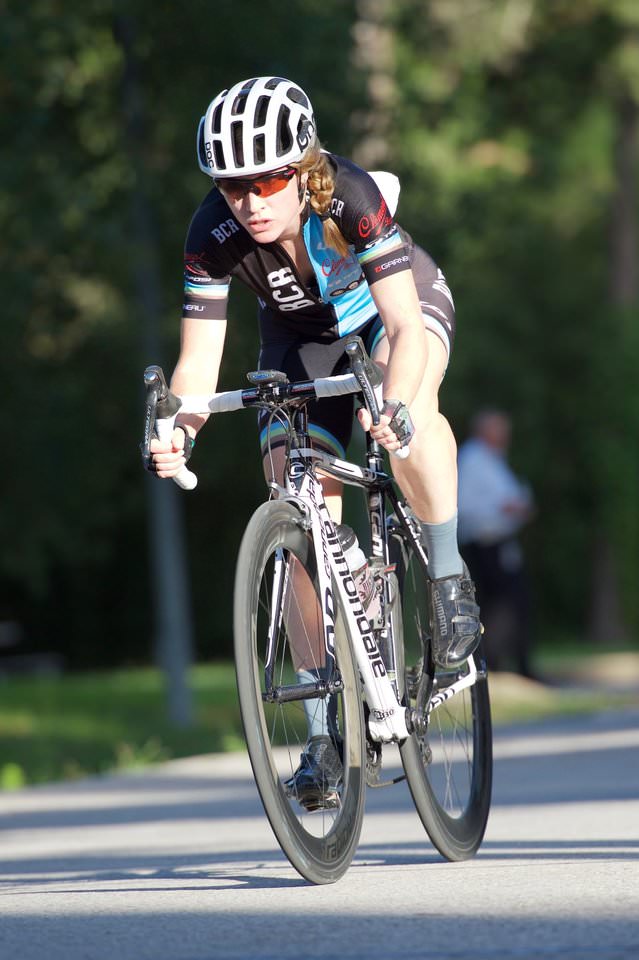
Chances are that you have already been told a million times that you need fast shutter speed for sports photography. Now you are going to learn some advanced camera setting tips to make capturing the action easier while increasing your keeper rate.
3.1) Autofocus
Getting tack-sharp focus on your subjects is one of the differentiators between a novice and an experienced sports photographer. The best way to do this is by optimizing your autofocus settings. Here are some tips:
- Use continuous AF, always.
- For small, fast subjects use dynamic focus point selection.
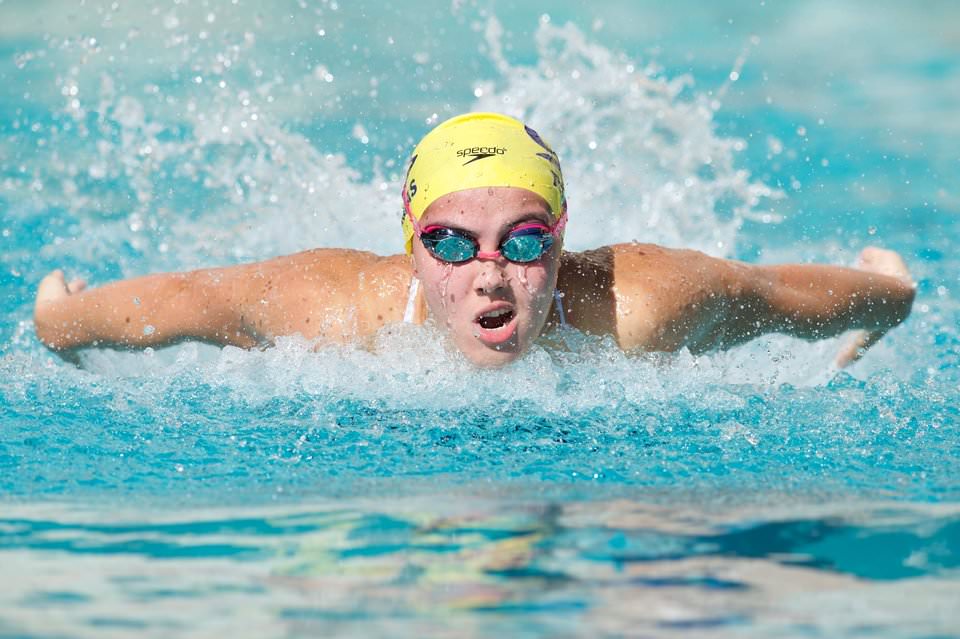
- For large subjects or in situations where objects frequently get in front of the subject (think water droplets in swimming) use single-point AF.
- Use back-button AF. The idea here is simple: separate your shutter and your AF activation. Allowing the shutter button to control both results in focus going where it should not.
- Adjust the location of your primary AF point to get proper framing, but remember that some focus points may not be cross-type (detect horizontal and vertical lines).
3.2) Auto-exposure and Metering
I generally advocate for two different approaches for achieving proper exposure for sports images. The approach chosen depends on the situation.
- Manual. Modern cameras are good at achieving proper exposure automatically, but can easily be thrown off by unusually bright or dark areas of the frame. The best way to avoid this is to set your exposure manually. This approach works best indoors and on cloudless days where the quantity of light does not change.
- Auto-ISO. For some reason I do not see other photographers use Auto ISO as much as aperture or shutter priority, but I feel it is the best for sports. Sports photographers should not be afraid to raise their camera’s ISO well into the thousands. Freezing action and controlling depth of field are more important than limiting image noise.
3.3) RAW
It is critical that you record your images in RAW format. A few sports photographers will tell you that it is better to shoot JPEGs because they take up less space on your memory card. Today large capacity memory cards are cheap and camera image buffers are spacious. If you are shooting for an organization that demands JPEGs during or immediately after an event, then consider shooting RAW and JPEG formats simultaneously. RAW images store all of the data captured by your camera’s image sensor, making them easily manipulated in post-processing.
4) Shooting Position
Few things in sports photography are as important as choosing a good position to shoot from. Changing your position by just a few feet can have a large impact on the quality of the images you capture. The best shooting positions vary greatly depending on the sport, venue, and level of competition. I intend to provide you with a framework for deciding where to shoot from in any situation.
4.1) Get Low
In general, it is advantageous to stay lower than your athletic subject in order to make them appear more powerful. If you are relatively short, then this is less of a concern. If, like me, you are above six feet in height it is recommended that you sit, squat, or kneel in some fashion to give extra drama to your images.
4.2) Back to the Sun
Back or side-lit subjects are a pain to shoot. First, they appear darker than their environment, and viewers tend to look at the brightest parts of an image. Second, lens flare and poor contrast can become issues. Try to choose a location that will keep the sun at your back. Your images will look so much better this way.
4.3) Athletes Facing You
You have already learned the importance of capturing faces, and the easiest way to ensure this happens is by staying on the side of the venue that your subjects are approaching. Here are a few examples:
- Soccer: sit near the opponent’s goal.
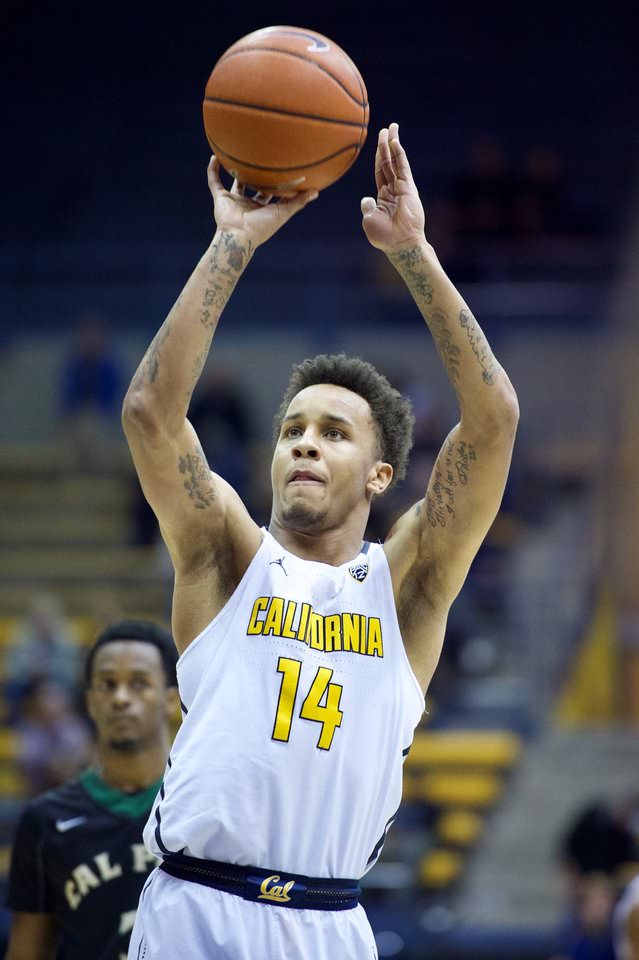
- Basketball: sit slightly to the side of the opponent’s basket.
- Swimming: sit on the side of the pool for long-axis strokes and at the end of the pool for short-axis strokes.
4.4) Where Action Might Happen
This one is vague, but it is important to learn the schedule of the event you are covering and position yourself accordingly. For example, at the end of a big basketball game you may want to prepare yourself for a celebration on the court. Anticipation is the key to sports photography; once the action has happened it is too late!
5) Closing Words
Thank you for reading the second post in a three part series about sports photography. Today you learned critical techniques that will assist you in taking your images from a beginner to an intermediate level. Stay tuned for the final segment geared towards advanced amateurs. I will cover how to get involved with higher levels of competition, post-processing, white balance, more gear recommendations, and other topics.